A look inside my new Nepenthes greenhouse

Published 6 October 2018, updated
I’ve been growing carnivorous plants, on-and-off, for about 15 years.
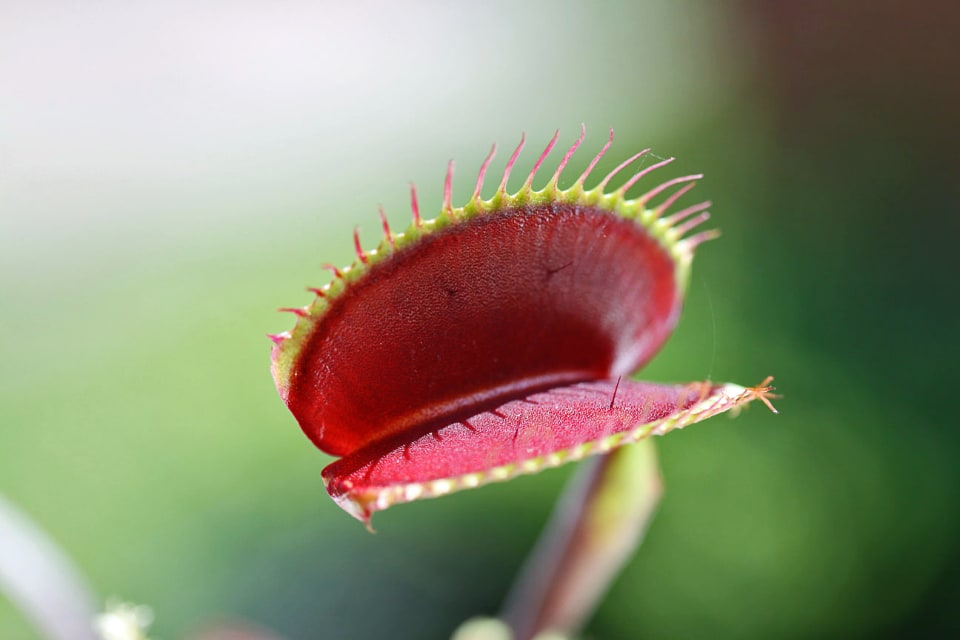
Like many readers of this blog I started out with a Venus flytrap, purchased from a local garden centre over the school holidays. Barely a year later I was growing a colourful variety of temperate carnivores on a purpose-built shelf attached to a south-facing window in my bedroom. I diligently collected rainwater in my parents’ back garden, and the plants grew happily for many years.
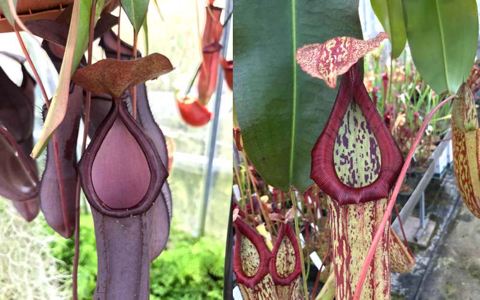
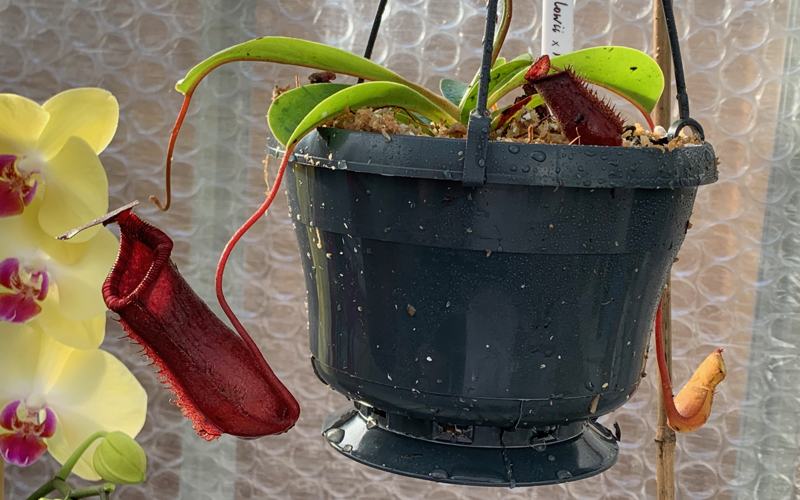
My attempts to grow Nepenthes - which immediately became my favourite genus - were less successful. My temperate shelf received constant direct sun, while the low humidity of most other locations meant that everything other than N. x ventrata did little more than limp along. The less said about my N. bicalarata and its ’lowland chamber’ - a clear plastic bag sat next to a radiator - the better.
Fast forward 10 years. With a full-time job and my own place, I was growing carnivorous plants the only way my north-facing, third-floor flat would allow - a large terrarium complete with T5 lights, cooling fans, and monitoring built with a Raspberry Pi. It was my research into which species of Nepenthes would thrive in my terrarium that led me to create the The Nepenthes Interactive Guide. That project served as a springboard for this website - I’m extremely grateful to Peter D’Amato of California Carnivores and Rob Cantley of Borneo Exotics for their positive and constructive comments on the tool. Apart from perhaps David Attenborough, there are few people from whom feedback would have been more encouraging, especially while this website was in its infancy.
At the start of this year, my wife and I moved out of our London flat and into our first place with a garden. Like any self-respecting carnivorous plant obsessive, my top priority once we had the keys was to start preparing my new growing space: a tropical greenhouse for highland Nepenthes.
This proved to be an enormous undertaking. While the project has - so far - been a success, the learning curve was incredibly steep. I’m sharing my setup here because (1) lots of people have asked about it, (2) I figure it’s only fair to give back what I learned from the CP community, and (3) honestly, my plants seem to love it so far!
Contents
- Introduction
- Structure
- Ventilation & Circulation
- Shading & Insulation
- Heating
- Humidity
- Water
- Lighting
- Monitoring
- Summary
1. Introduction
I went into this project with literally zero experience of greenhouse growing. After 6 months of research, planning, and building, I am now marginally less ignorant than before. My tropical greenhouse has been up-and-running for just 8 weeks. While this period has encompassed a startling variety of British weather - including the tail end of the summer heatwave, a ferocious storm, and finally a cold snap - I’m in no way a greenhouse expert. I’ve got this far thanks in large part to the CP community; growers more experienced than myself who were willing to share their expertise and advice. Shout-outs appear at the end of this article.
Wherever possible I’ve tried to include links to the relevant products or suppliers that I used. Most links are to either Amazon (UK or US depending on your location), Simply Control (a great company based in Scotland which I discovered about 6 months ago), or the manufacturer’s official website where one exists.
2. Structure
Given heating requirements in winter, I opted for a design which should provide some extra insulation. The greenhouse sits on a 75cm dwarf wall and abuts on the south-facing wall of my house, meaning one less face through which heat is easily lost. This also meant water and electricity could be supplied to the greenhouse from the house, without having to worry about trenches or armoured cables; before construction began, I simply had a tap and two sets of waterproof electrical sockets installed on the wall.
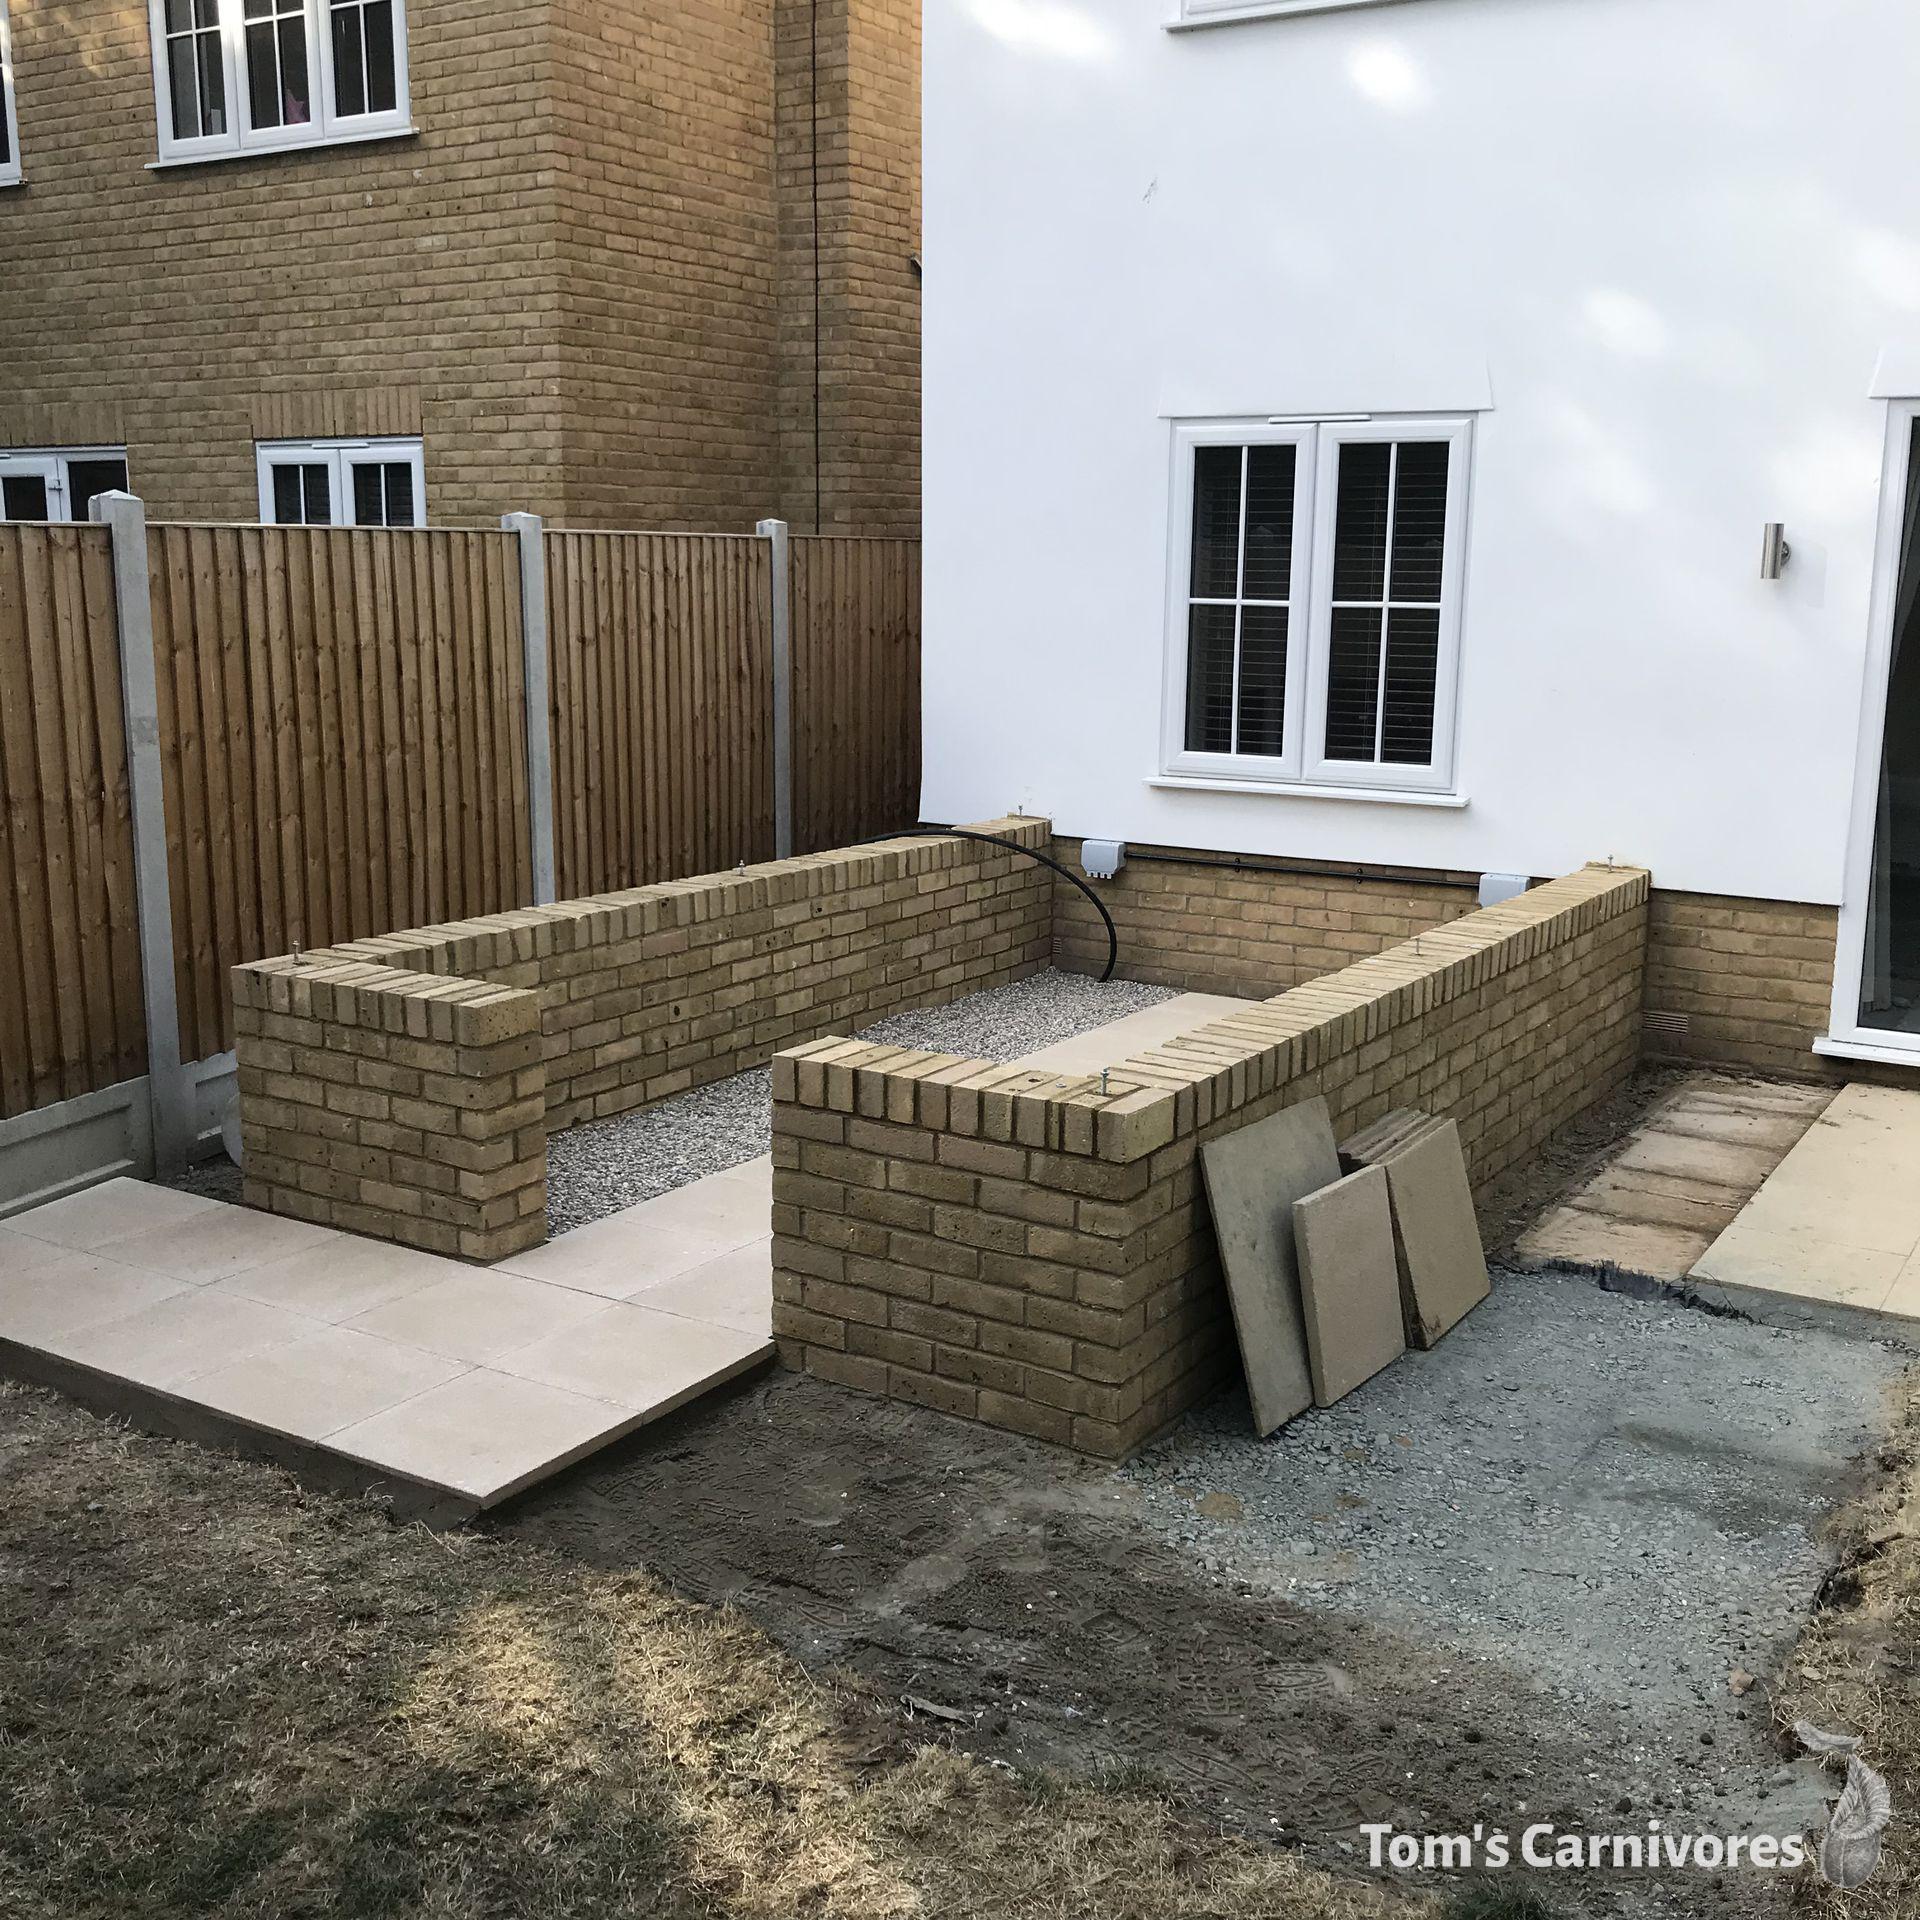 The foundations and dwarf wall. I opted for a central paved path with shingle under each bench for drainage. Electrical sockets were finished by this point, but the black tube supplying water hadn't yet been connected to a tap.
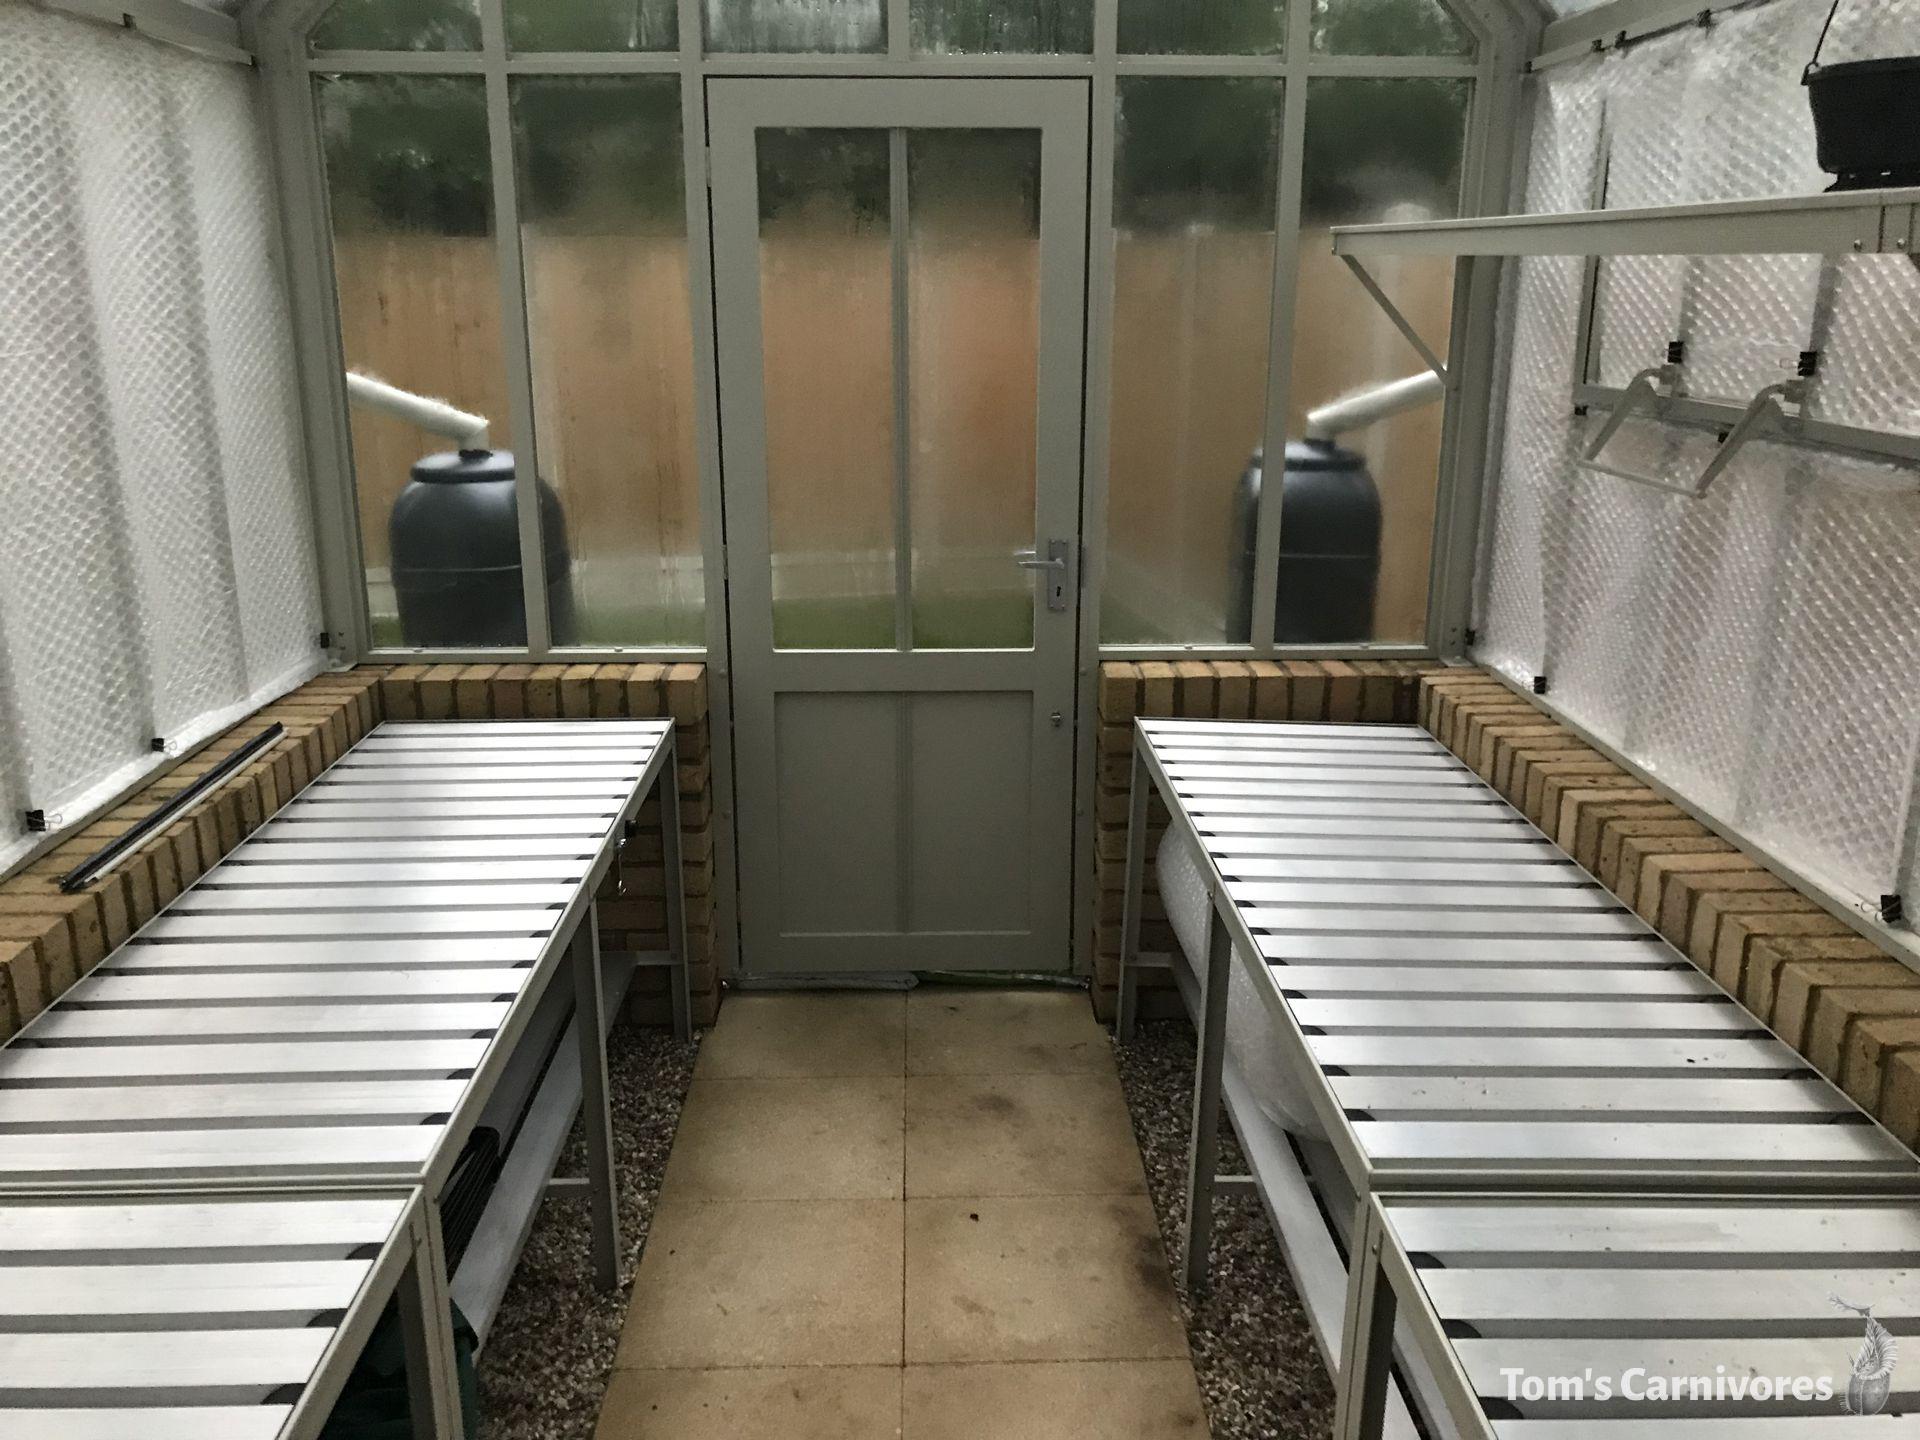 The (almost) finished interior, with water butts being filled from the gutters. I've since fixed the gap under the door with a step and airtight seal.
In terms of size, almost every greenhouse owner I spoke to suggested getting something bigger than I thought I’d need. My garden isn’t huge, but I’m yet to meet a Nepenthes grower who complains about having too much space, so I went for the largest it could comfortably hold: 2.6m wide by 4m long (about 8'6" x 13’). I wanted to maximise vertical growing space and have plenty of room for hanging baskets and vining plants, so I went for a tall Victorian design: 2m high eaves with a steep roof pitch. It’s constructed from aluminium and 4mm toughened safety glass.
Obviously for most people the greenhouse structure will be by far the biggest expense. This also means it’s where you can make the biggest savings. So while you could opt for a brand-new structure from the likes of Robinsons or Elite, don’t forget it’s also possible to get a bargain on the second-hand market, especially if you’re handy with construction and don’t mind collecting and reassembling it yourself. Keep an eye on local sales using Facebook Marketplace. Remember, you’re going to be draping your greenhouse with shade netting and lining it with bubblewrap, so aim for solid, functional and spacious, rather than pretty.
Cost: Anything from £20 to £20,000. Whatever you go for, be sure to see it in-person before you commit - if you’re buying new, that means visiting a show or garden centre.
3. Ventilation & Circulation
I have four large vents: two on the roof, and two along one side face. Given that I work full-time, I decided against manually operated vents and opted for automatic Bayliss openers. These require no electricity; instead, they rely on the expansion and contraction of wax to open and shut the vents according to the ambient temperature.
Obviously I want to avoid situations where my heater is on and my vents are open, which means normal Bayliss openers would be unsuitable; their standard tubes can be set to open between 13°C (55°F) and 18°C (65°F). However, by installing the specialist ‘orchid’ tubes into the Bayliss units, the opening temperature can be set between 24°C (75°F) and 32°C (90°F). Mine start to open at roughly 28°C (82°F), at which point they provide a nice through draught. This can lower the relative humidity (which causes my hydrofogger to kick in) but without an evaporative cooler this seems to be the best way to keep summer temperatures down.
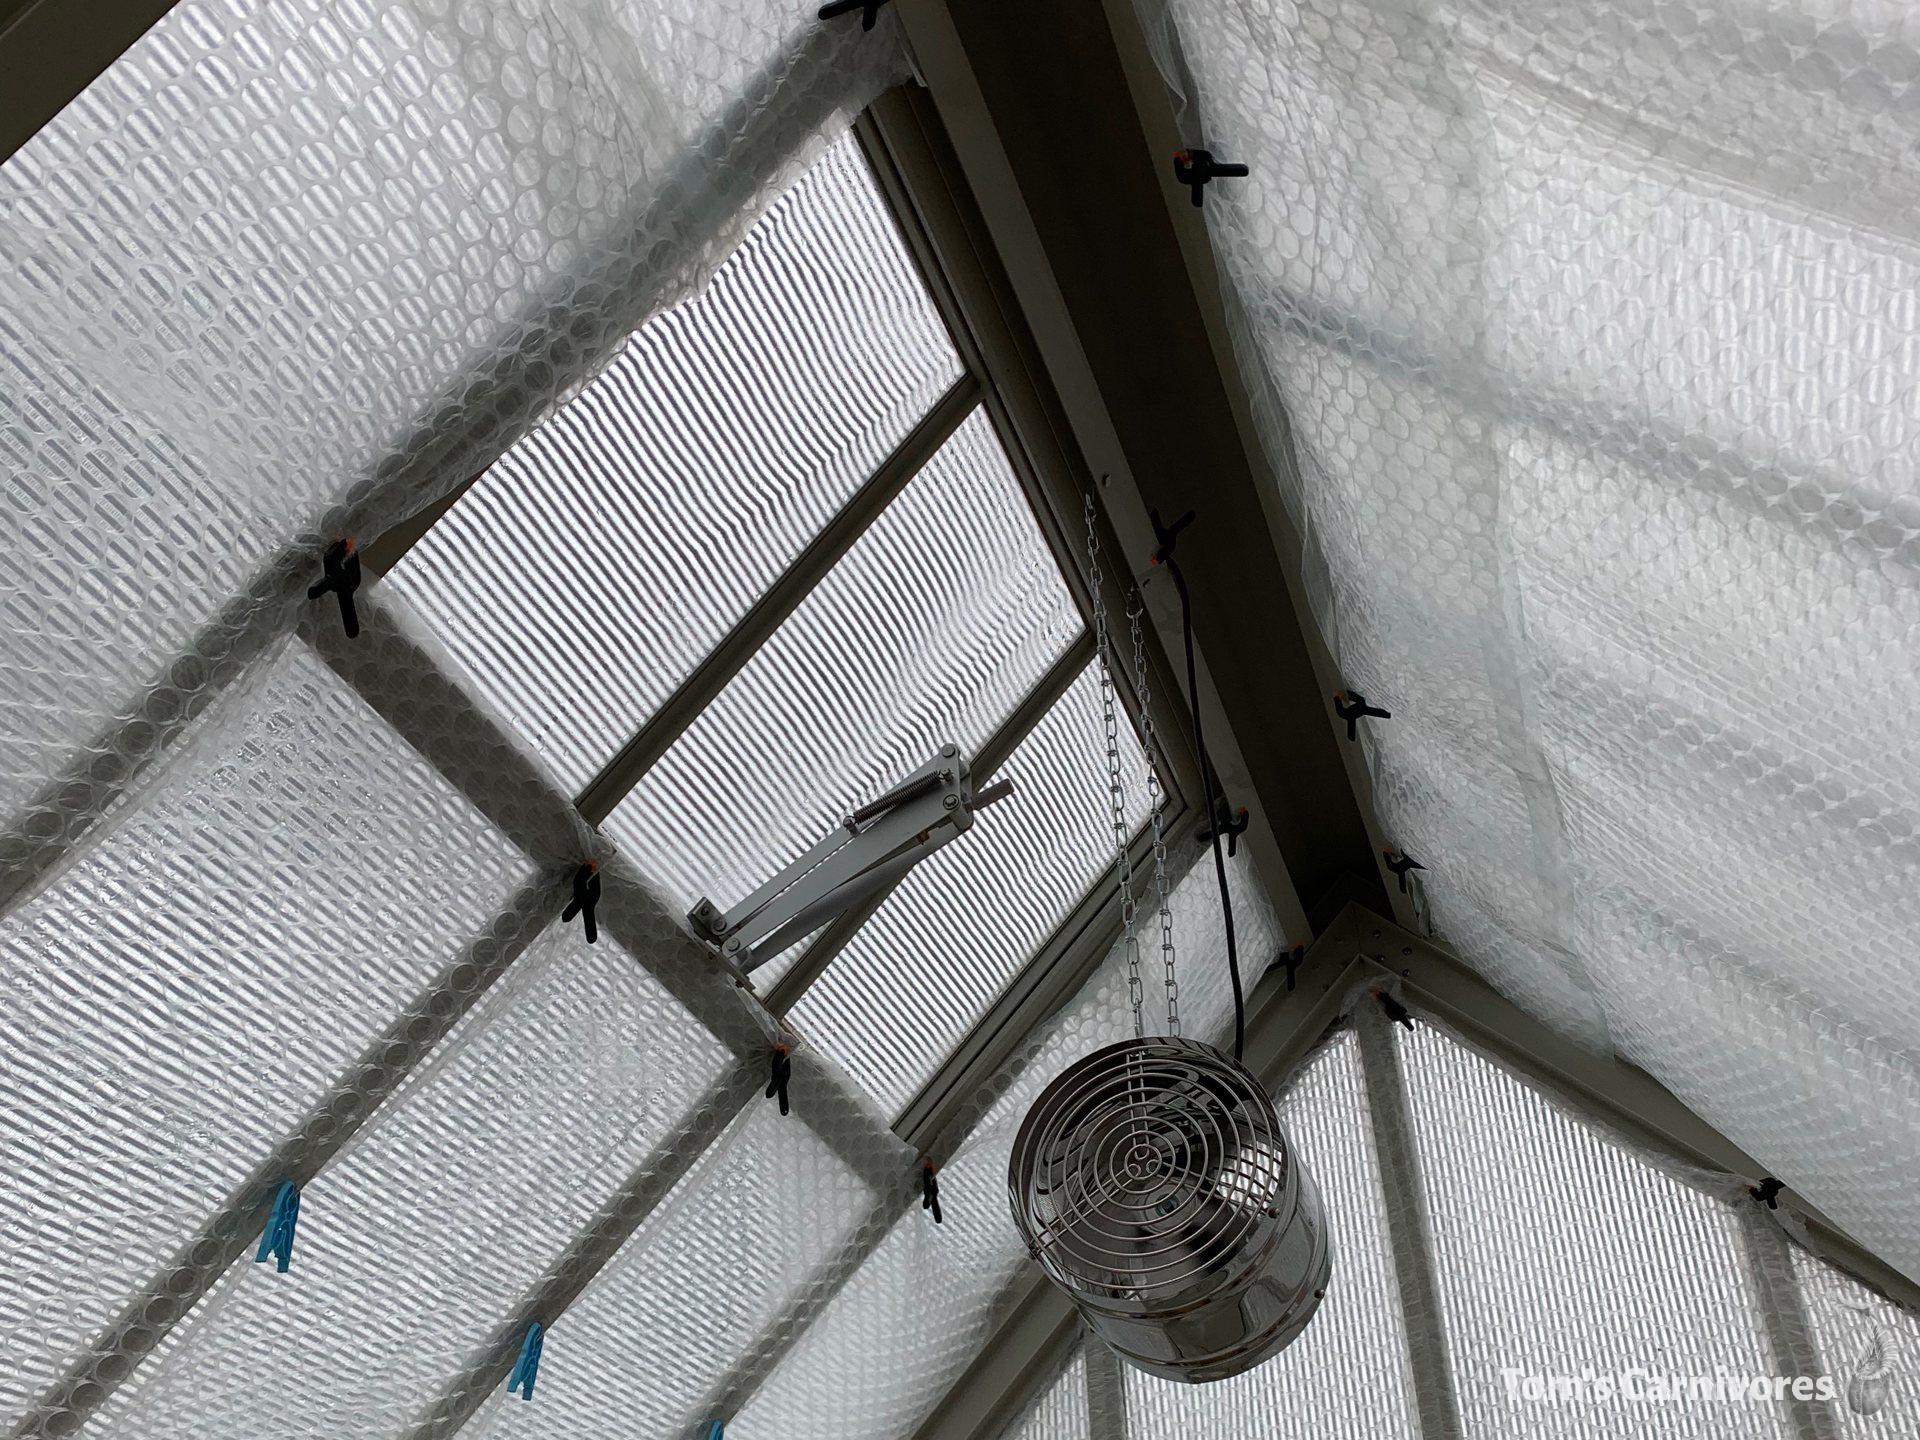 One of my roof vents, powered by a Bayliss Mk 7 Triple Spring opener. I also have a Bio Green circulation fan hanging from the ridge.
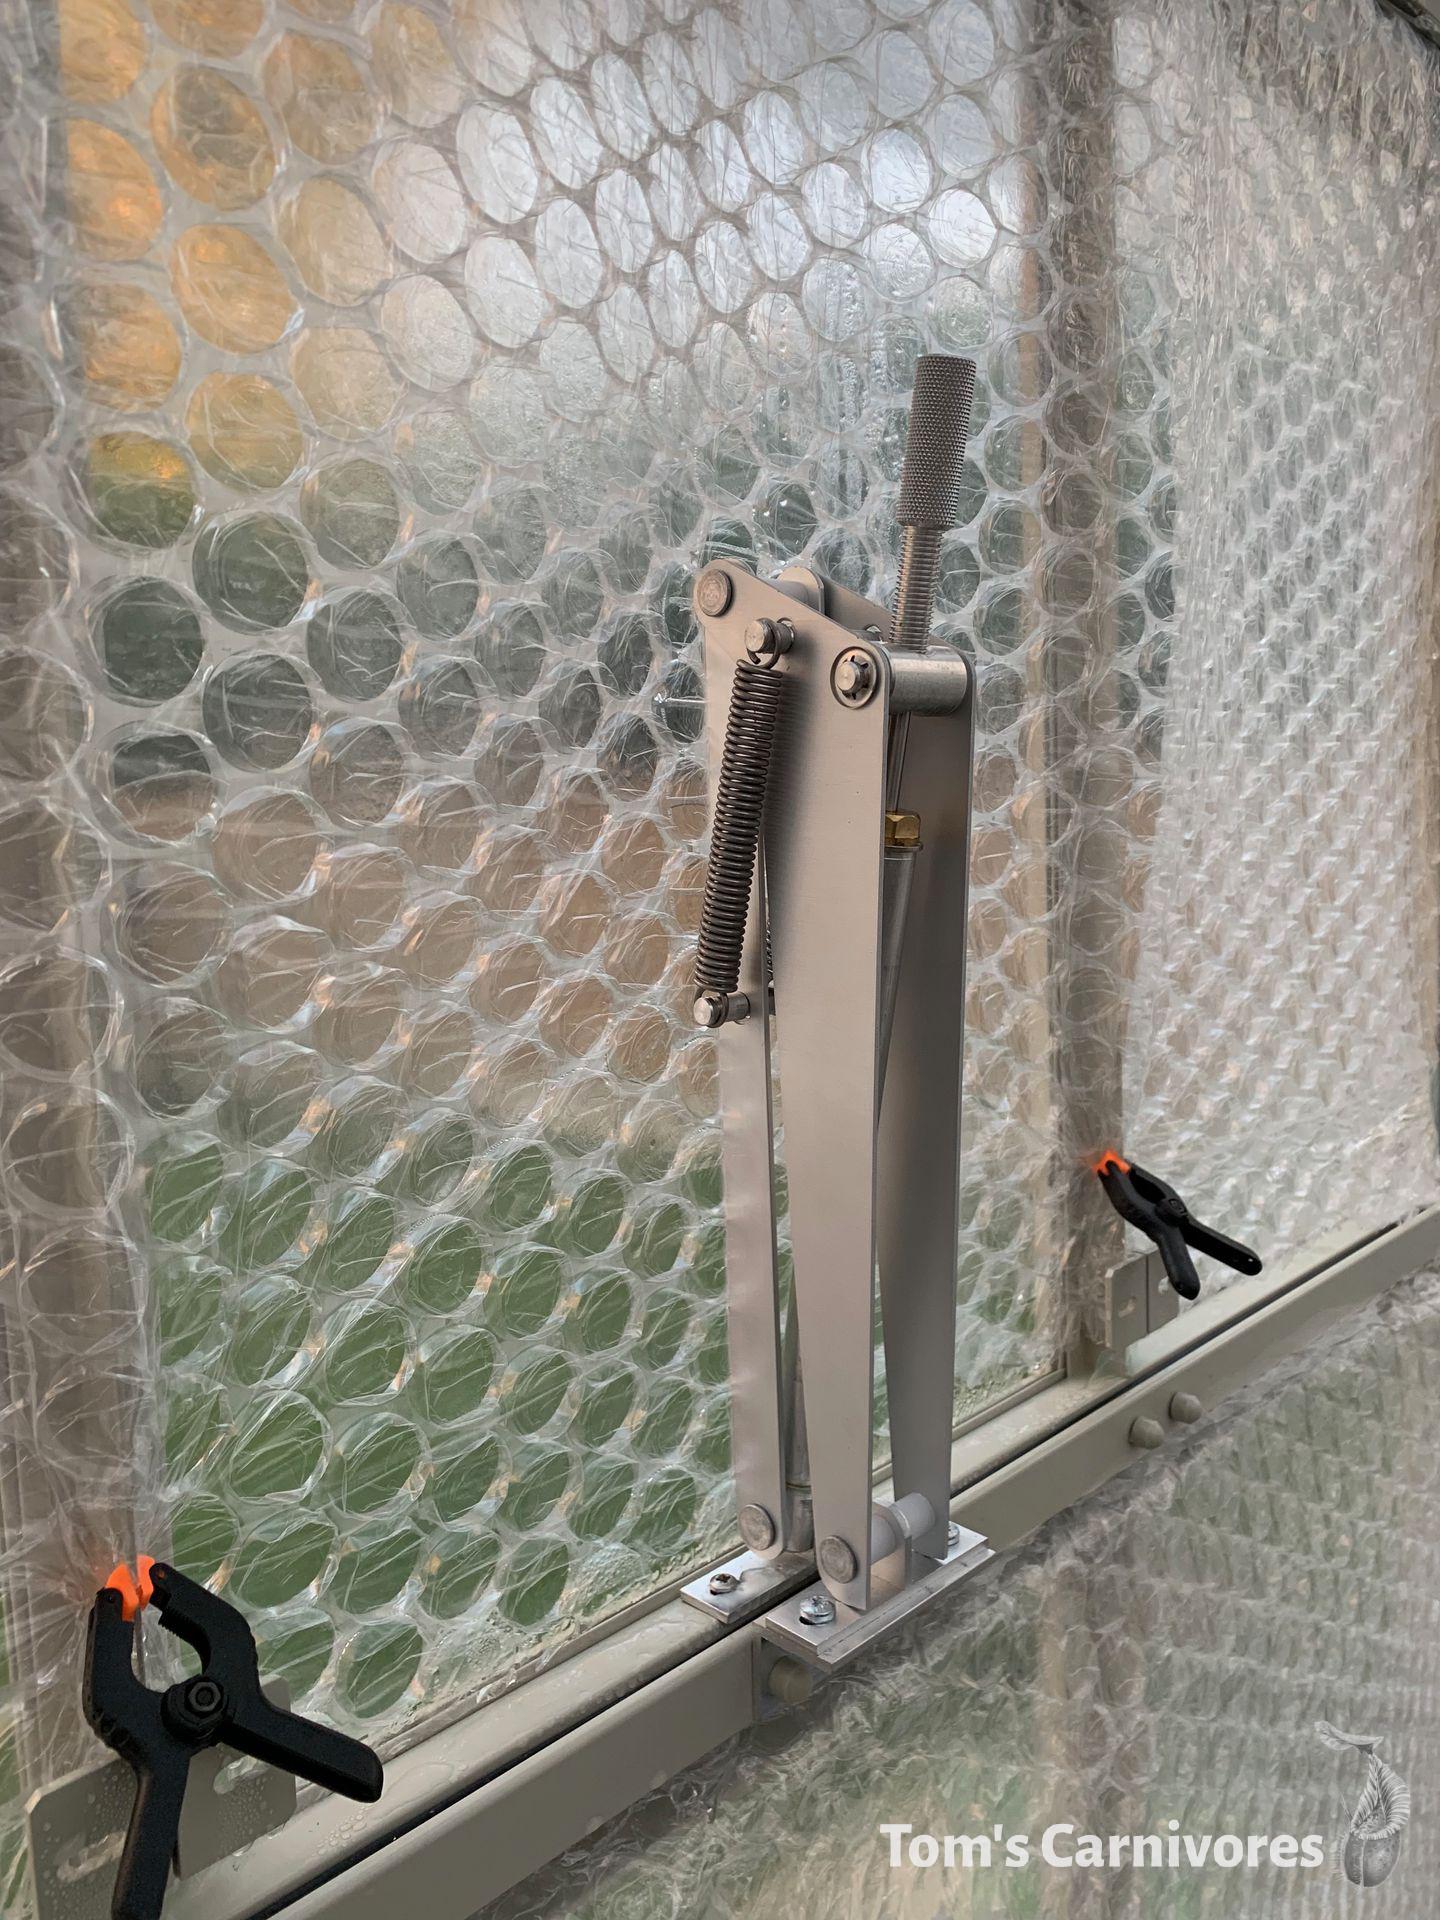 My side vents are also powered by Mk 7 Triple Spring openers. To distinguish between the high-temperature 'orchid' tubes and the standard tubes, look for an 'O' stamped on the end plug.
To encourage good air flow, I also have a Bio Green circulation fan hanging from the ridge. This has helped to cool during hot weather, drawing air in through the open roof vents, but it should also reduce the chances of both mould and cold spots in the winter, too.
Cost: Bayliss vent openers are £45 each - just be sure to buy ‘orchid’ tubes (Amazon / Bayliss / Simply Control). Circulation fan is £100 (Amazon).
4. Shading & Insulation
First things first, don’t bother with internal shading. I was amazed at how many companies try to flog expensive roller blinds designed for the greenhouse interior, even after I’d explained that my primary goal was to reduce the temperature. If you want to keep the heat out, you need to prevent the sun’s radiation from entering the structure.
The roof and front face of my greenhouse is covered with a 50% grade of nylon shade netting with aluminium stripes. I think this is branded as ‘Aluminet’ in the States. I’ve heard that this type of material is better at reflecting heat while maintaining good light levels than the green fabric you find at garden centres. So far that seems to be true - even on an overcast day it doesn’t feel gloomy inside.
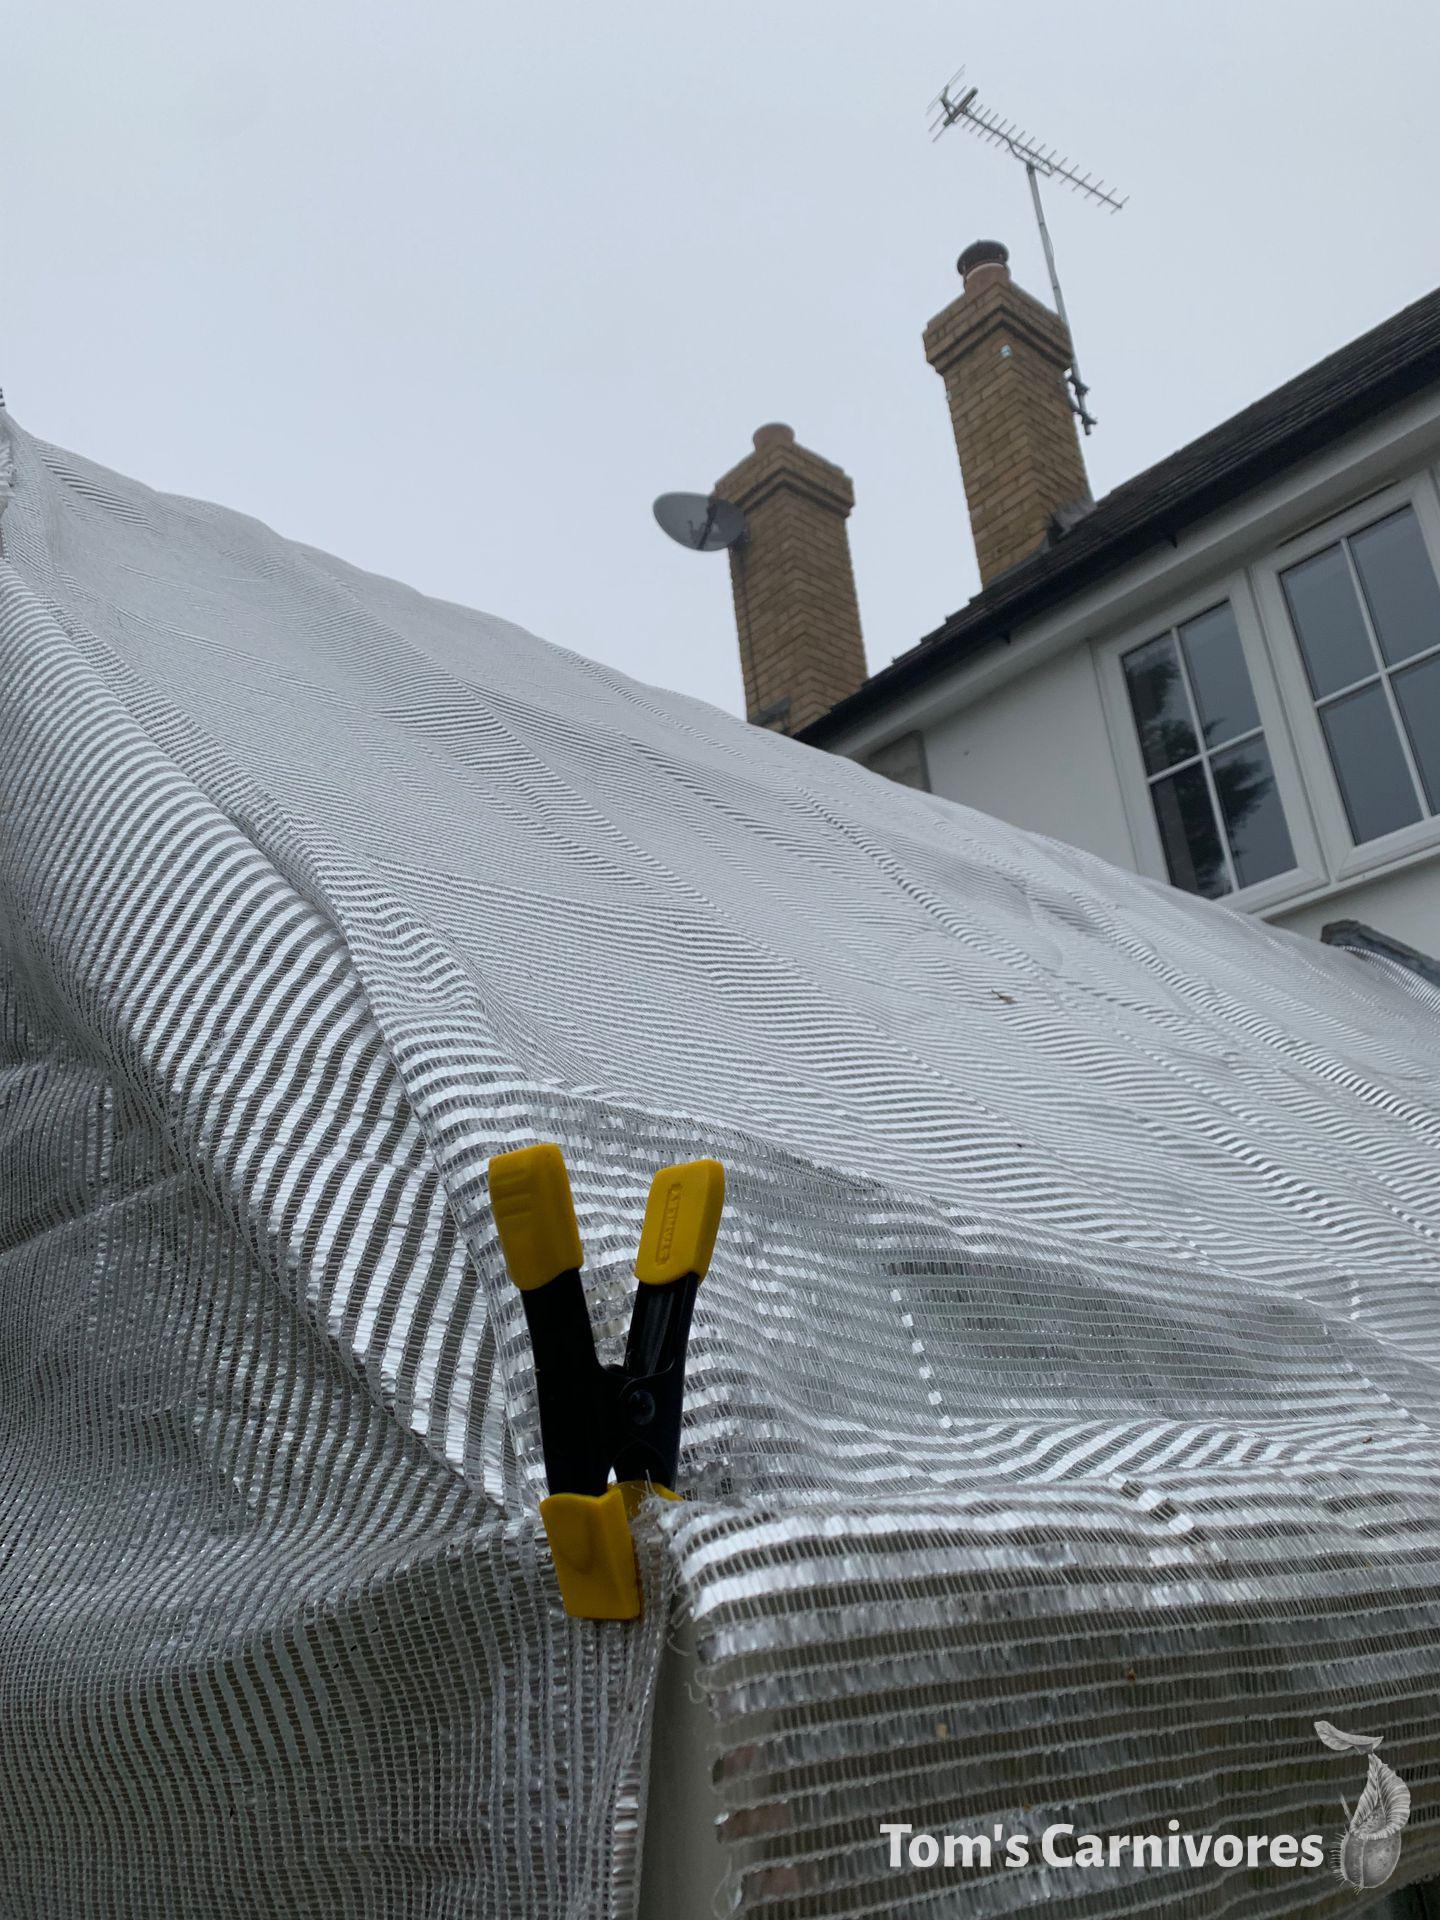 My aluminium shade netting attached using clamps, looking particularly unnecessary on this very overcast day. It ain't pretty, but it does the job!
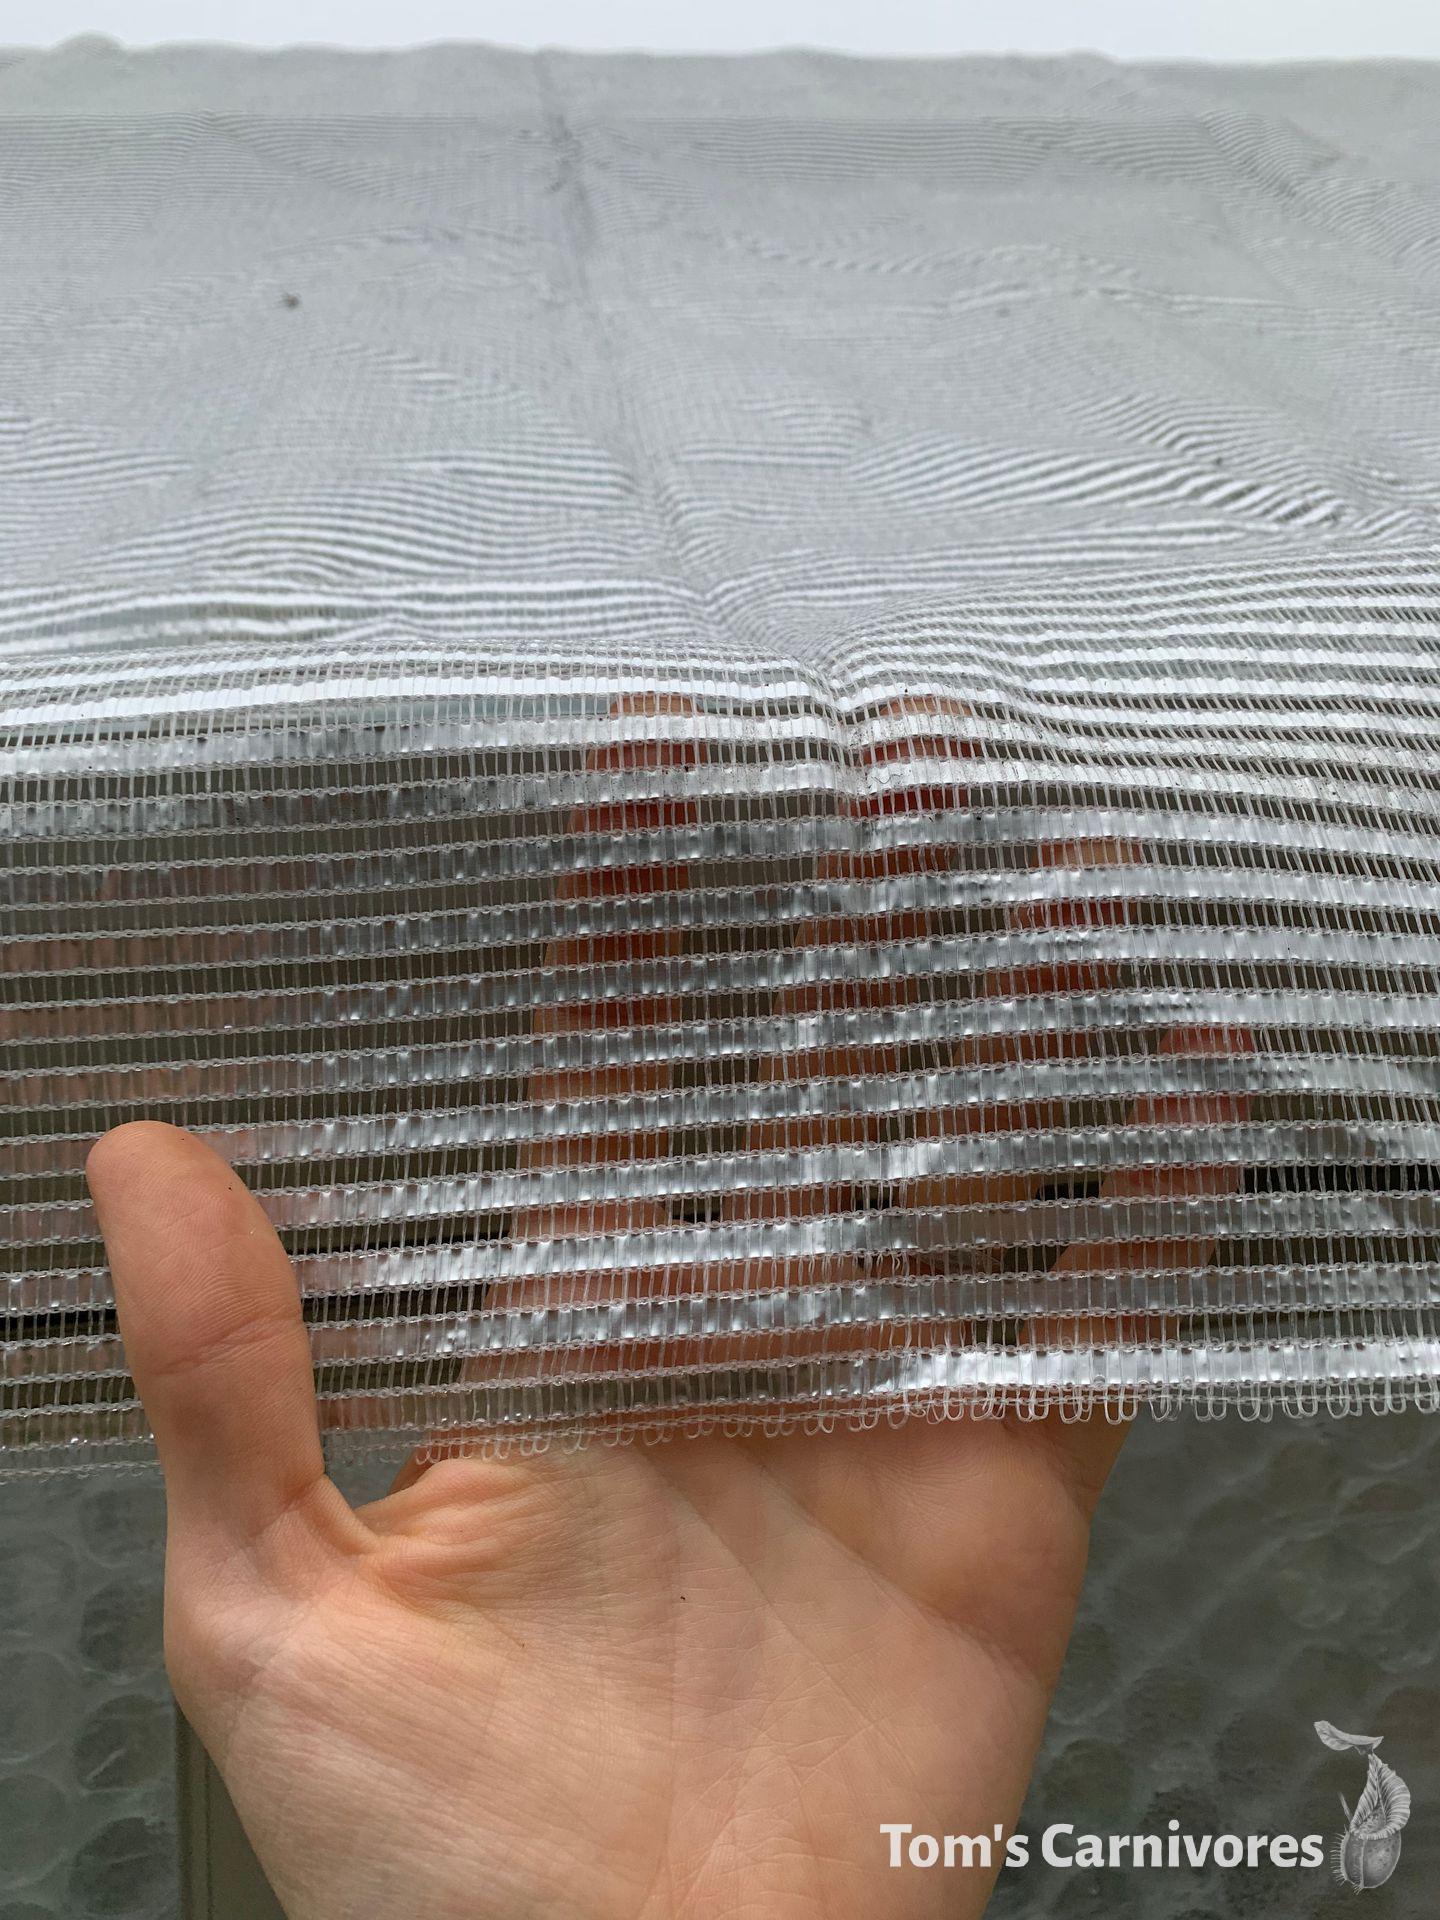 This is the 50% grade. You can also buy 60% and 75% if you're particularly concerned about overheating.
I’ve fixed the material to the guttering and ridge using a couple of heavy duty clamps. I plan to remove the shading sometime in October when the daylight hours get significantly shorter and temperatures plummet.
The inside of the structure is lined with thick horticultural bubblewrap, which I intend to leave up year-round. This was a pain to put up because my structure has no exposed glazing bars for the little green clips they often sell at garden centres. Besides, I’d be surprised if those clips could secure large pieces of thick horticultural bubblewrap to the inside of the roof. Thankfully, I eventually found some small, robust, all-plastic screw clamps (called ’tarpaulin clips’). You won’t see these in the photos above, but they work perfectly for me - no metal parts to rust, and nice and strong.
Cost: You can buy aluminium shade netting for about £8 per square meter - the fabric stuff is cheaper (Simply Control / Amazon). Horticultural bubblewrap is roughly £2 per square meter (Simply Control / Amazon). Tarpaulin clips average about 50p each in a big pack (Amazon).
5. Heating
Having read one too many horror stories in which a grower loses his or her entire collection as a result of a heating mishap, I was determined not to skimp on the heating system.
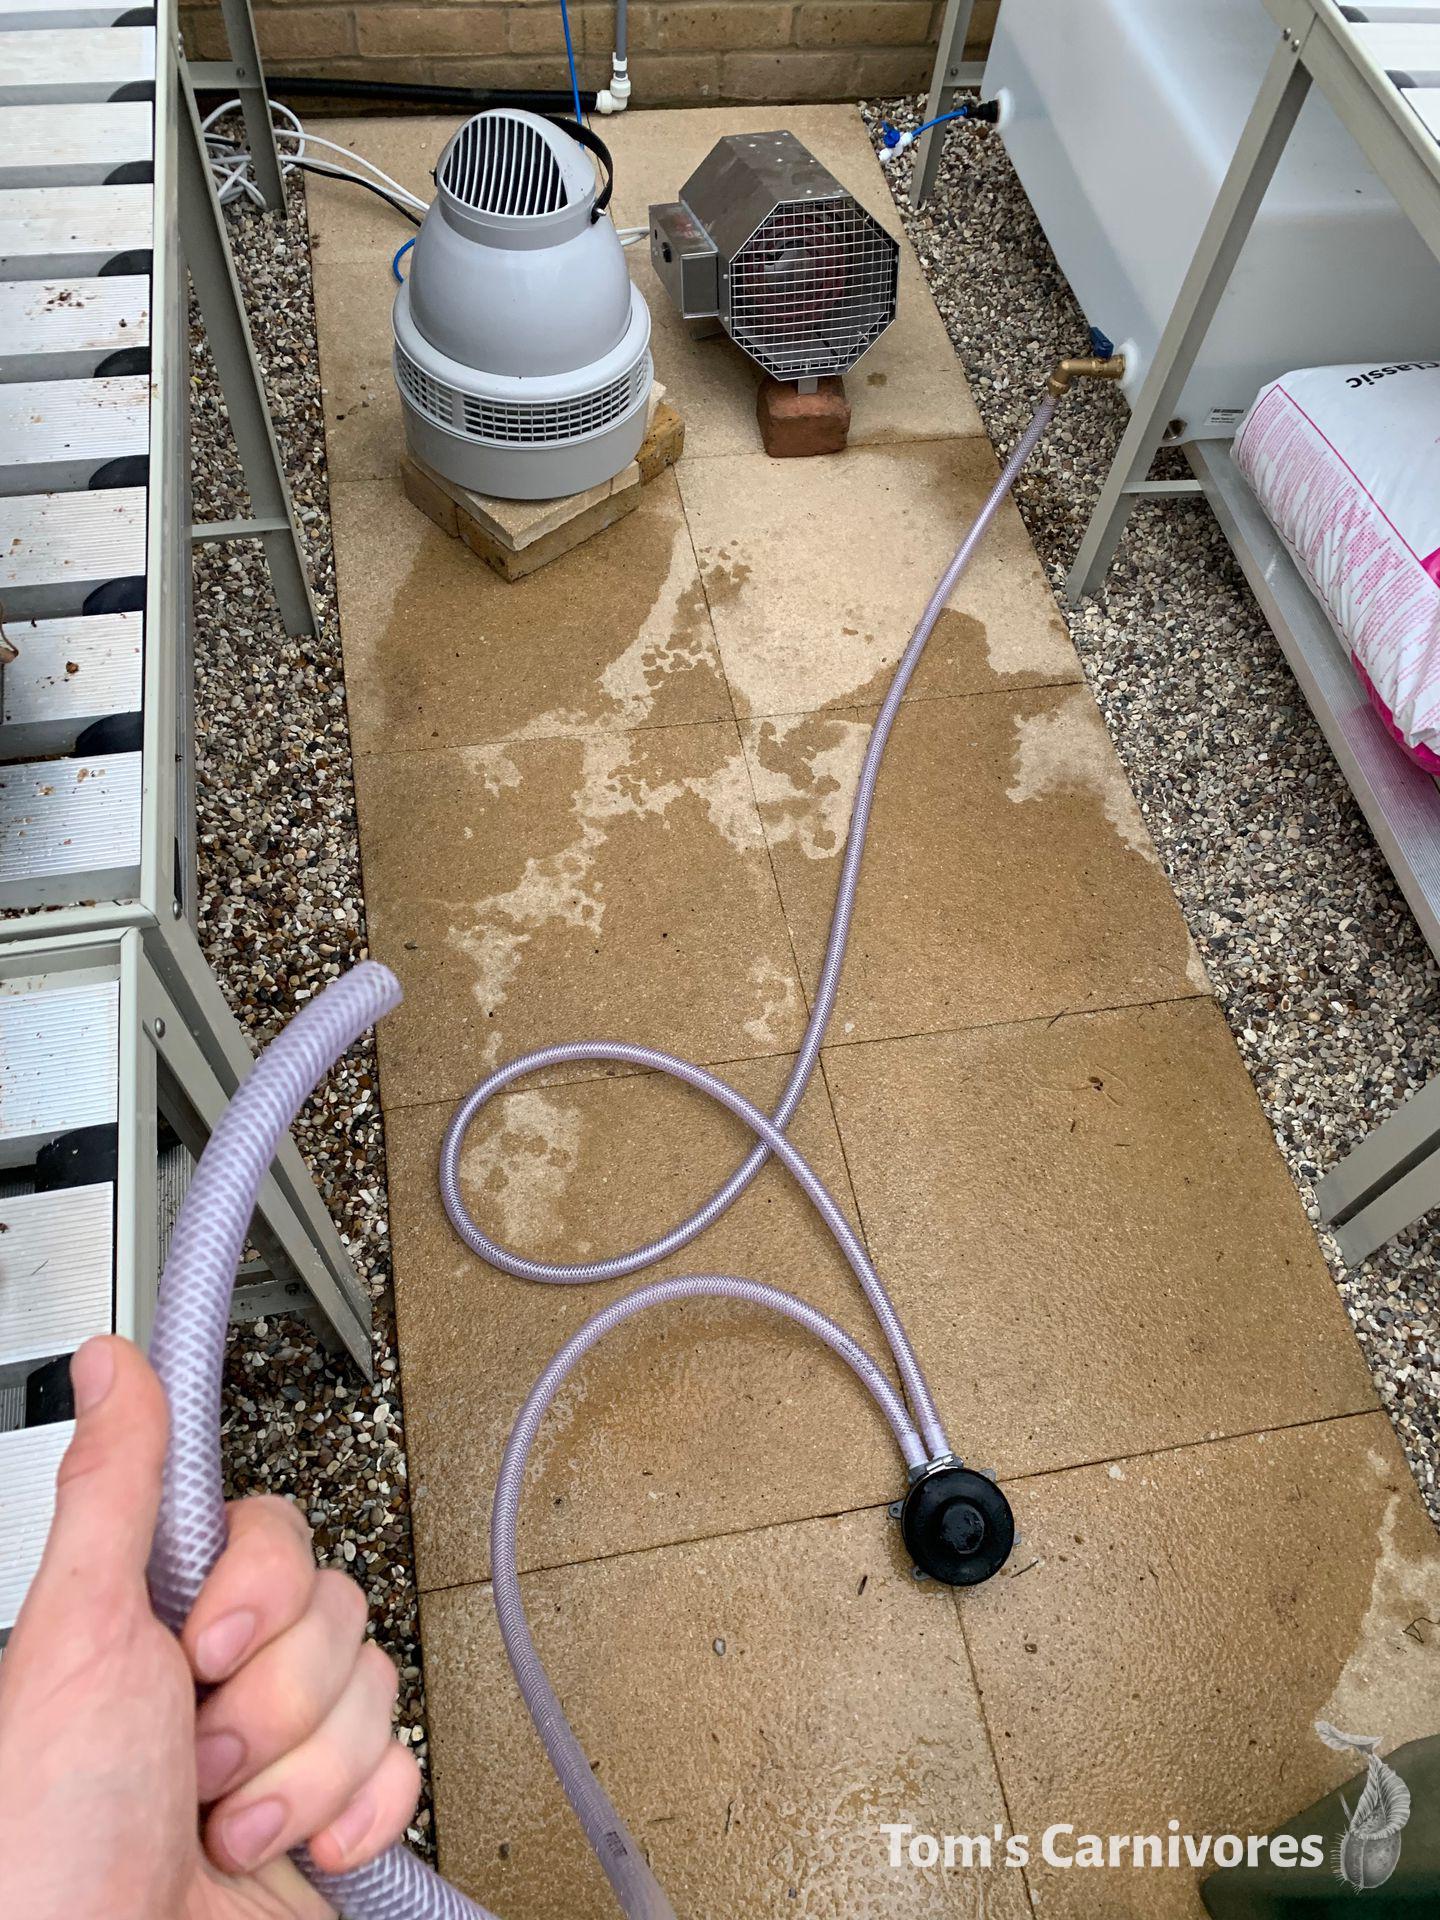
After lots of research I came across a tropical thermostat manufactured by British company Simply Control. Combined with their 3kW fan heater, this system can be set to target different temperatures at different times. In my case, the sensor is placed among the plants and the thermostat aims for a minimum of 12/13°C (54-55°F) at night. Throughout most of the year, the solar gain alone raises daytime temperatures, while in winter I have the option of configuring the thermostat to raise daytime temperatures using electricity alone. One thing I particularly like about this system is the way it doubles as a 24 / 7 circulation fan; when the temperature goes above either of my pre-configured thresholds, the heating element switches off but the fan keeps running. The whole setup - including thermostat and heater - runs off a single mains socket and was pre-wired for me by Simply Control.
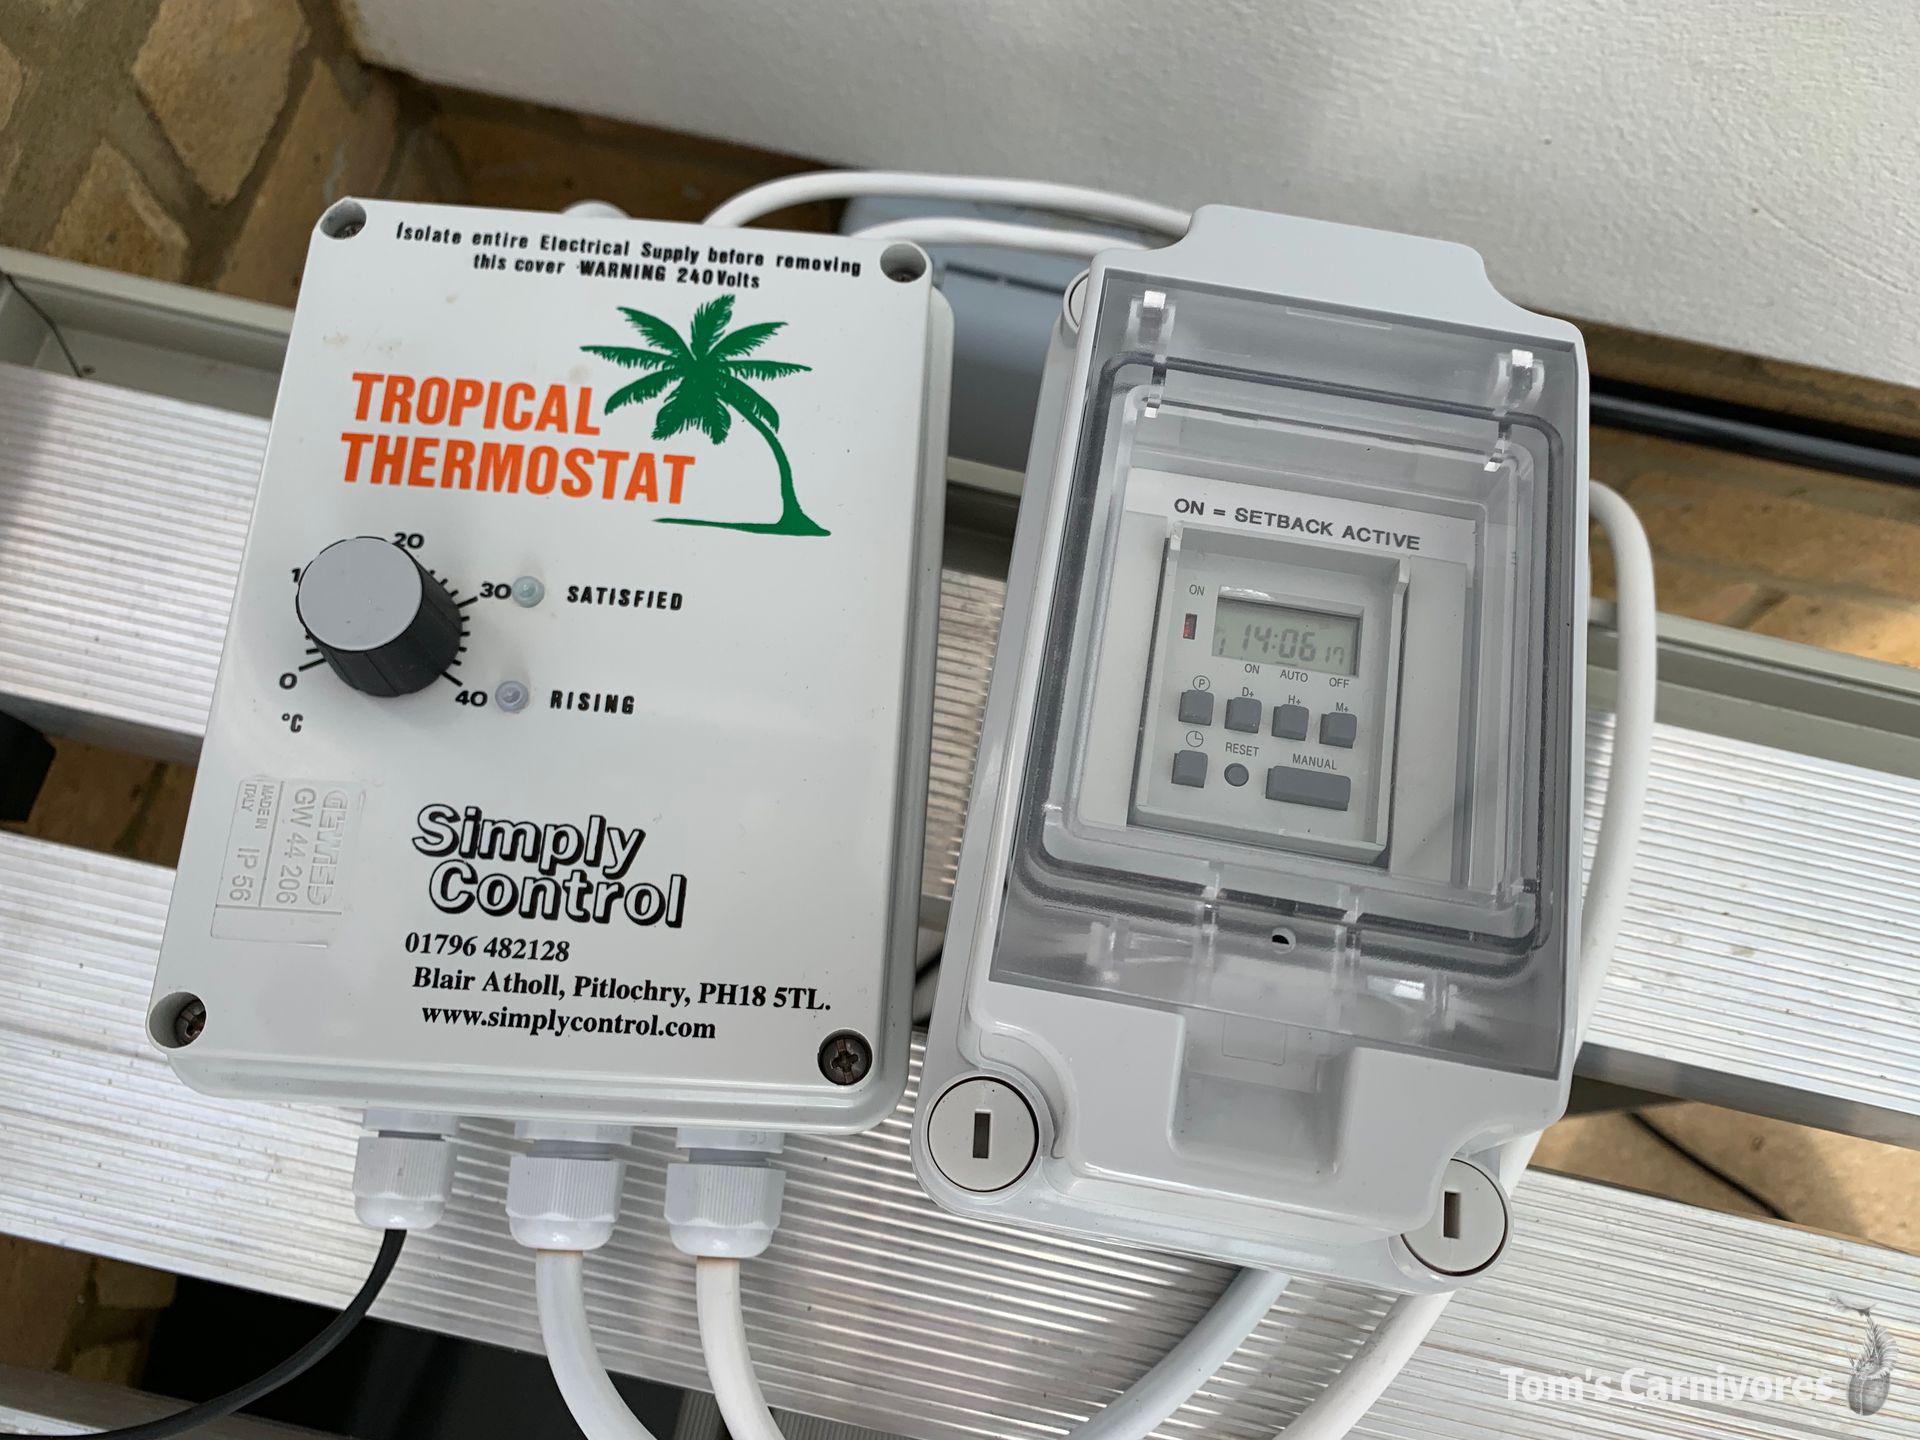 The tropical thermostat and timeclock. I intend to mount these to the wall in due course.
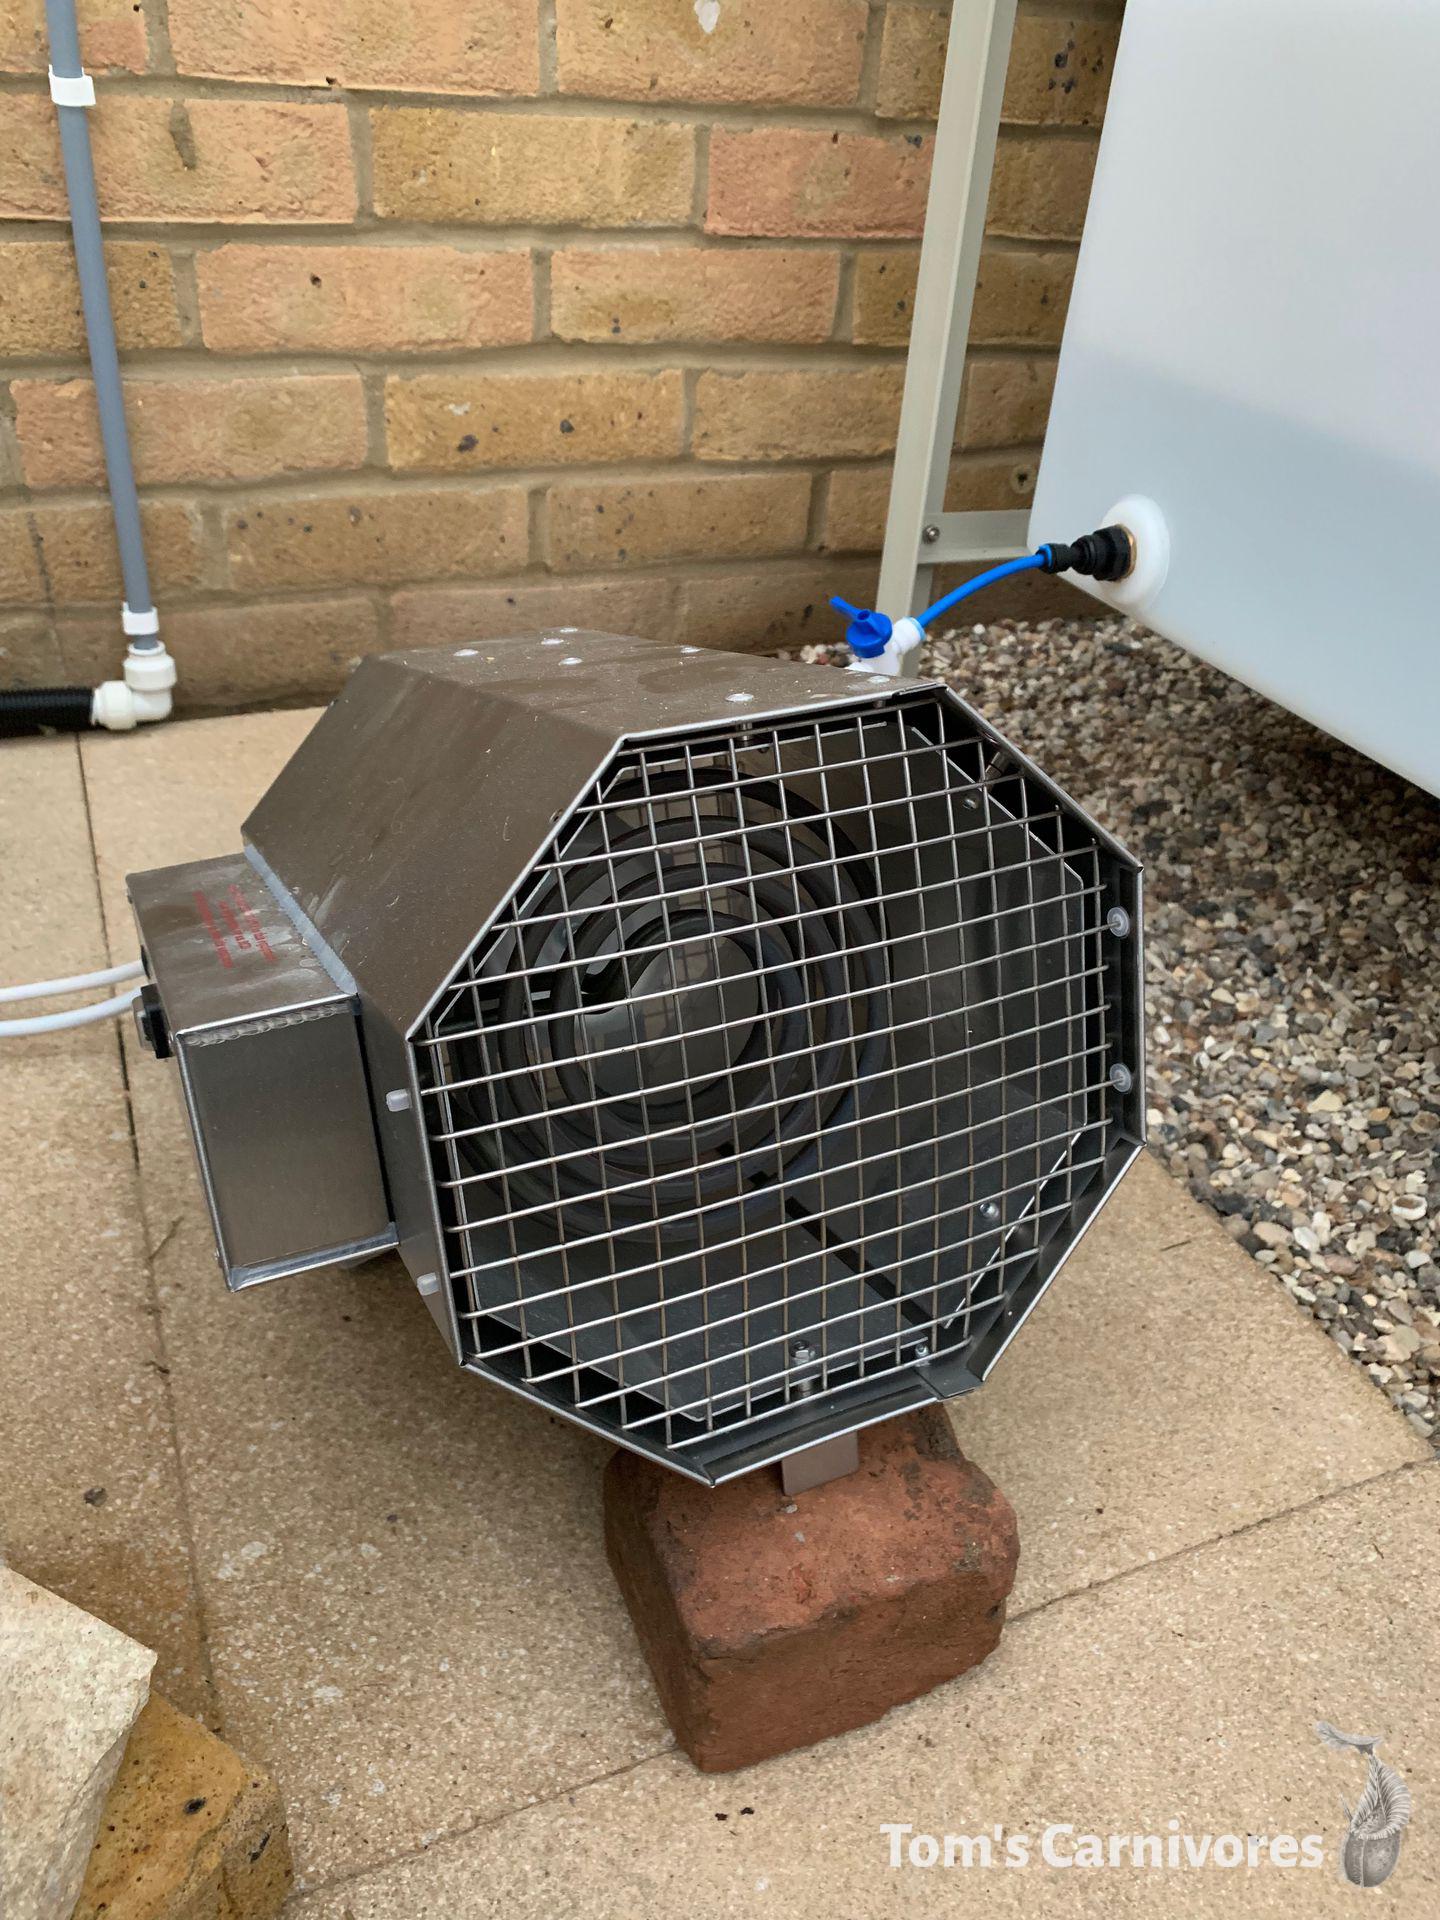 My 3kW electric fan heater.
Despite a bumpy start caused by the out-of-date user manual, the system itself has worked perfectly; even the recent 4°C (39°F) cold snap didn’t prove too challenging. The heater actually spent most of the night in circulation mode (i.e. not heating), activating occasionally to achieve an average of just over 13°C (55°F).
There’s still the possibility of power cuts and fuses tripping (neither of which has happened yet, touch wood). If either of these things occurred and the temperature or humidity were to fall outside of my preset thresholds, my remote monitoring system - which is completely separate from my thermostat and runs on batteries - would send a notification to my phone, wherever I am in the world. Obviously that’s bugger all good if I’m abroad in winter; knowing my Nepenthes are facing imminent death will do little more than ruin my holiday. As such, I’m currently looking into thermostatically-controlled propane heaters. Something that ignites without mains electricity at, say, 8°C (46°F) might be a good winter insurance policy, I think.
Cost: Good electric fan heaters designed for tropical greenhouses usually go for about £200 (Amazon). The Simply Control setup comes to £180 for the heater (Simply Control), and £165 for the tropical thermostat (Amazon / Simply Control).
6. Humidity
This one’s proven surprisingly easy - if you can afford it, get a hydrofogger! It’s a fantastic piece of kit that I can’t recommend highly enough. For those who haven’t used one before, it’s essentially a centrifuge; instead of vaporising water like a typical humidifier, it ‘atomizes’ it into tiny droplets and blows it out in fine, cool mist.
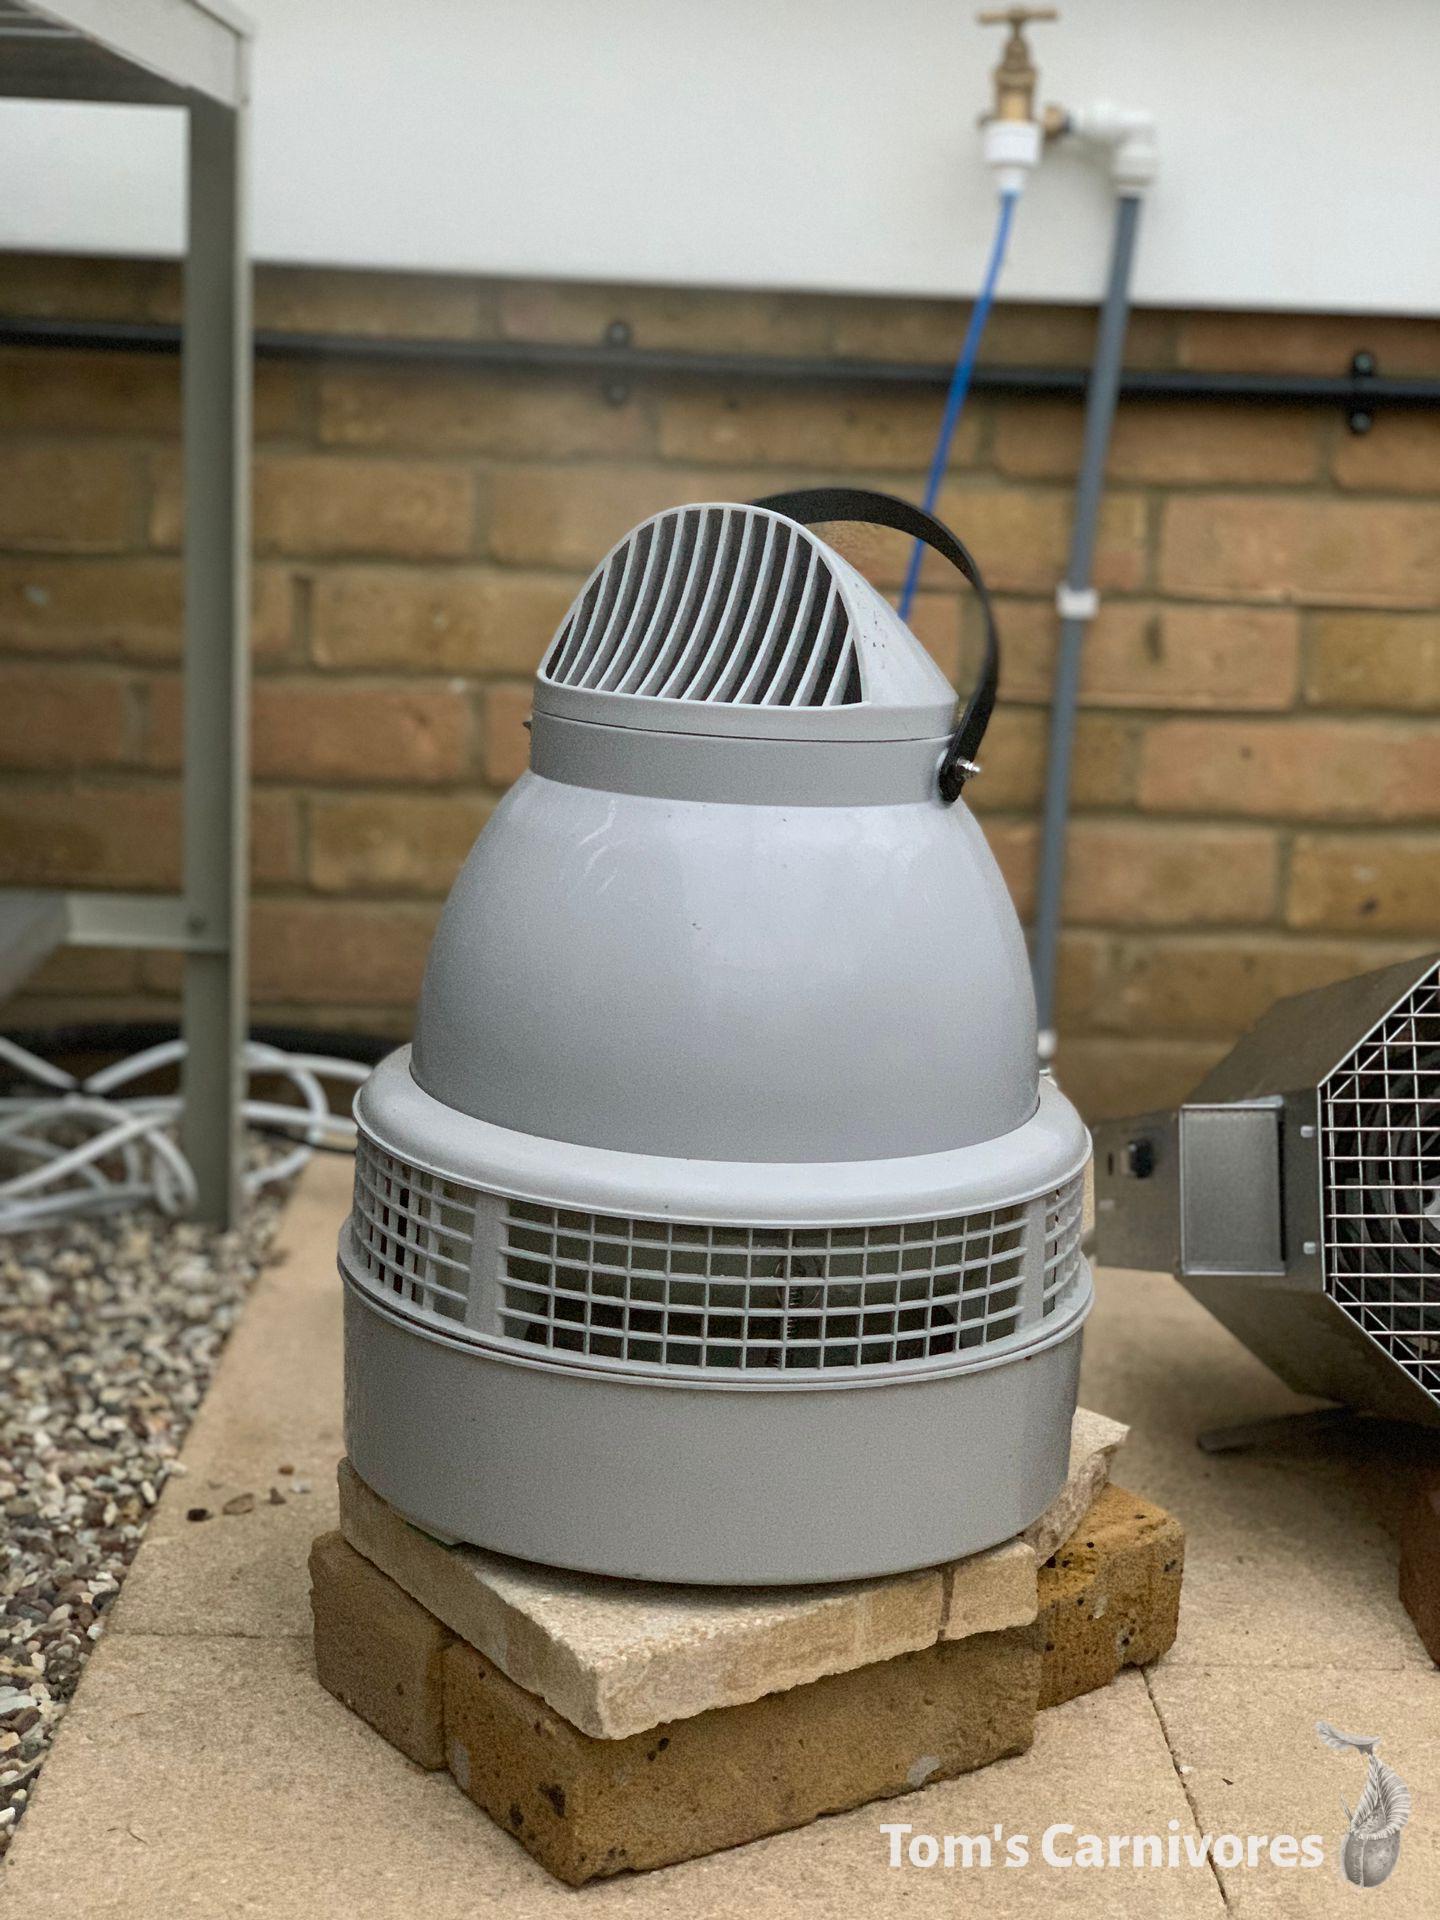
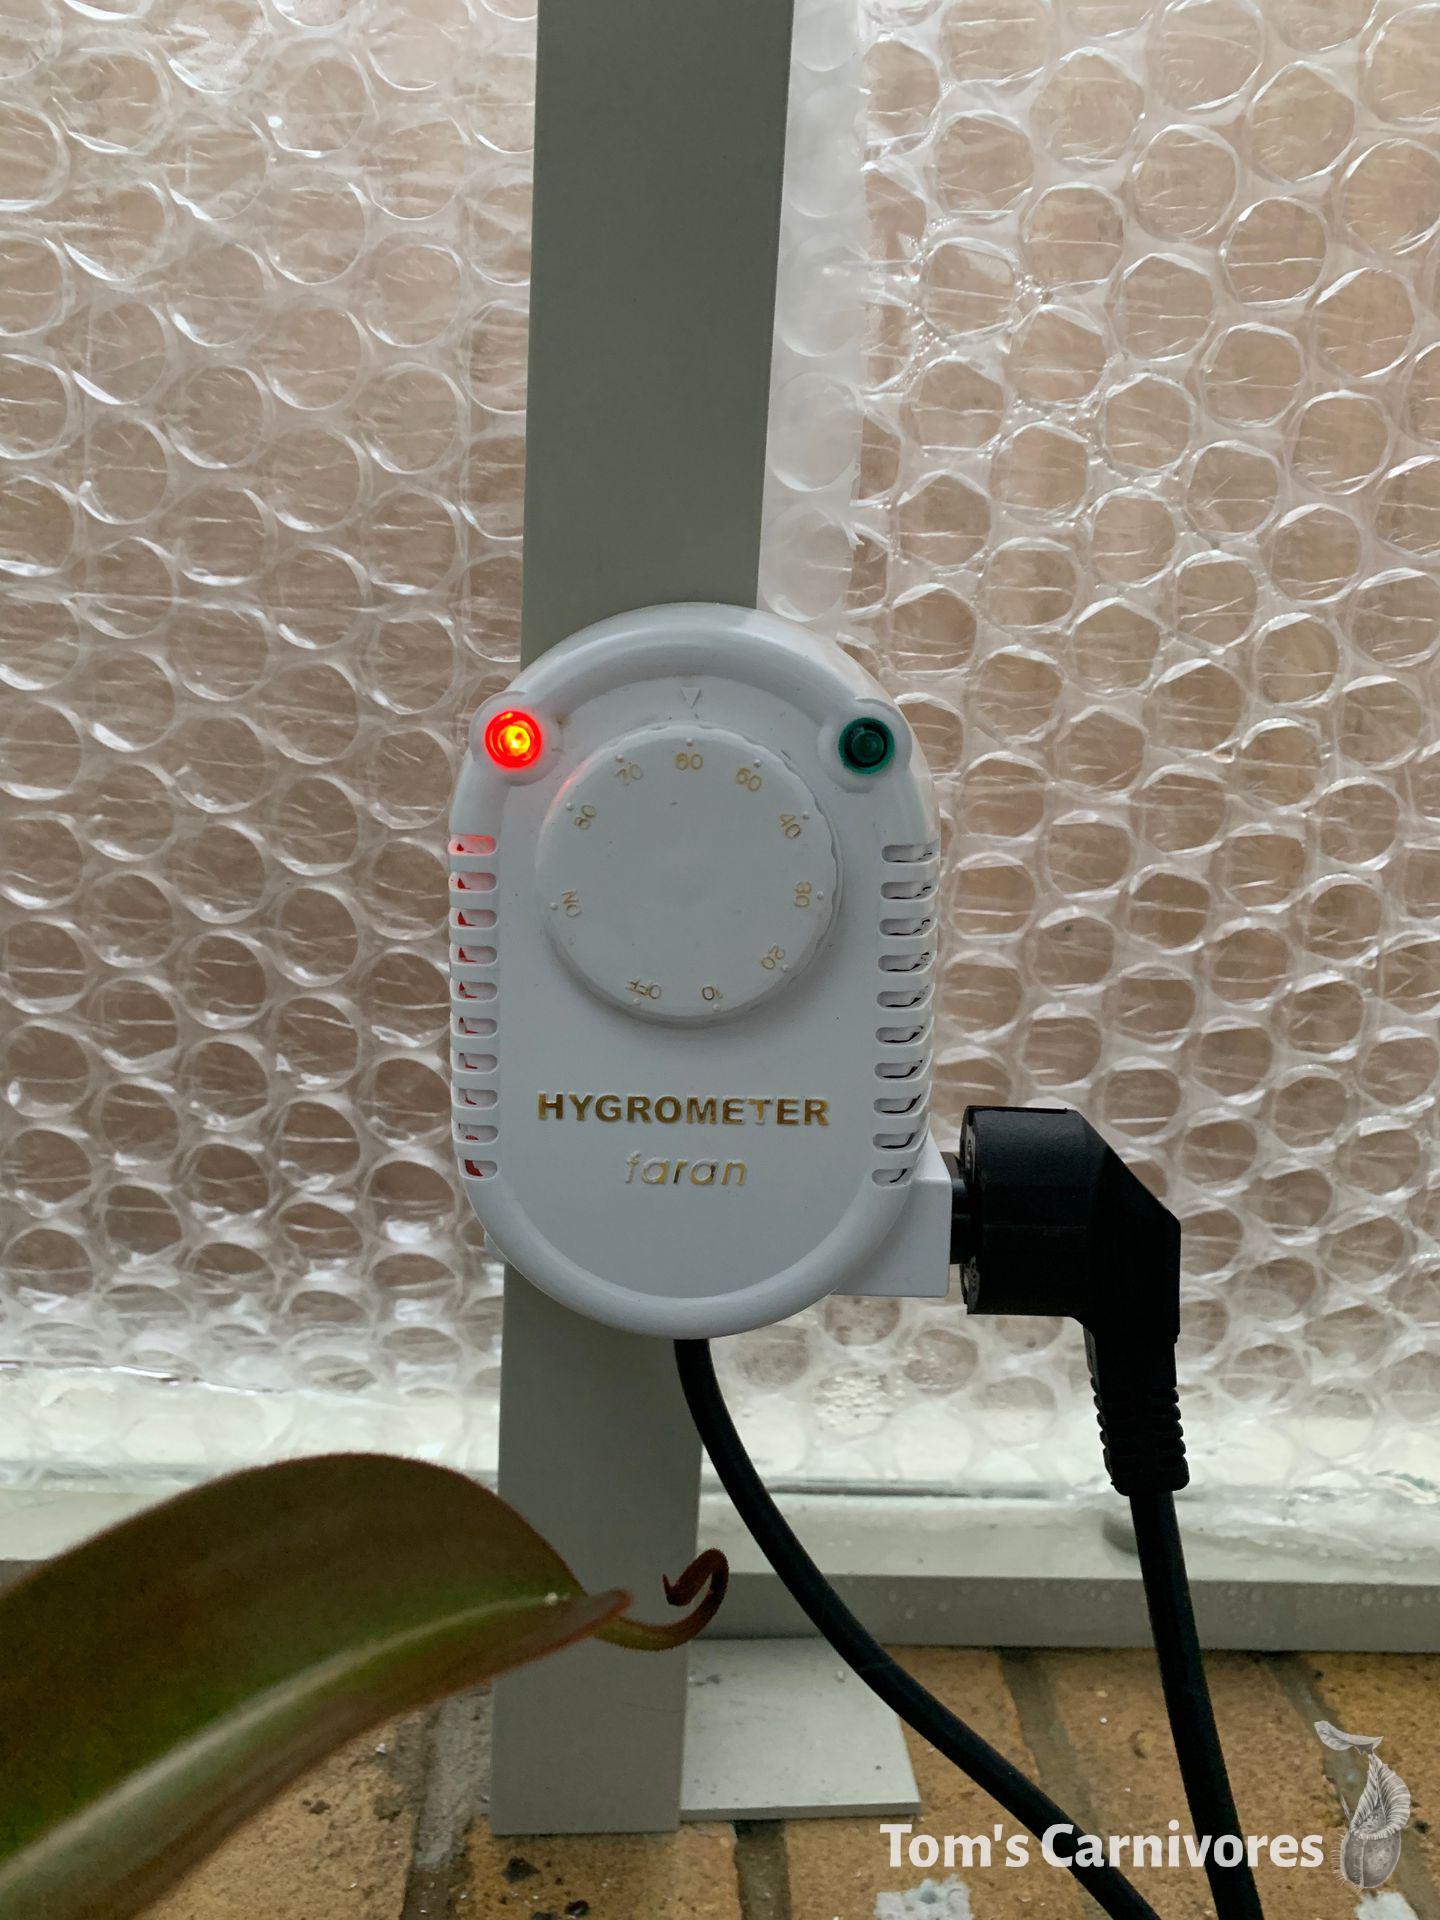
I’m using the smaller model, which converts 3 litres of water to fog per hour and provides humidity for up to 240 square feet, controlled by a humidistat targeting 60% RH. Come next summer, I might need to think about a separate automated misting system, but so far my fogger has managed to keep humidity high in all weather.
Note that the fogger requires a water supply fed via 1/4 inch tubing. It isn’t designed to be topped up manually. You can gravity-feed from a reservoir, connect a standard garden hose, or use an existing water pipe and saddle valve. I’ve opted for a gravity-fed system; more on that in the next section.
Cost: £325 for the small hydrofogger with humidistat (Simply Control / Official Website).
7. Water
This brings me onto my water setup. Until recently I collected rainwater for my temperate carnivores and purchased deionised water for my terrarium. I’ve never used rainwater in my terrarium, and many growers I’ve spoken to have remarked that their Nepenthes seem to grow better when given purified water. Perhaps this is due to all the mould and fungal spores which inevitably contaminate rainwater - I don’t know.
My tap water is very hard (300-350 ppm), making it unsuitable for watering carnivorous plants or for feeding my hydrofogger (which I’d rather didn’t end up resembling my kitchen kettle). I do have a water softener in my garage, but the water it puts out is correspondingly saline. This softened water is probably okay in the fogger - if anyone has tried this long-term, please let me know - but it’s definitely too salty for watering Nepenthes.
A reverse osmosis unit seemed to be the best solution. Pumping hard-as-nails tap water through an RO unit can wear out the membranes quite quickly, which is why I made sure to have a soft water supply plumbed to the greenhouse tap. This will hopefully preserve the life of my RO unit, since only sodium has to be filtered out. I bought a fairly basic 3-stage unit aimed at aquarium enthusiasts which brings my TDS down to about 5 ppm, and produce water in batches.
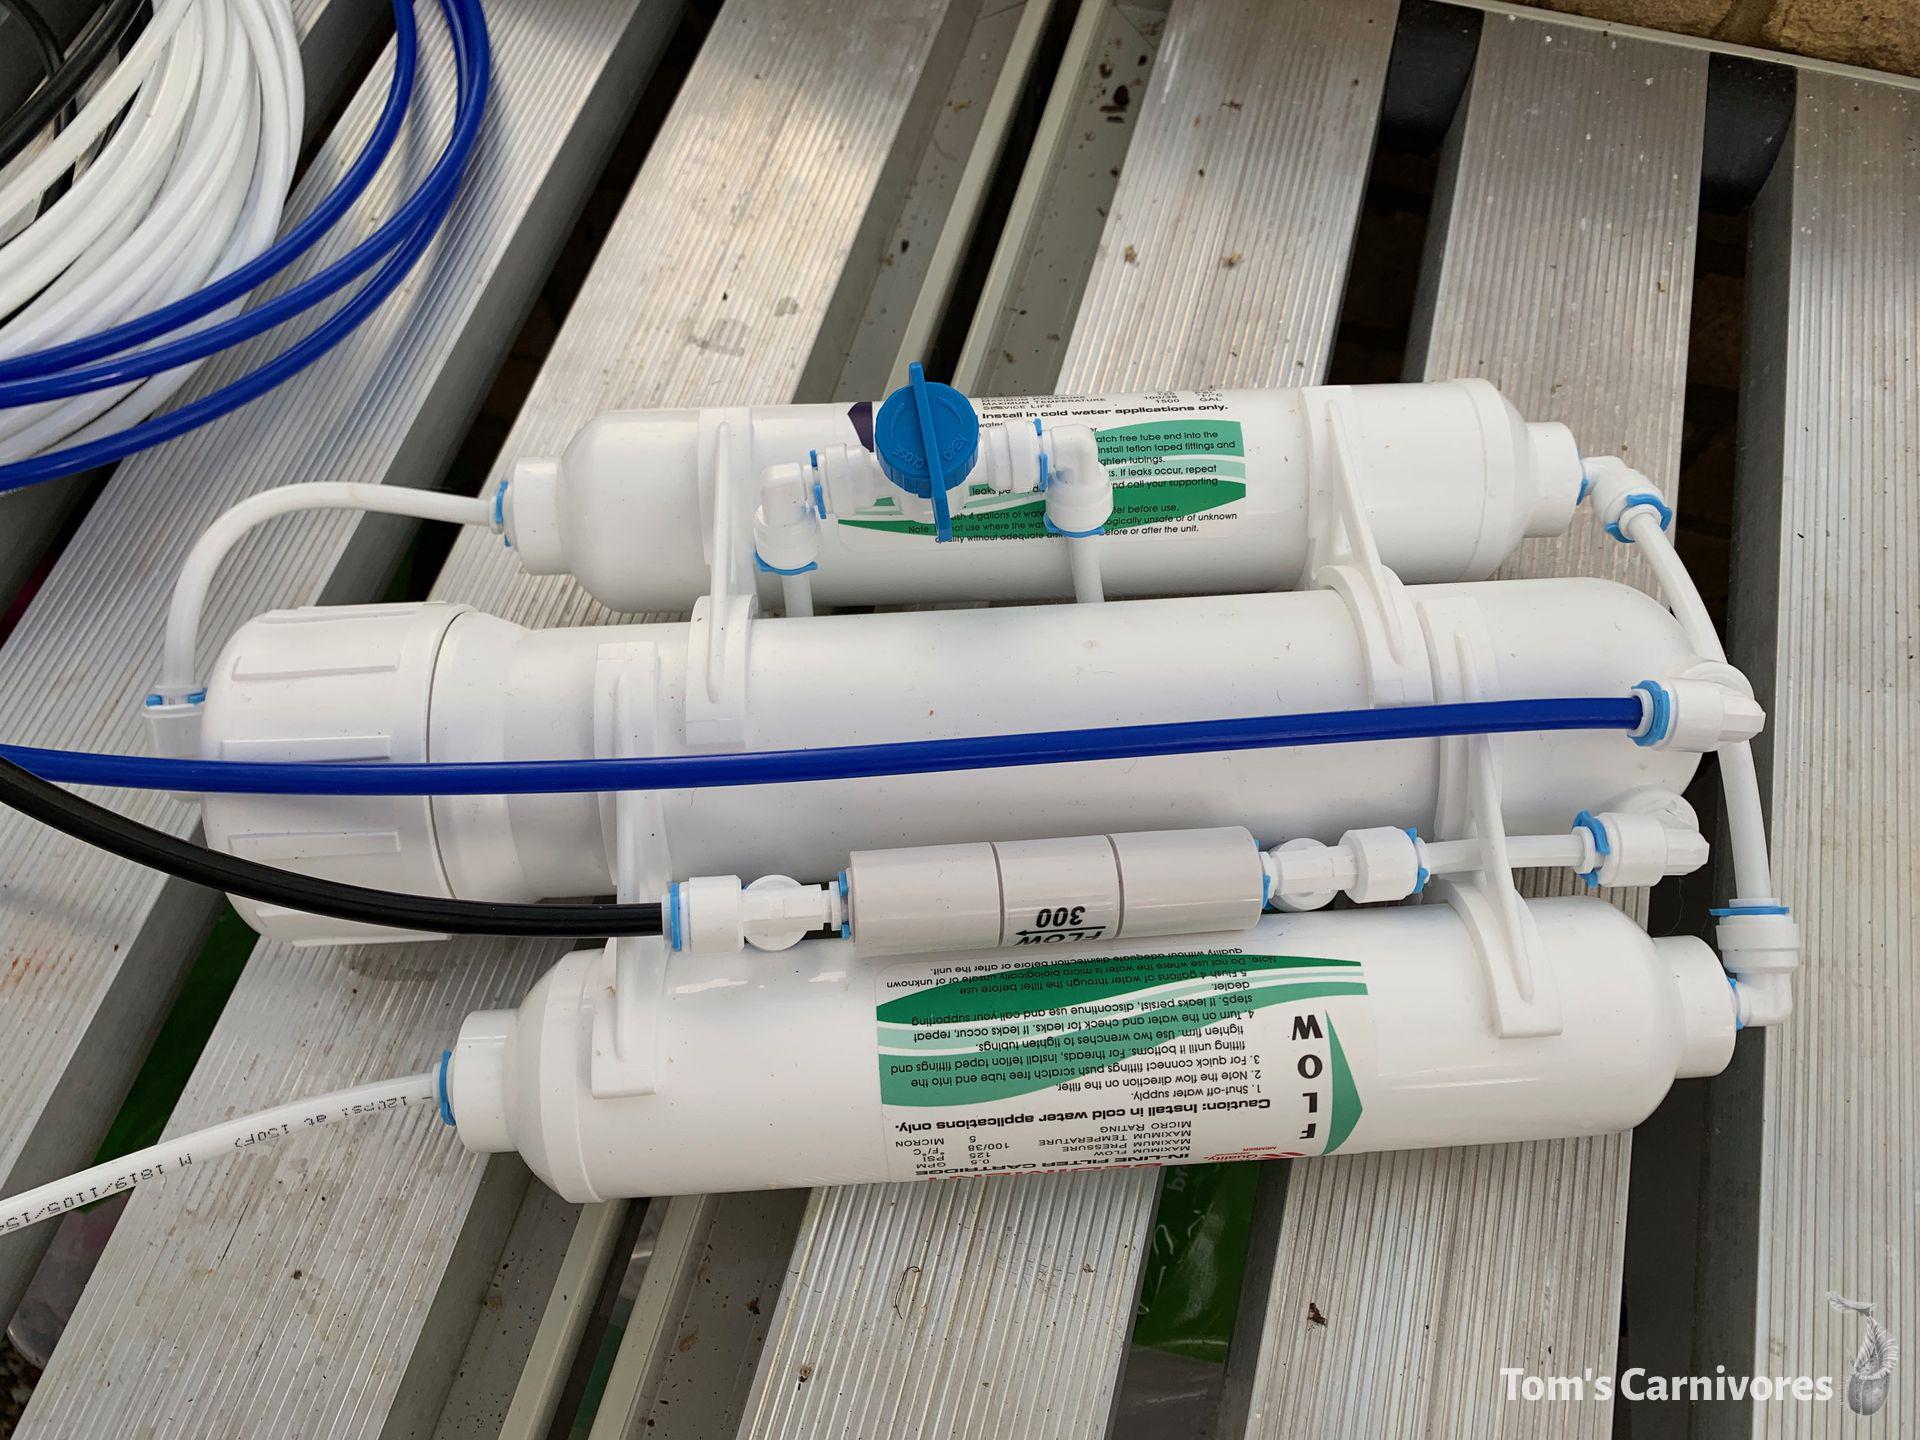 My three-stage reverse osmosis unit. This one comes with generous lengths of 1/4 inch tubing.
 My 100 litre (22 gallon) flat-bed tank for purified water has two BSP screw fittings, one of which I'm using with a foot pump so I can water using a hose.
To store my purified water, I managed to find a bargain on Facebook marketplace: a 100 litre (22 gallon) flat-bed tank with two standard BSP screw fittings. This sits on the lowest level of my two-tier staging. One of the outlets is currently hooked up to 1/4 inch tubing which can feed my fogger, and the other is fitted with a standard garden tap. I originally used this to fill a can for watering, but recently hooked up a simple foot pump system so I can water with a hose. This actually works surprisingly well. Soon I’ll upgrade to a submersible pump in my water tank, so I have a powered supply.
Cost: £6 for a TDS reader (Amazon). £40 for the basic RO system (Amazon). £28 for the foot pump (Amazon). Probably about £80 for a built-to-spec 100 litre tank with multiple outlets, but see what you can find on eBay or Facebook marketplace.
8. Lighting
I’ve heard a mixture of opinions on this - some growers swear by supplementing the short winter days with artificial light in the evenings. Others grow under 100% natural light, remarking that the slowdown in growth caused by the shorter photo-period didn’t justify the expense.
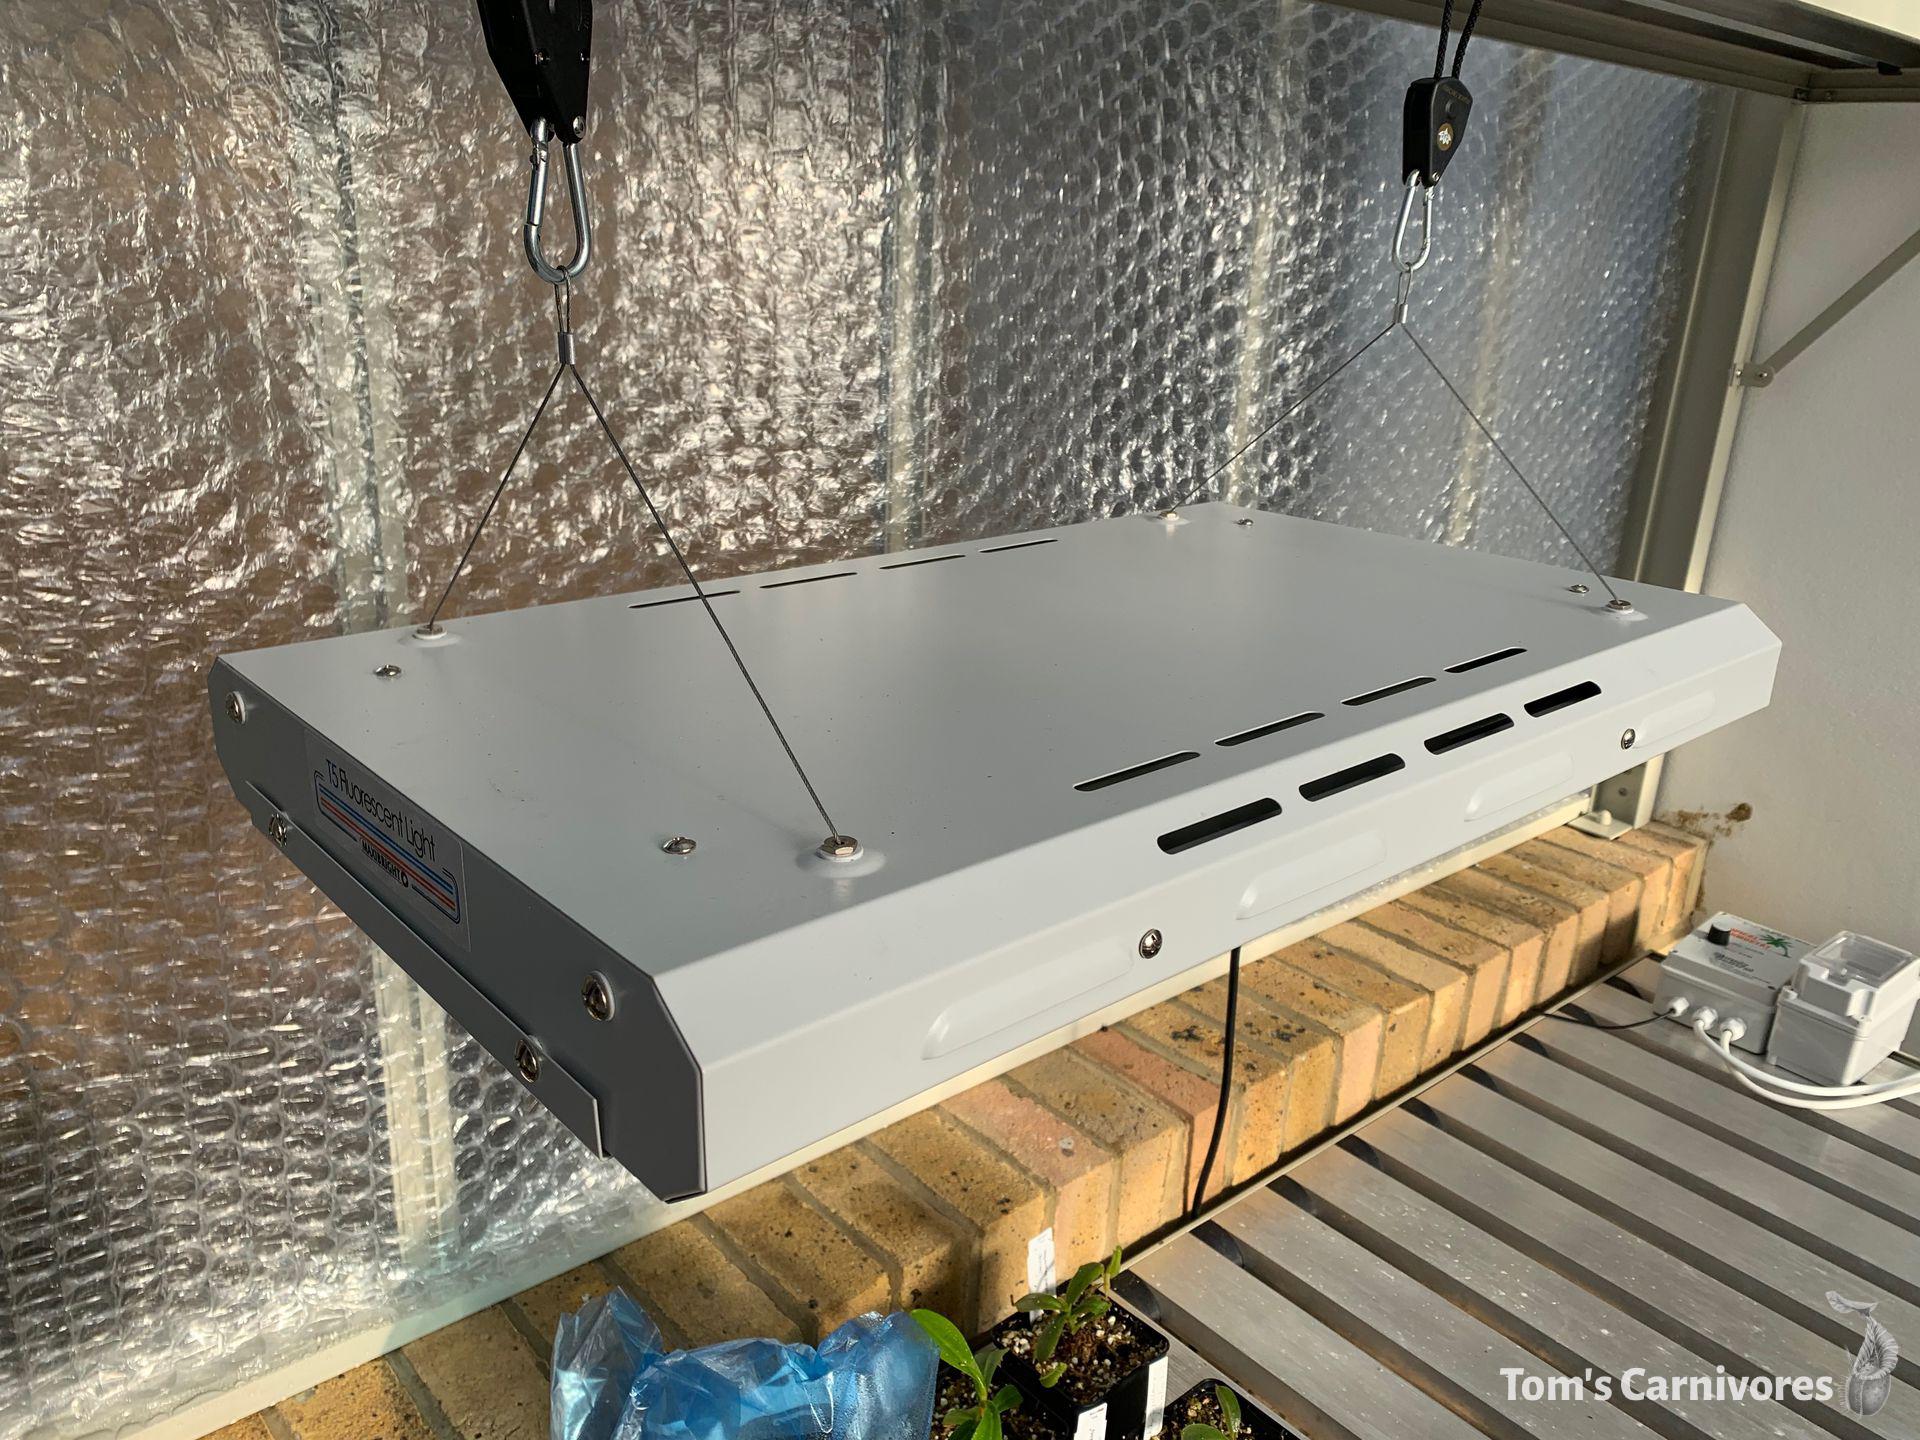 My old T5 light, temporarily suspended over the bench with ratchet hangers.
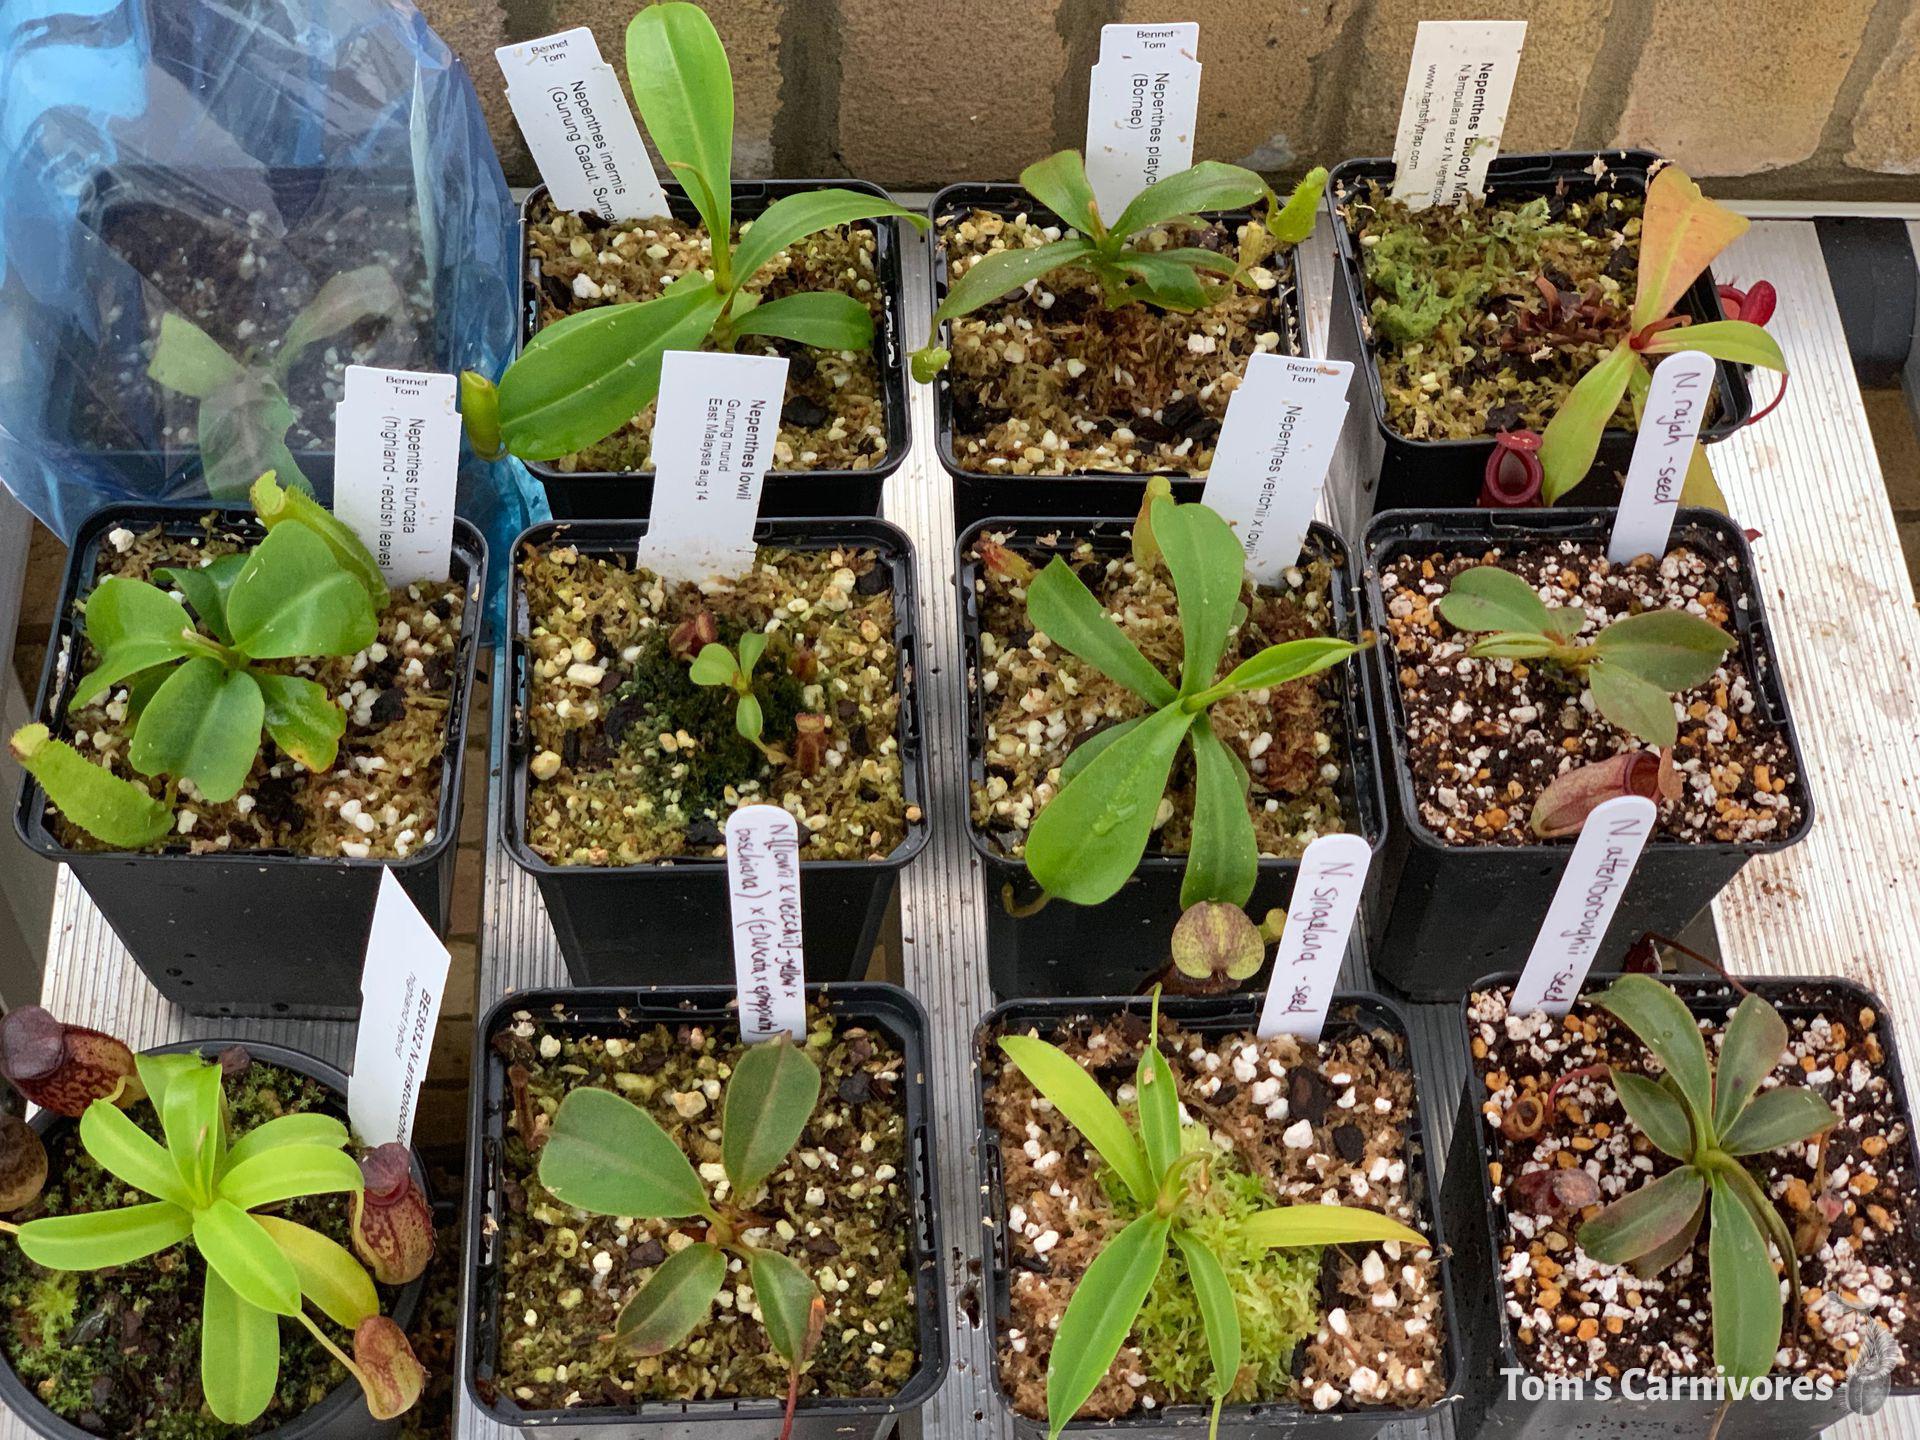 Some of my young plants that I'll be giving extra light over winter.
I’d like to try using LED grow lights, but the cost (and quality, I expect) seems to vary wildly. I’d love to hear from CP growers who have experience with these products. As an interim solution, I’ve temporarily repurposed my old T5 unit; it’s now suspended from the structure over my smallest plants using a ratchet hanger and runs on a timer. At some point soon I’ll probably sell the T5 and make the transition over to LEDs.
Cost: My four-bulb 60cm (2ft) T5 unit originally cost me about £90 (Amazon). The cost of LEDs - particularly specialist grow lights - is highly variable.
9. Monitoring
I’m monitoring conditions with a unit called SensorPush. This battery-powered Bluetooth sensor logs the temperature and humidity once every minute and then pushes this data to the internet using a dedicated WiFi gateway. The SensorPush app (available on both Android and iPhone) then visualises this data with helpful charts, letting you view the minimum and maximum over periods of up to a year. I’ve written a full review of the SensorPush unit on my blog, which greenhouse growers may find useful.
The best feature is the ability to configure alerts. If the temperature or humidity fall outside of my chosen thresholds, I’ll immediately get a notification on my phone, wherever I am in the world. My ’normal’ range is set to anything over 60% humidity with temperatures of 12°C - 31°C (54°F - 88°F). This is a few degrees out from both my nighttime heating threshold and when my vents open.
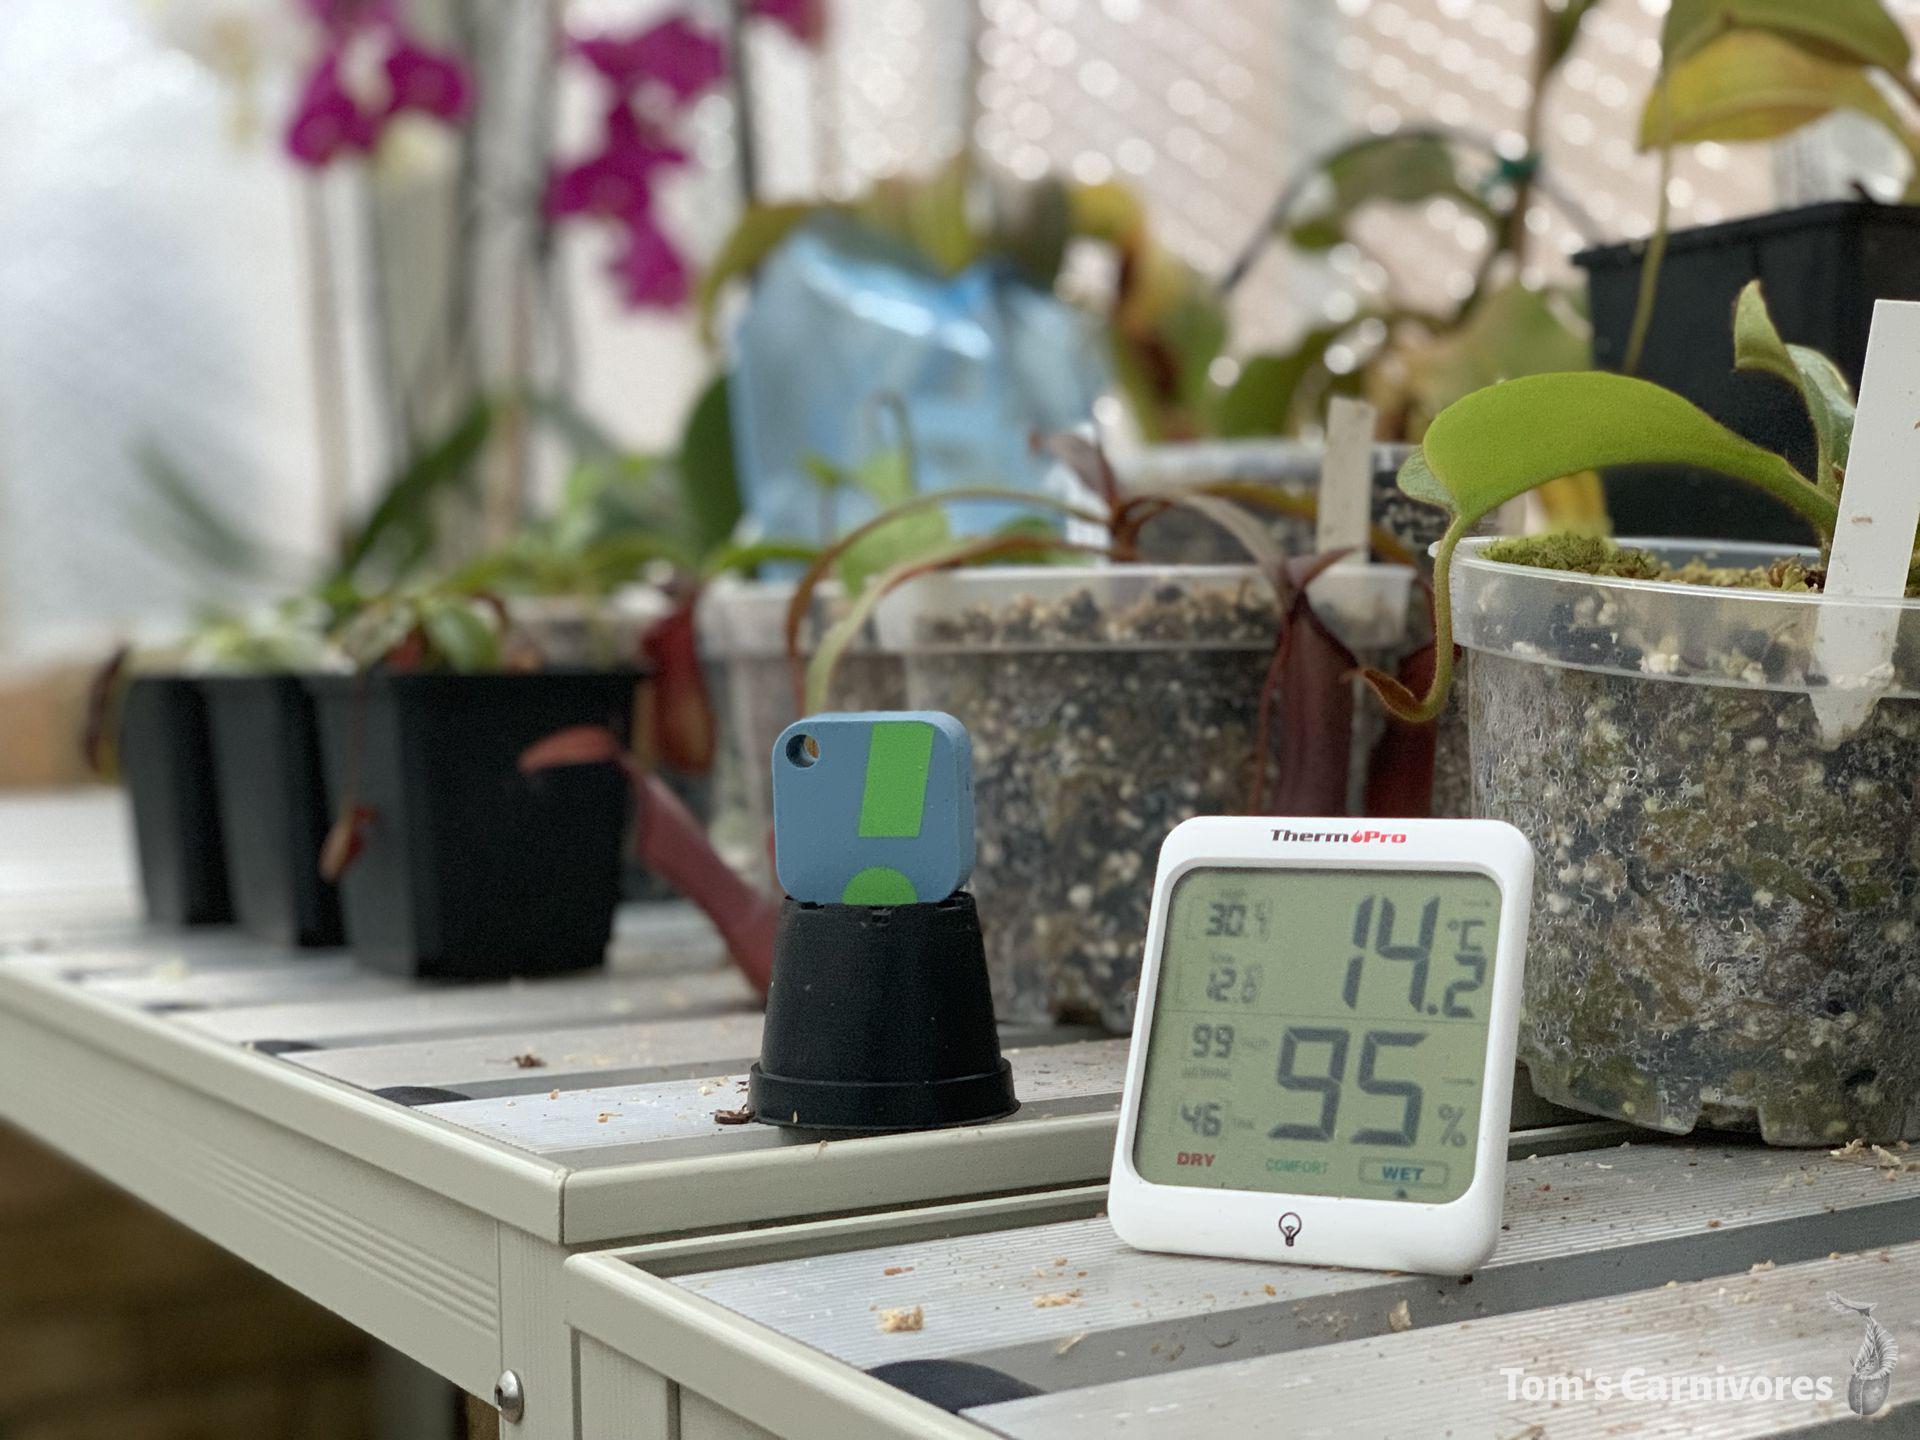 The SensorPush bluetooth sensor, and my separate digital thermometer and hygrostat.
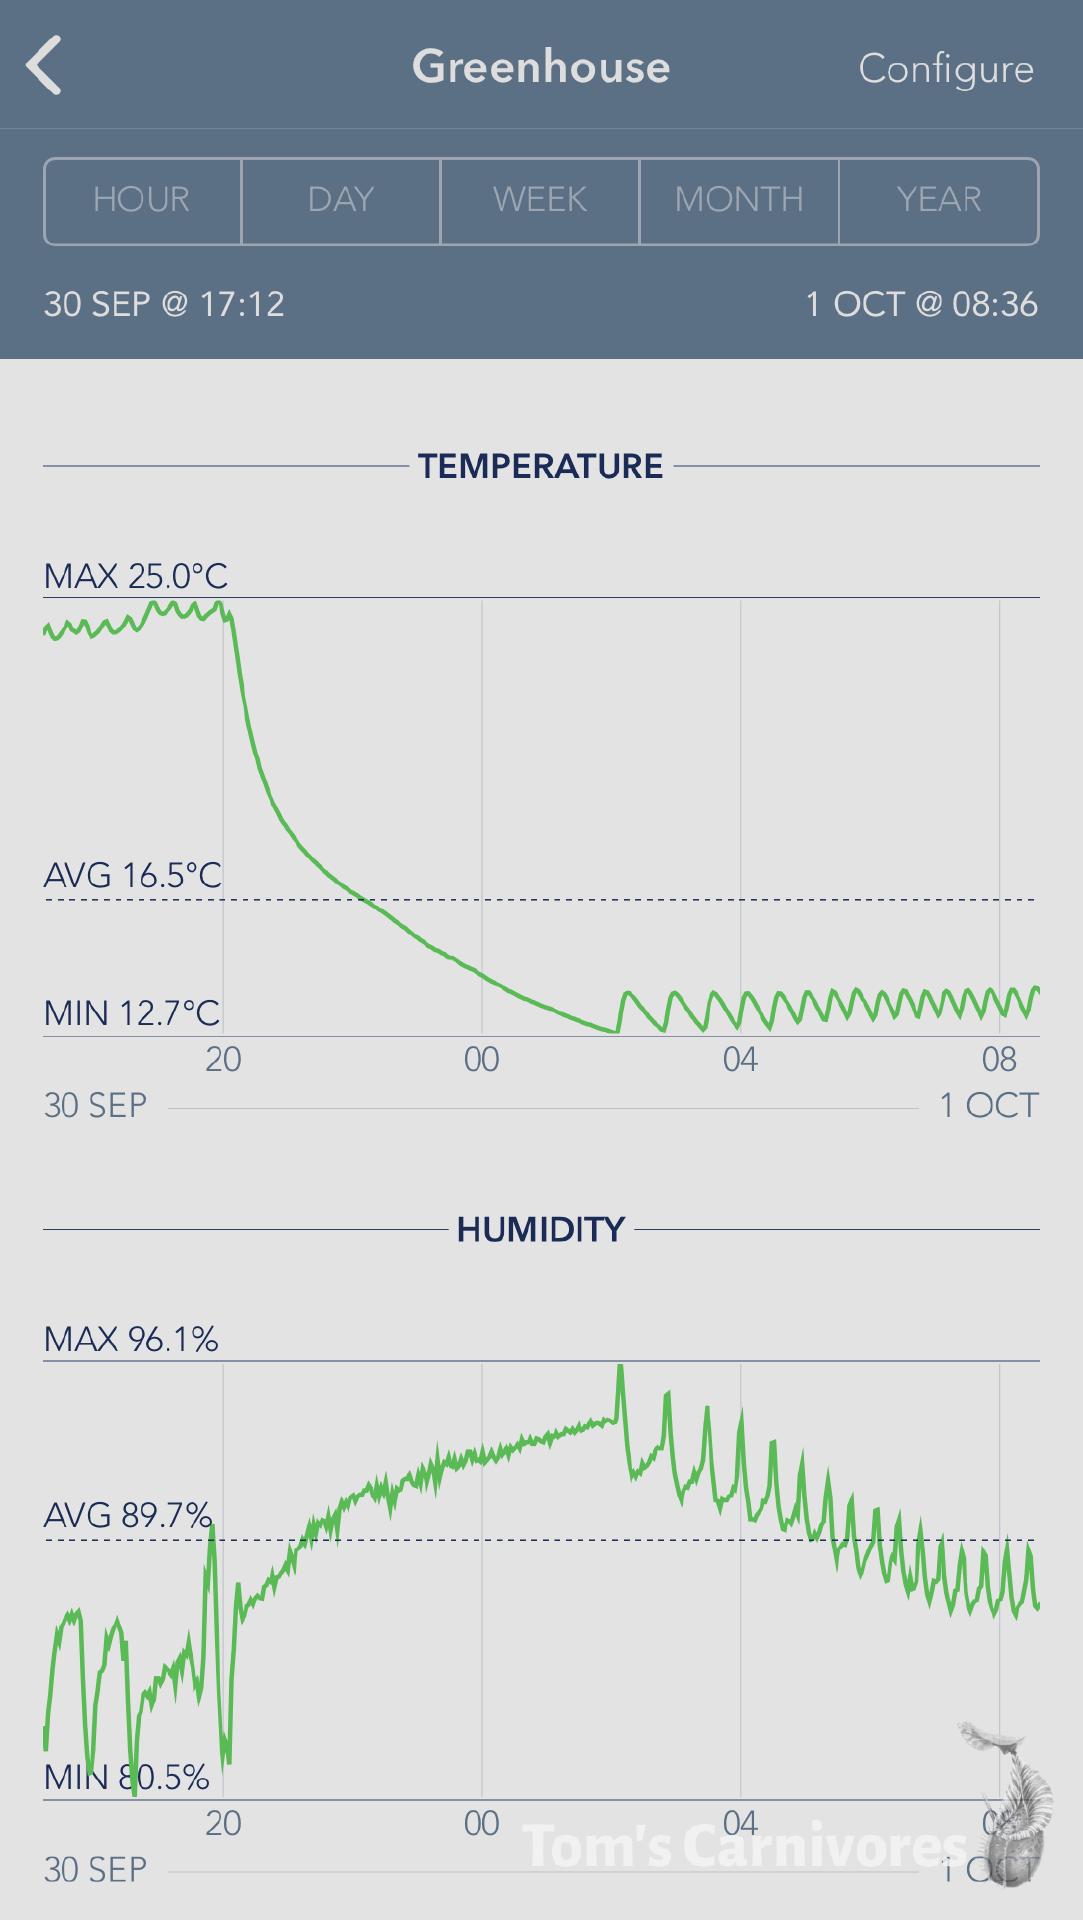 Sensorpush chart showing conditions on a 4°C night - the average in the greenhouse was around 13.5°C.
Being able to view this data in real-time during different weather conditions has been invaluable; I’ve been able to optimise my setup and observe the effects of introducing new equipment to the system (e.g. the lighting unit, the circulation fan, etc). I also have a normal digital thermometer and hygrostat with a backlight - this has been useful for monitoring conditions in different areas of the greenhouse, such as under the staging.
Cost: £50 for the SensorPush (Amazon), £100 for the gateway (Amazon), £10 for the digital thermometer (Amazon).
10. Summary & Shout Outs
There’s still things to do, but what I’m most excited about right now is simply expanding my collection. For the first time in my life, I actually have an excess of growing space. Not only does this mean I can lay off the pruning shears when my Nepenthes start trying to vine, it also means I’m able to hunt down species and hybrids I’ve wanted to try for years but previously lacked sufficient space or appropriate conditions to grow. It also opens the door to genera I’ve never tried before, such as Heliamphora.
 My potting bench. The seat is actually a storage container, providing a convenient place for sphagnum moss, orchid bark, and so on.
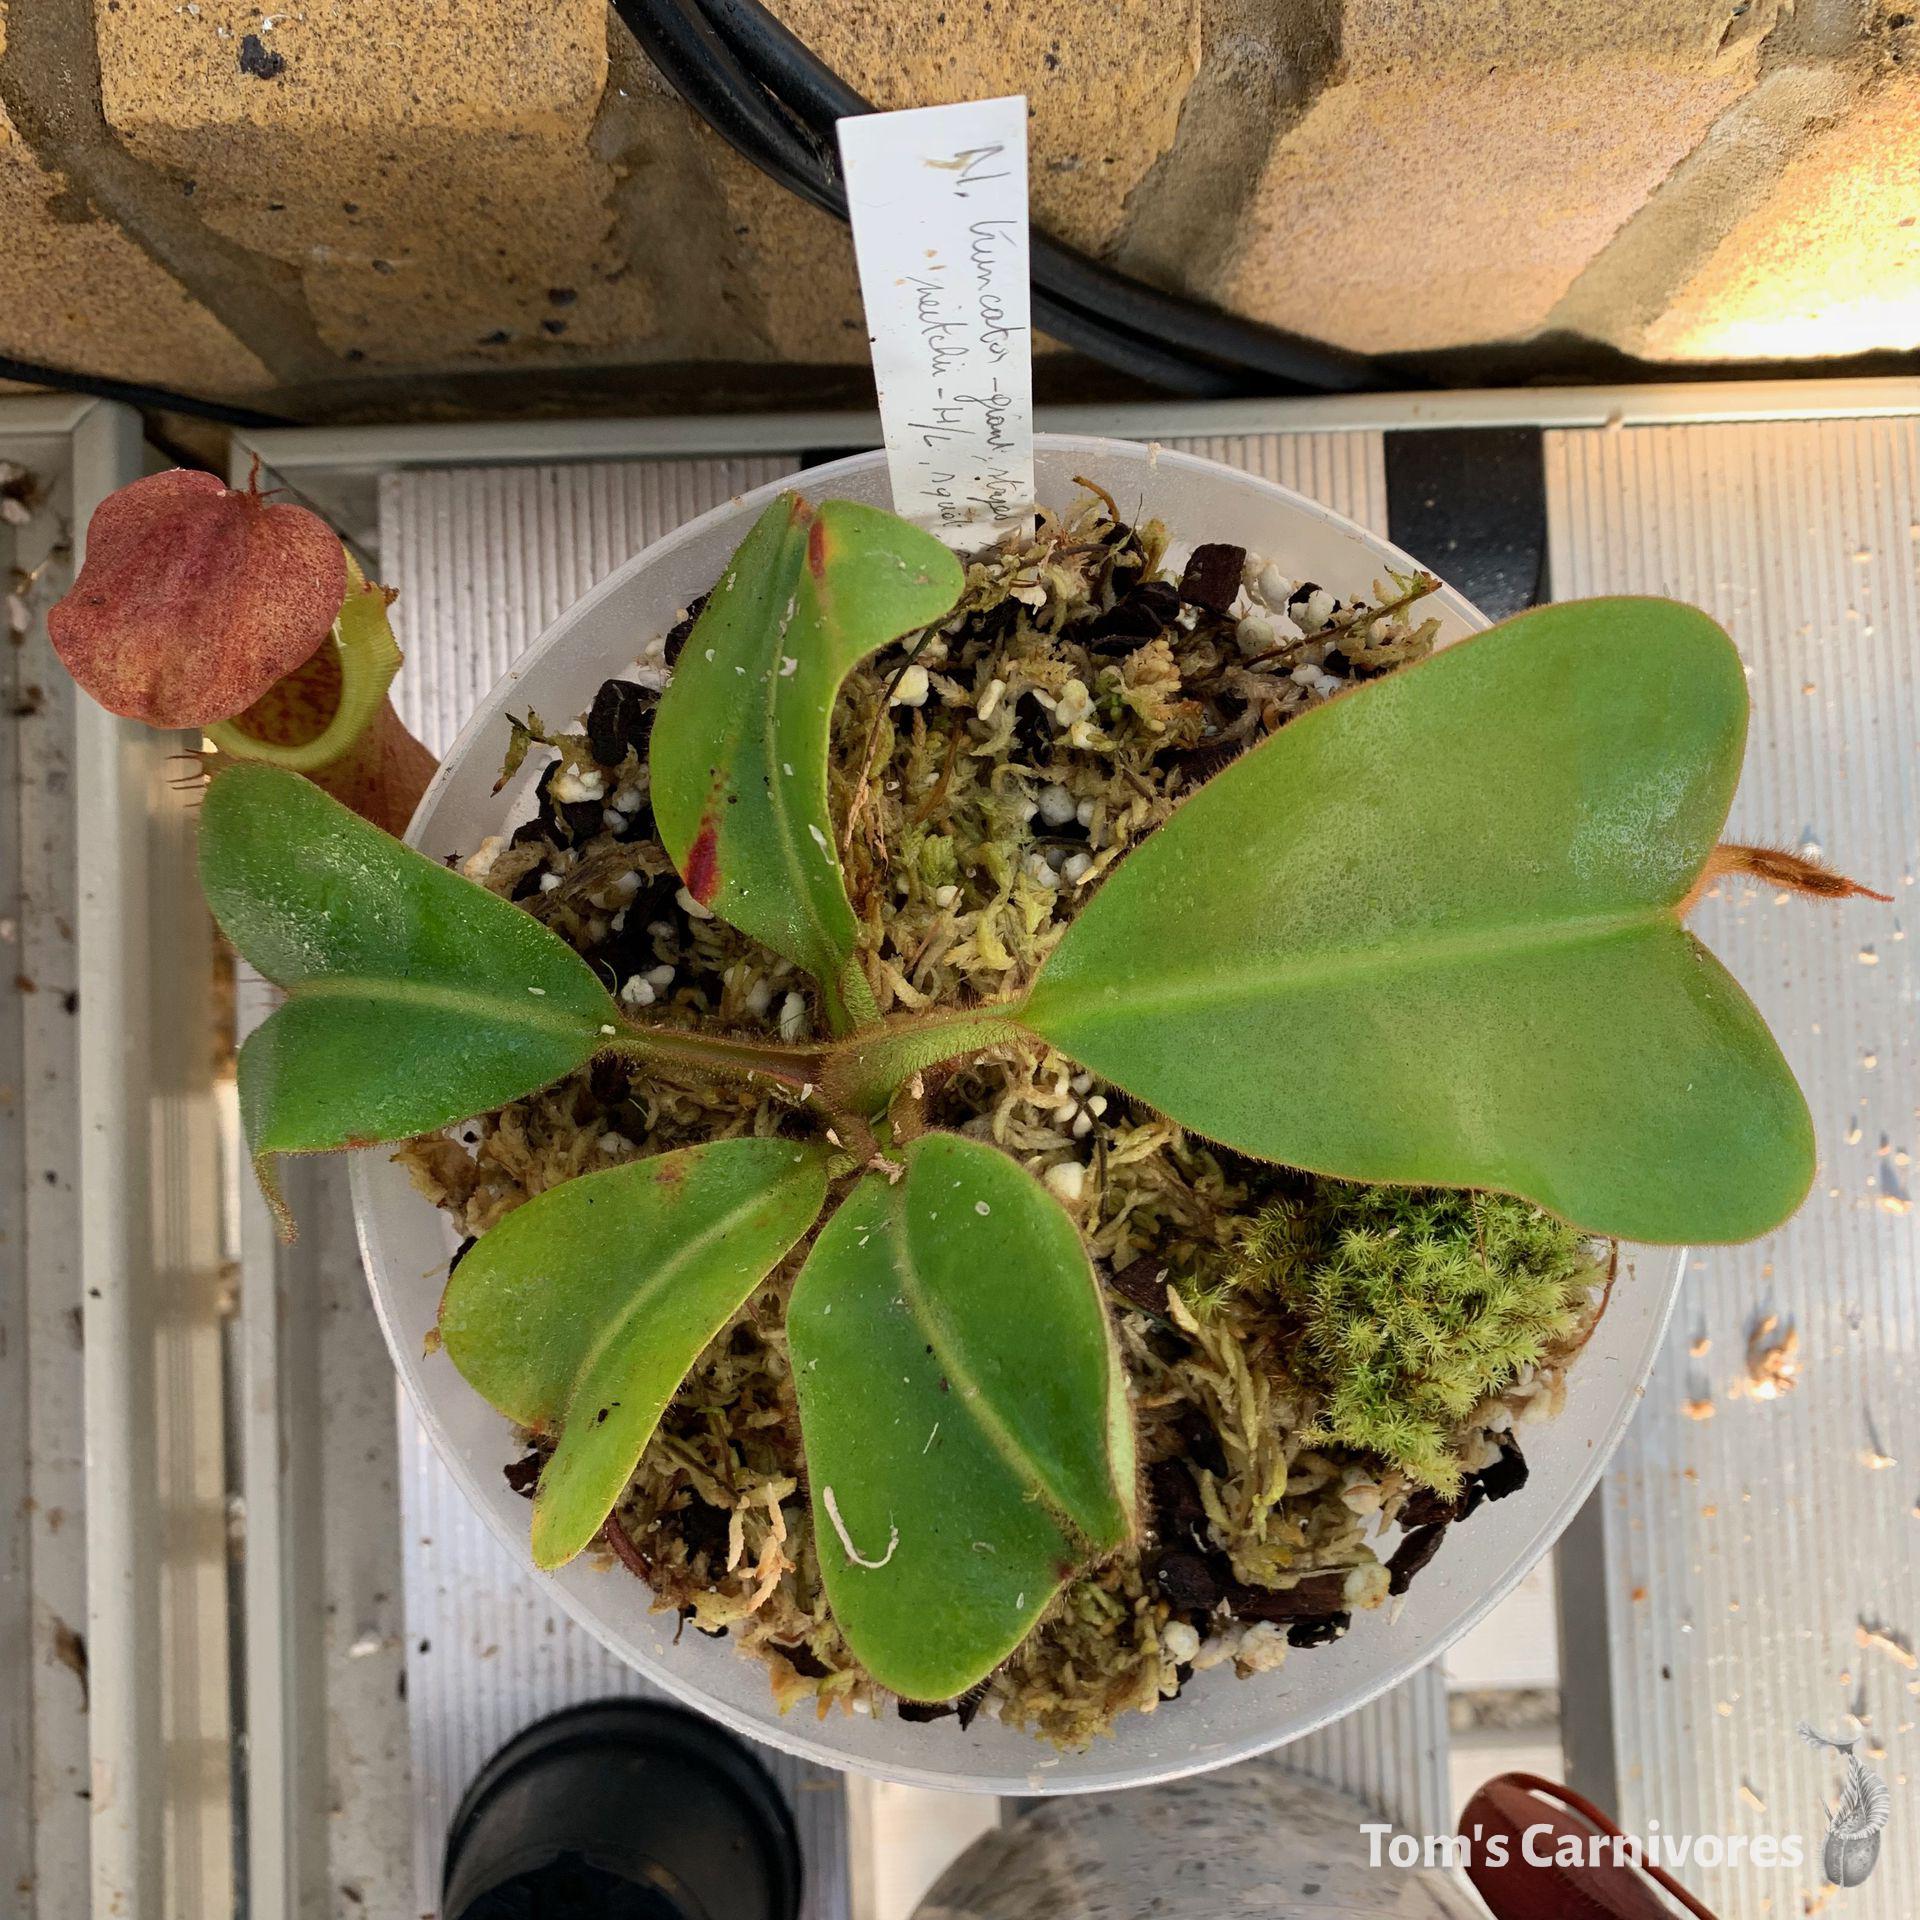
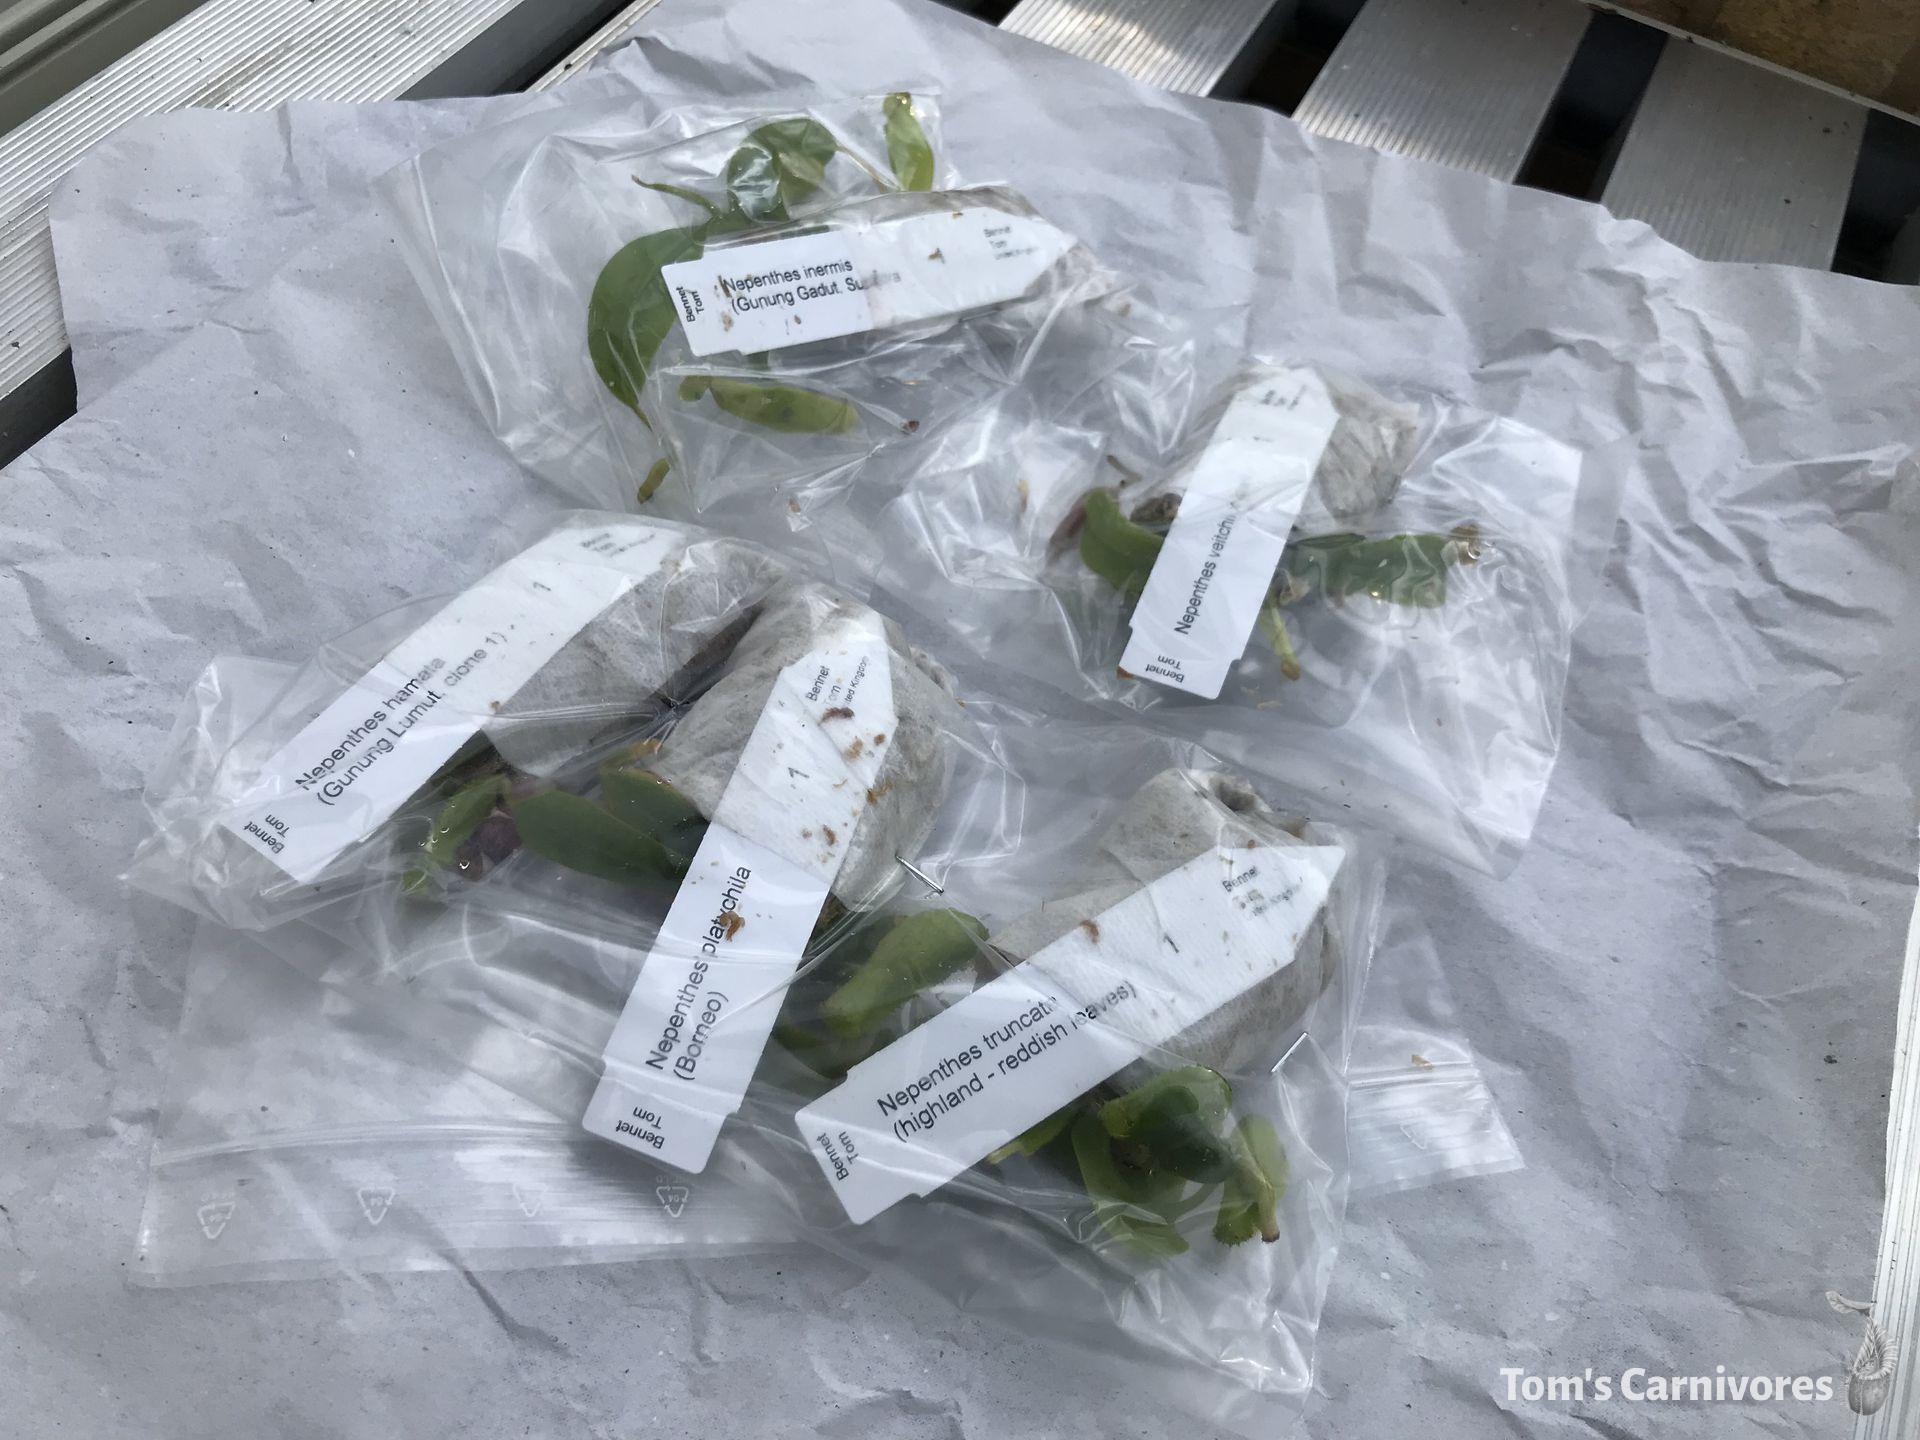 My recent Wistuba order, waiting to be potted up.
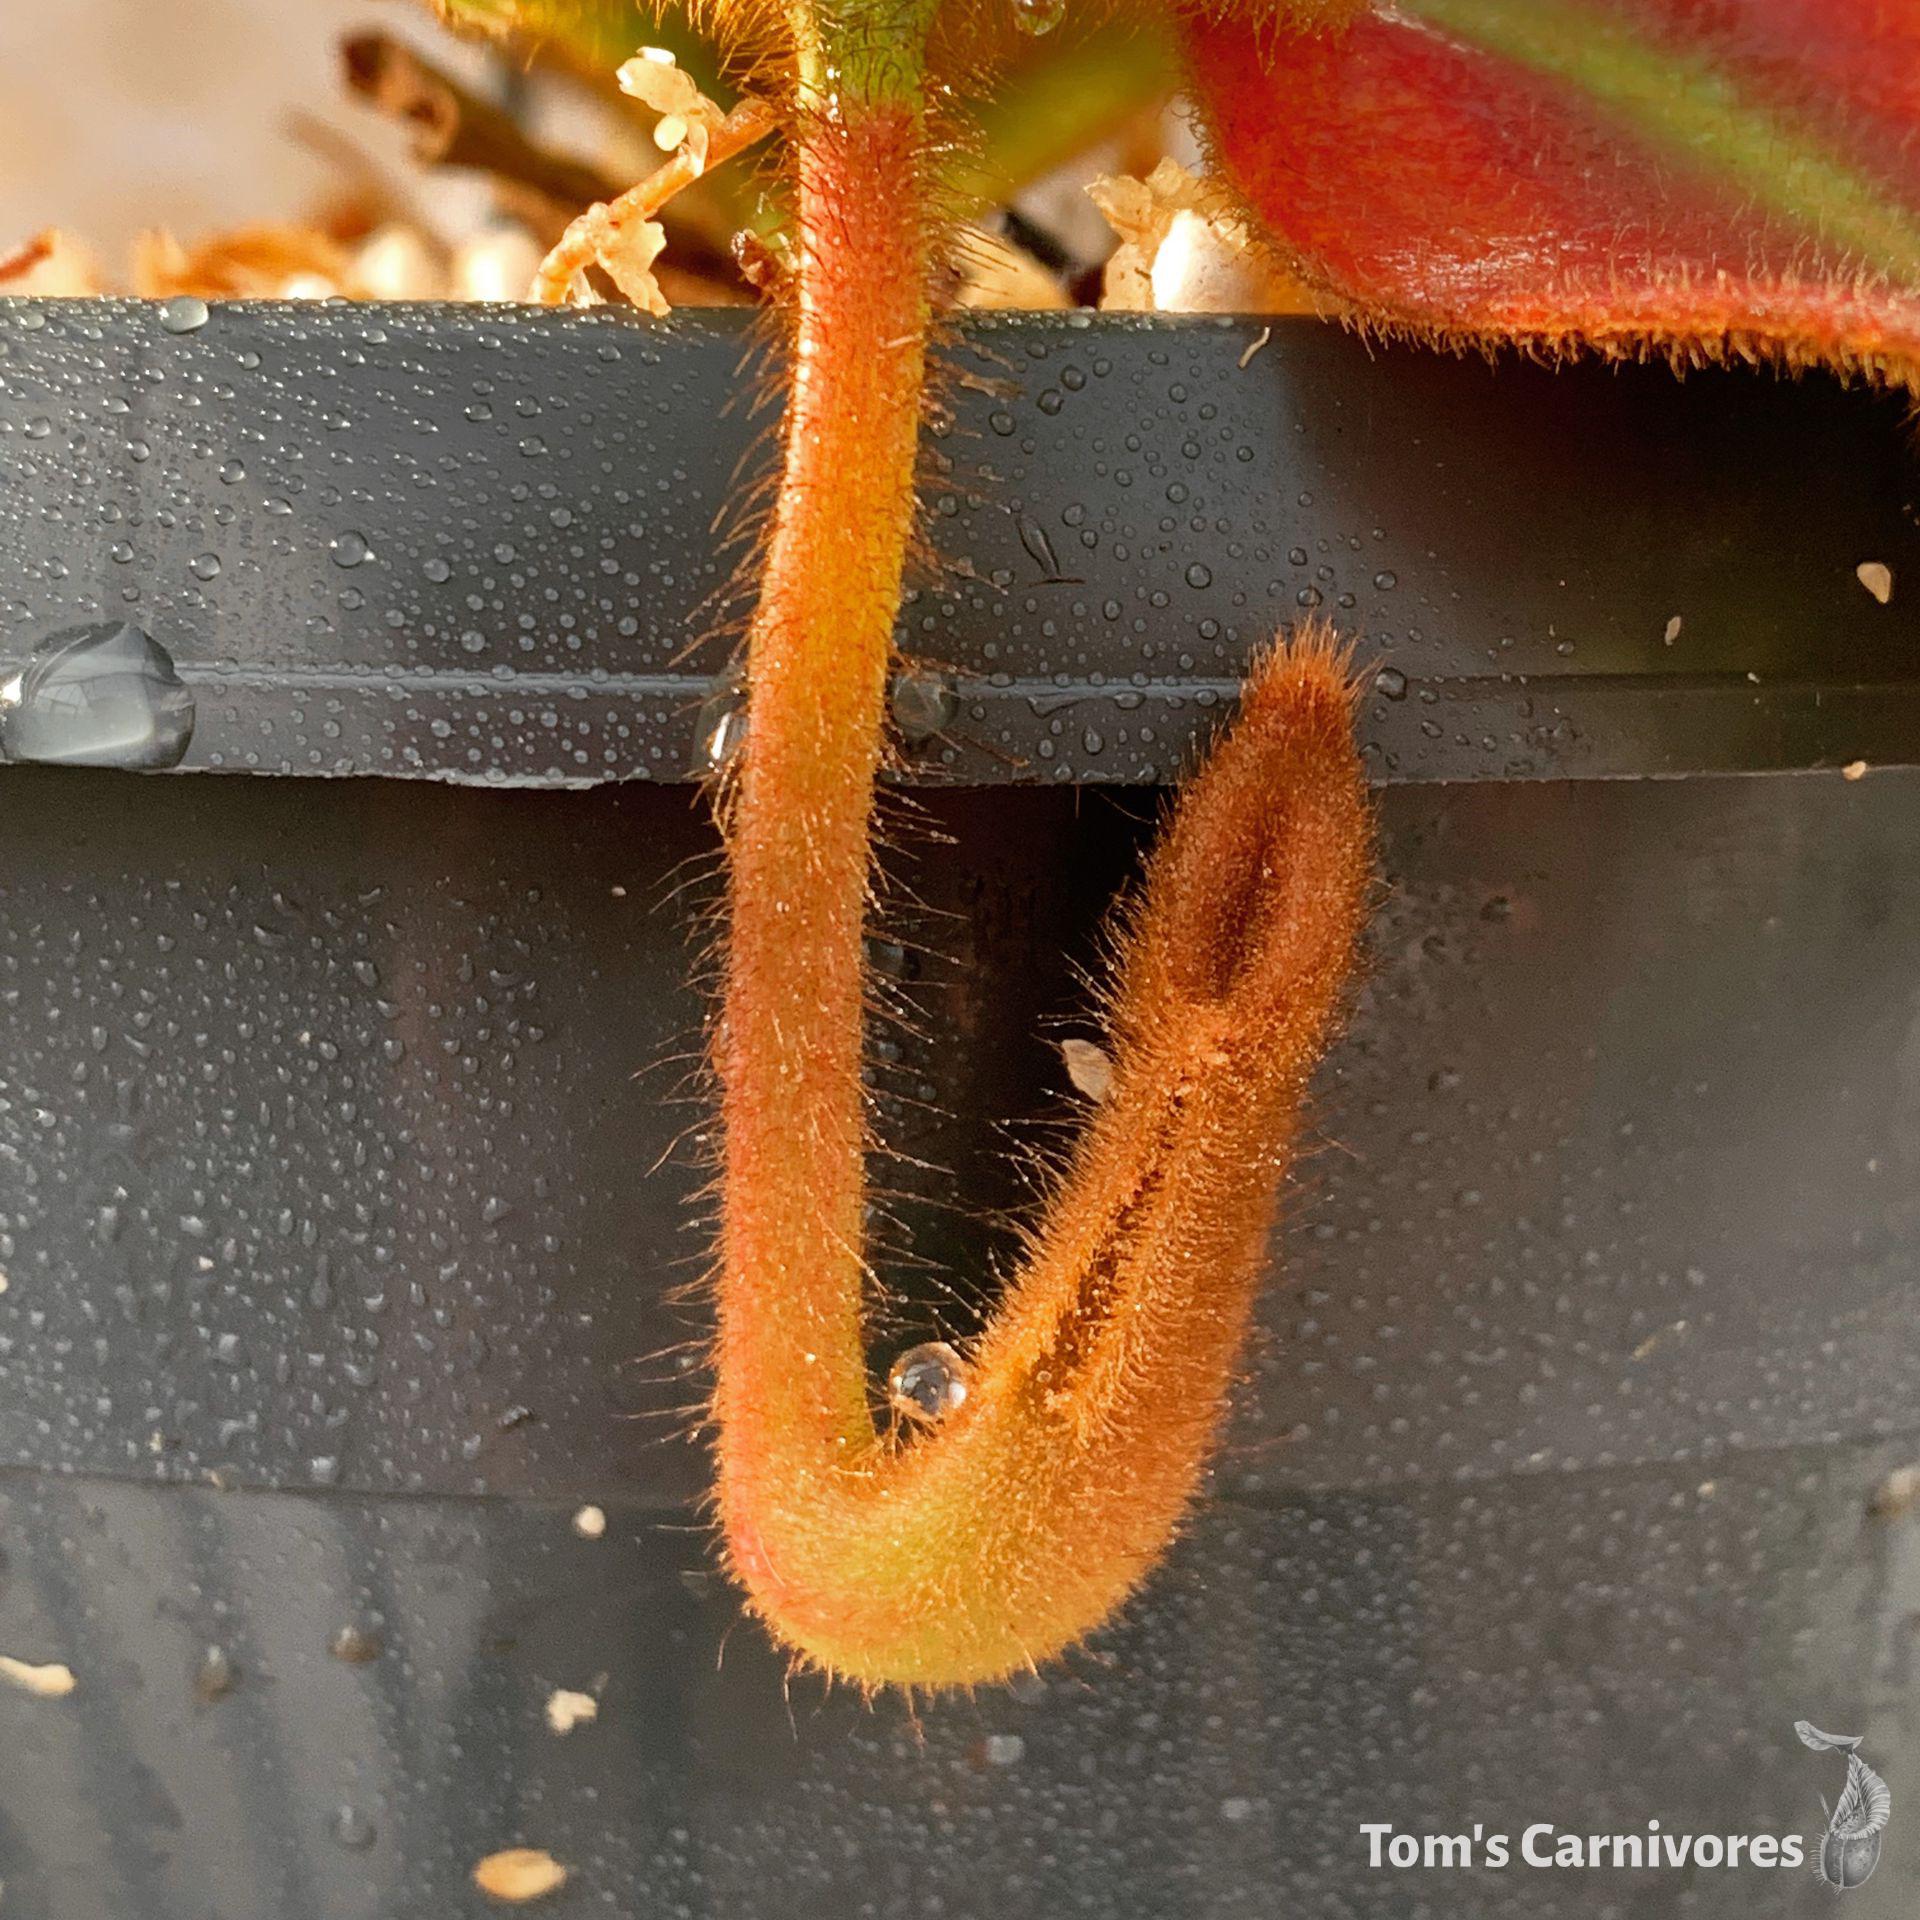
 Leaf jumps! Always a good sign.
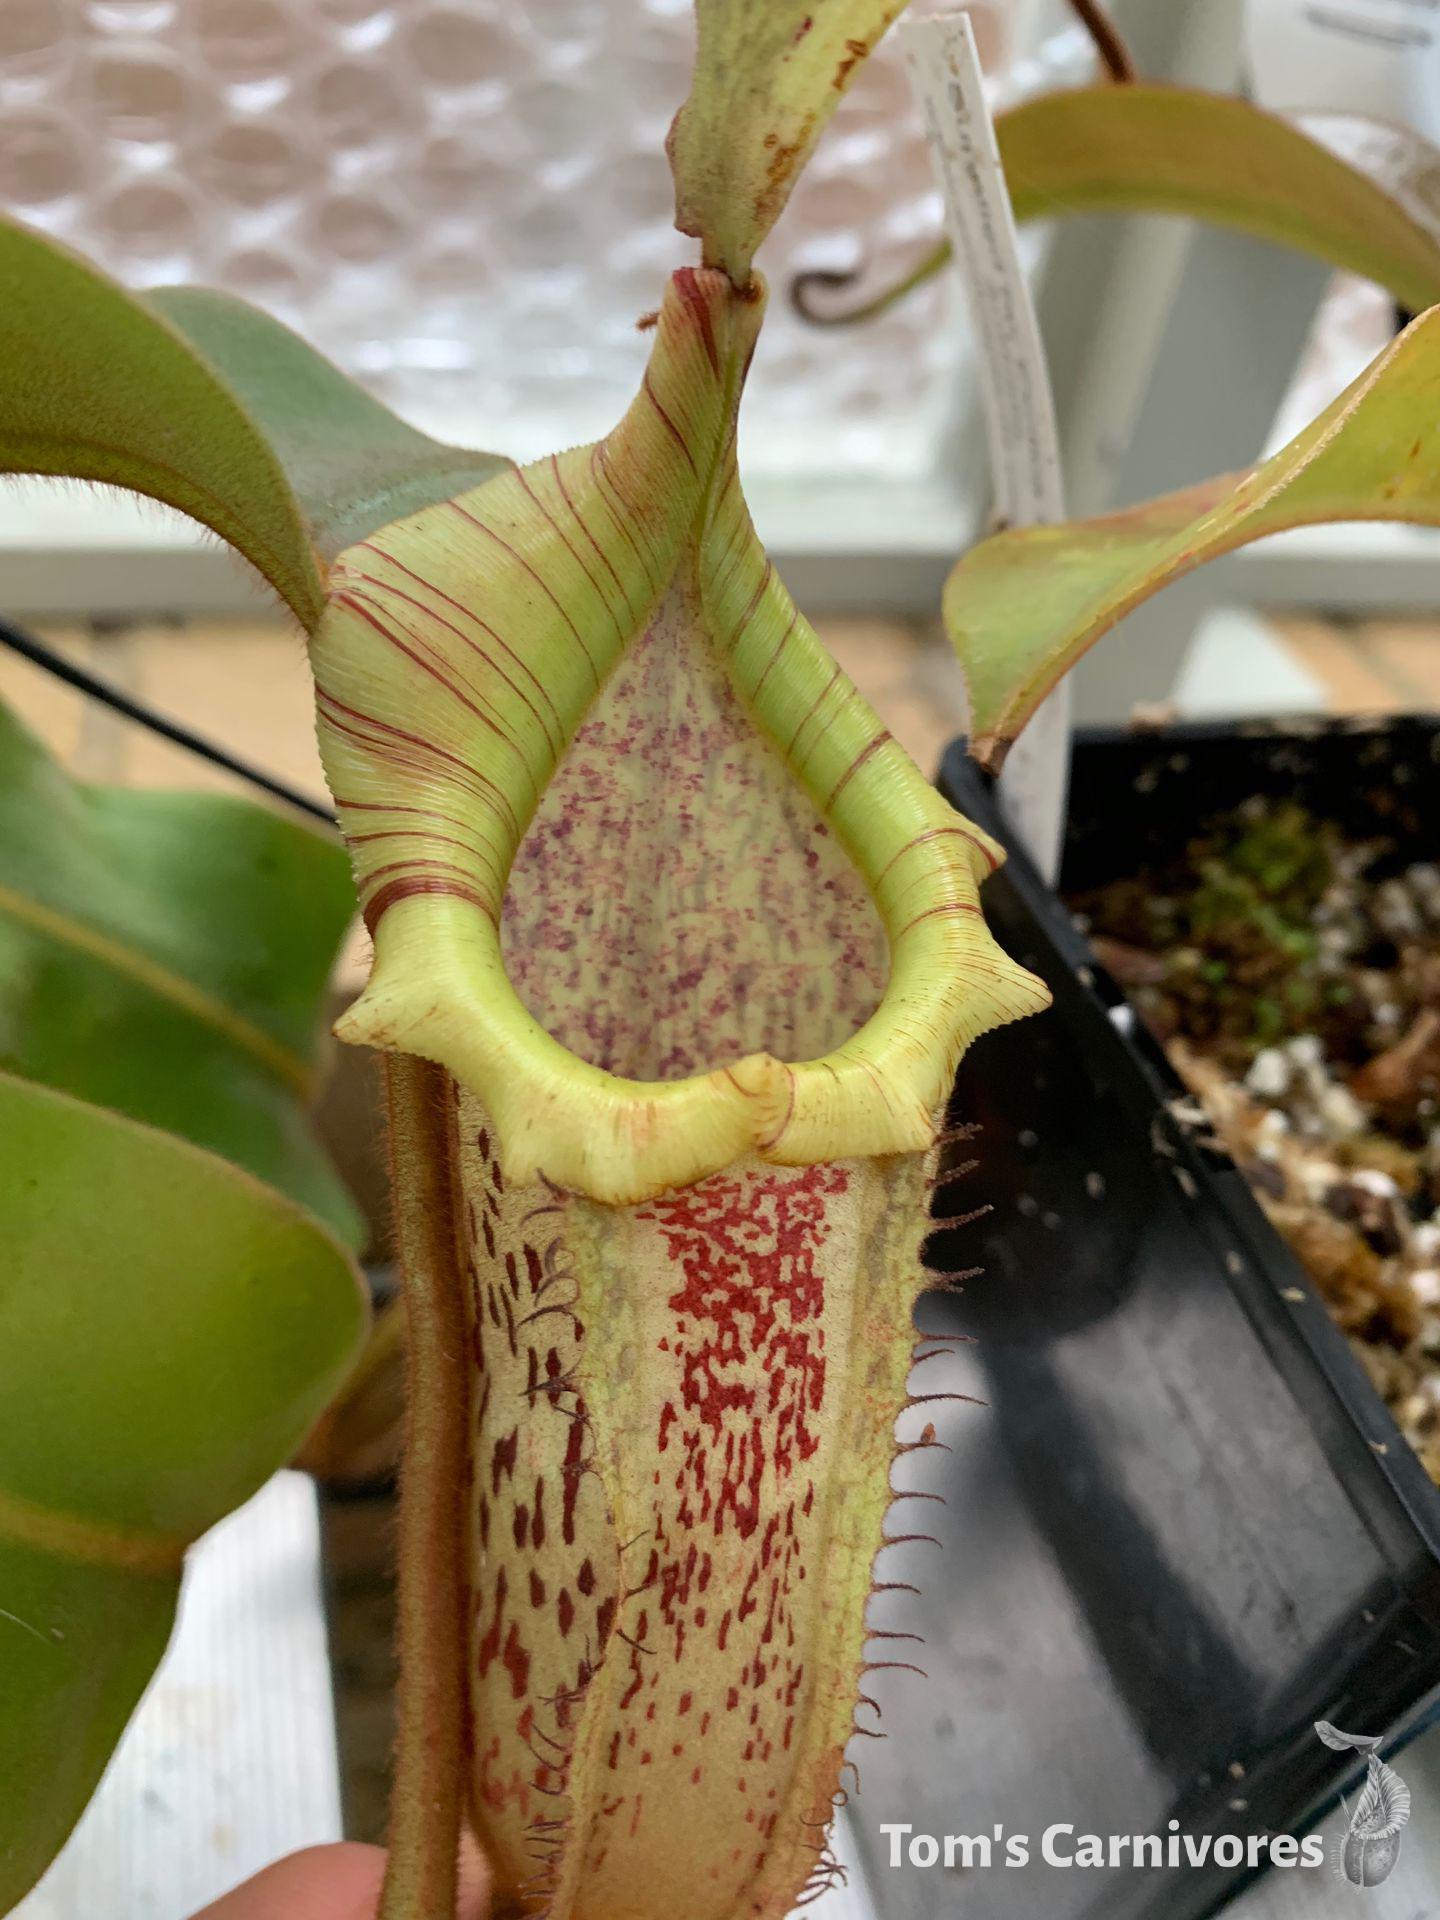
 A developing pitcher on N. veitchii 'G Murud striped x candy striped' (CK).
My collection is growing rapidly! Follow me on Instagram or Facebook for regular photo updates.
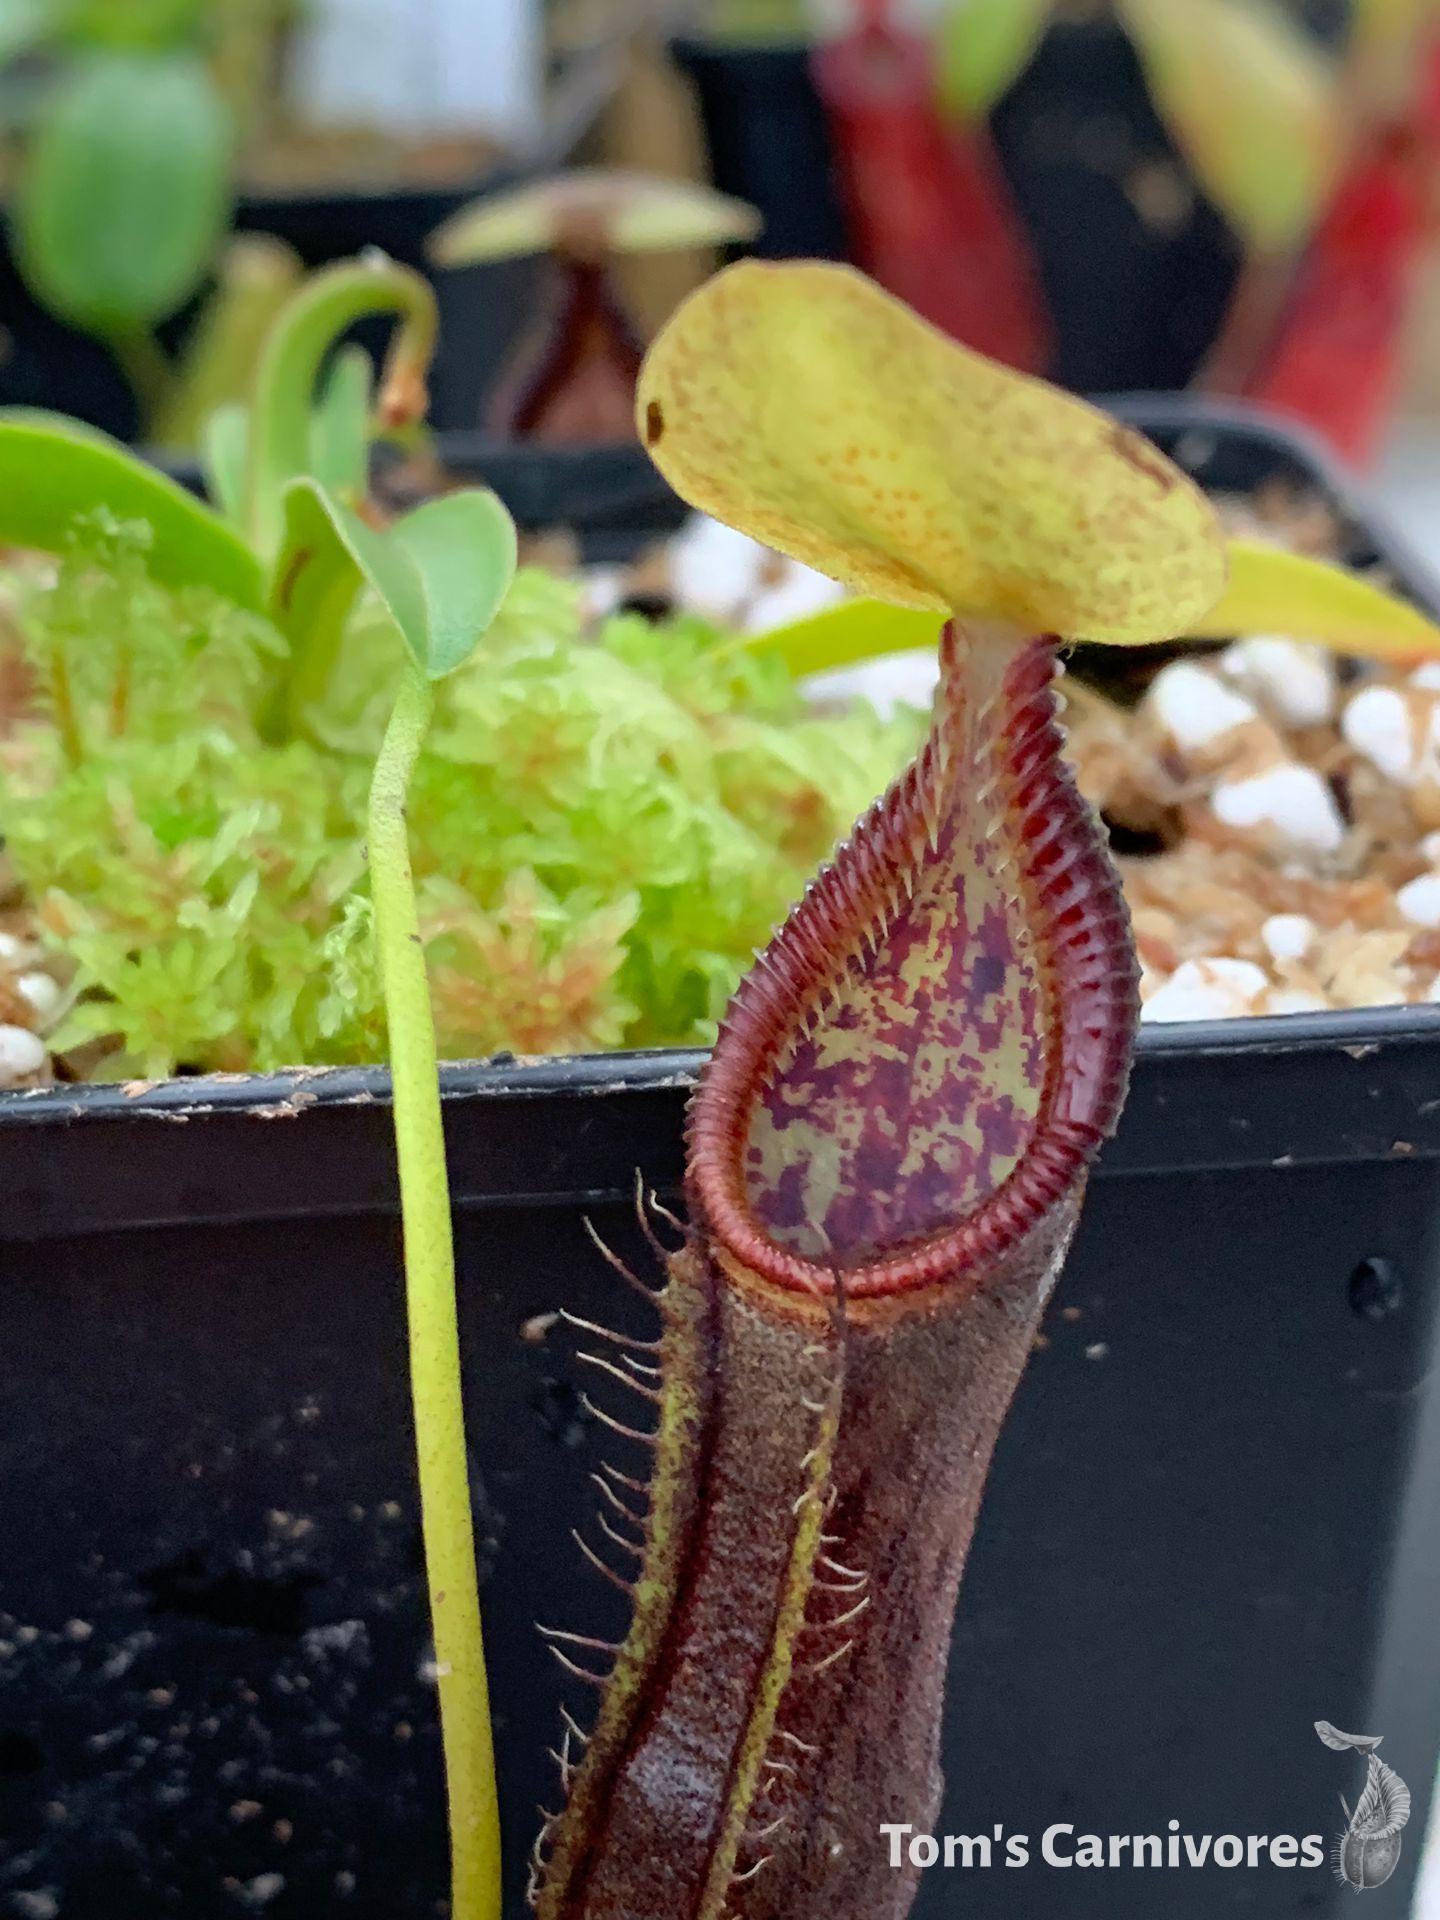
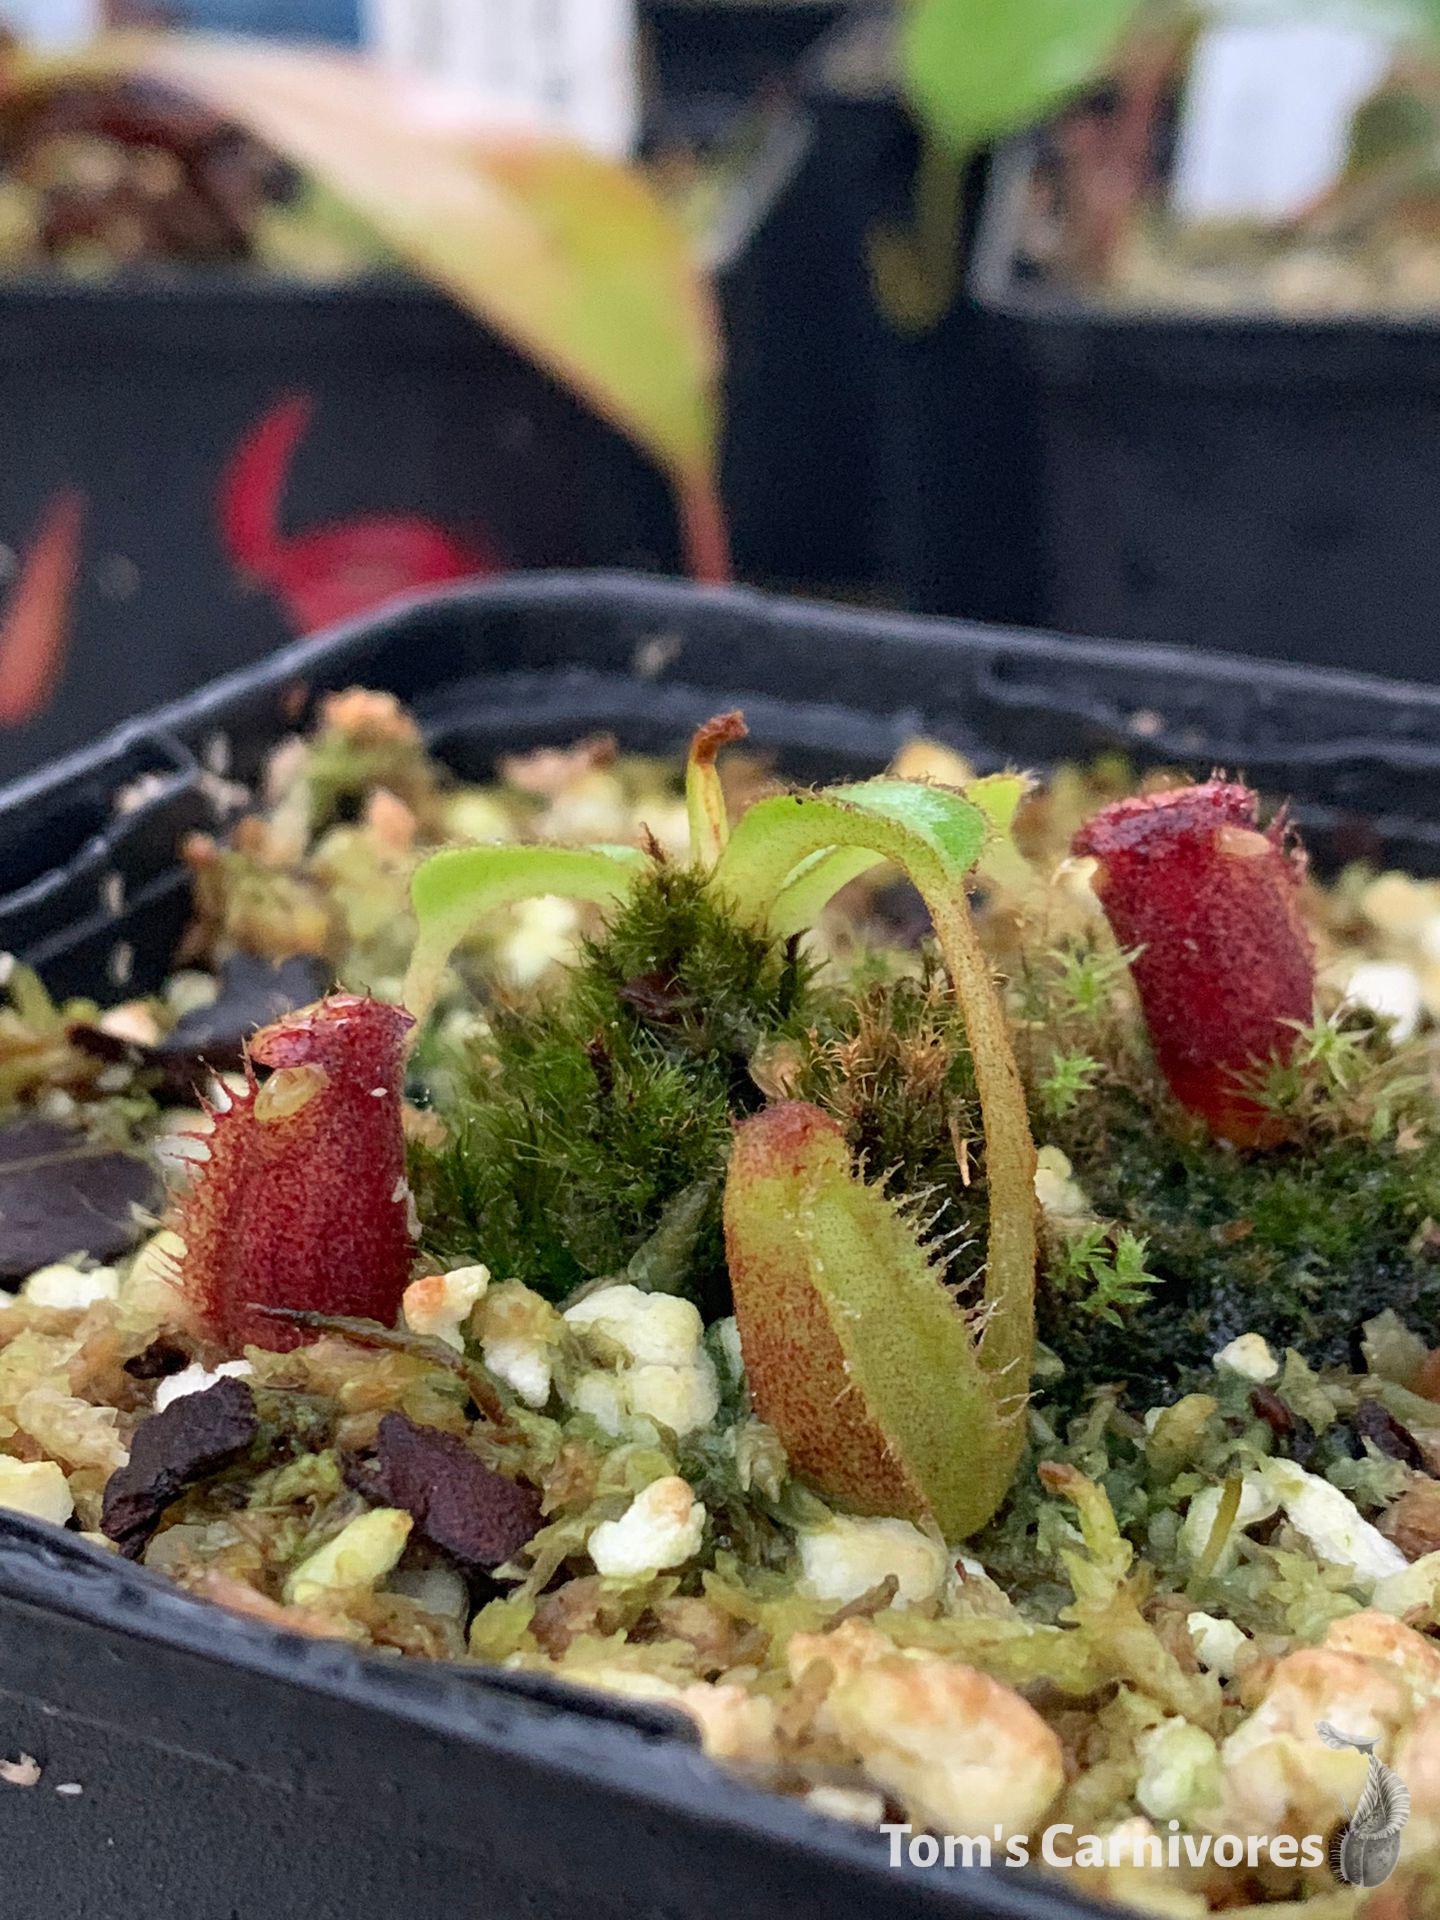 My tiny seed grown Nepenthes lowii.
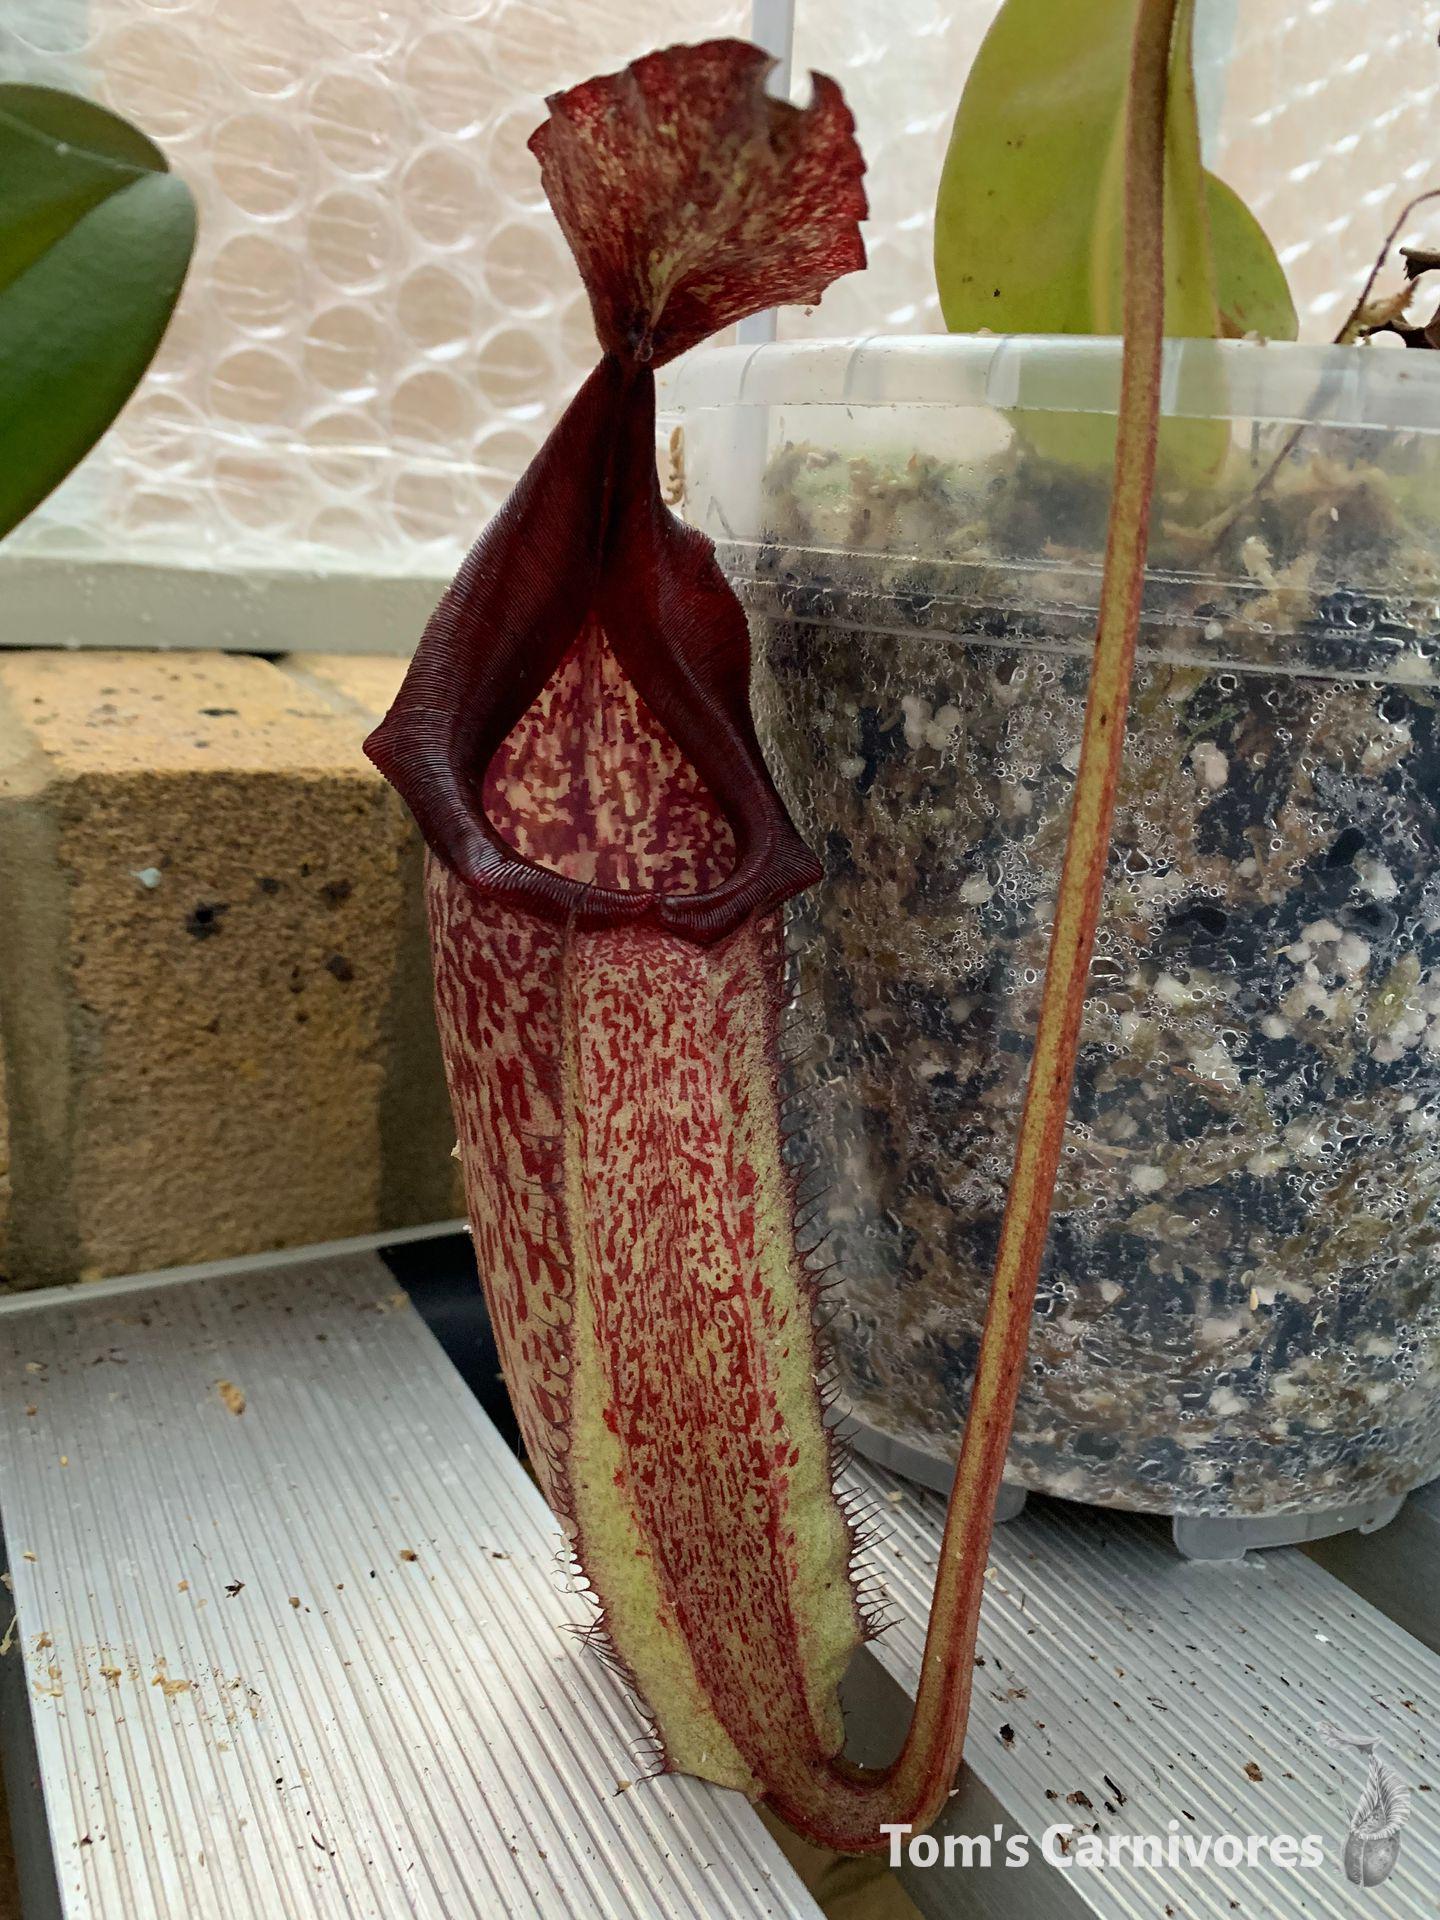 An older Nepenthes maxima pitcher. This is a plant I'm particularly pleased I won't have to cut again - it's now staked and has loads of growing space.
 Nepenthes singalana, a seed-grown plant I bought recently and which is growing very well.
 A mature Nepenthes veitchii x platychila.
Finally, I’d like to thank the many growers who I’ve spoken to - whether in person or just online - who’ve offered me their advice and expertise while this project was underway. I genuinely doubt it would ever have gotten off the ground if it weren’t for Jeff Shafer, Andy Smith, Christian Klein, Oliver Murray, James Ellis, and Laurent Taerwe being kind enough to show me round their greenhouses or simply answer my incessant questions. Thanks also to everyone who offered me pointers along the way, shared their experiences, or helped out with Tom’s Carnivores in any capacity. One day, I hope to be able to repay you with pollen, seeds, cuttings, and plants!
Thanks for reading. Be sure to subscribe for further updates using the form below. Any questions, you can reach me via email or leave a comment below.
Update, February 2020
I’ve written a follow-up to this article, exploring heating options in more detail and offering tips based on my first years of running the greenhouse. Take a look here!

I've been growing carnivorous plants for over 2 decades, having been fascinated by these plants since I got my first Venus flytrap at age 10. I now have a large greenhouse to house my collection and am an avid breeder of Nepenthes pitcher plants.
- Next post: The Carnivero Story, with Drew Martinez
- Previous post: Q&A with Dr. Jeff Shafer (aka 'nepenthesgod')